
2026-04-23 | ***Reading Time: 21 minutes***
It is the end of April, and the weather is already looking and feeling better.
During this time of year most of us we are already start thinking about the summer season, and we are looking for potential places for a short or longer trip, either for vacation or just to relax for a few days.
Especially for photographers, this time of year can give the ability to walk around a new city or country for more hours, with nice temperatures and clear skies.
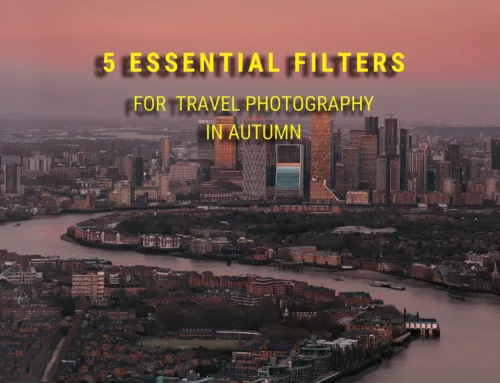
But light can be harsh, especially in my country, and this is the reason of this article, to give some helpful tips to overcome any possible “difficulties” when shooting during summer.
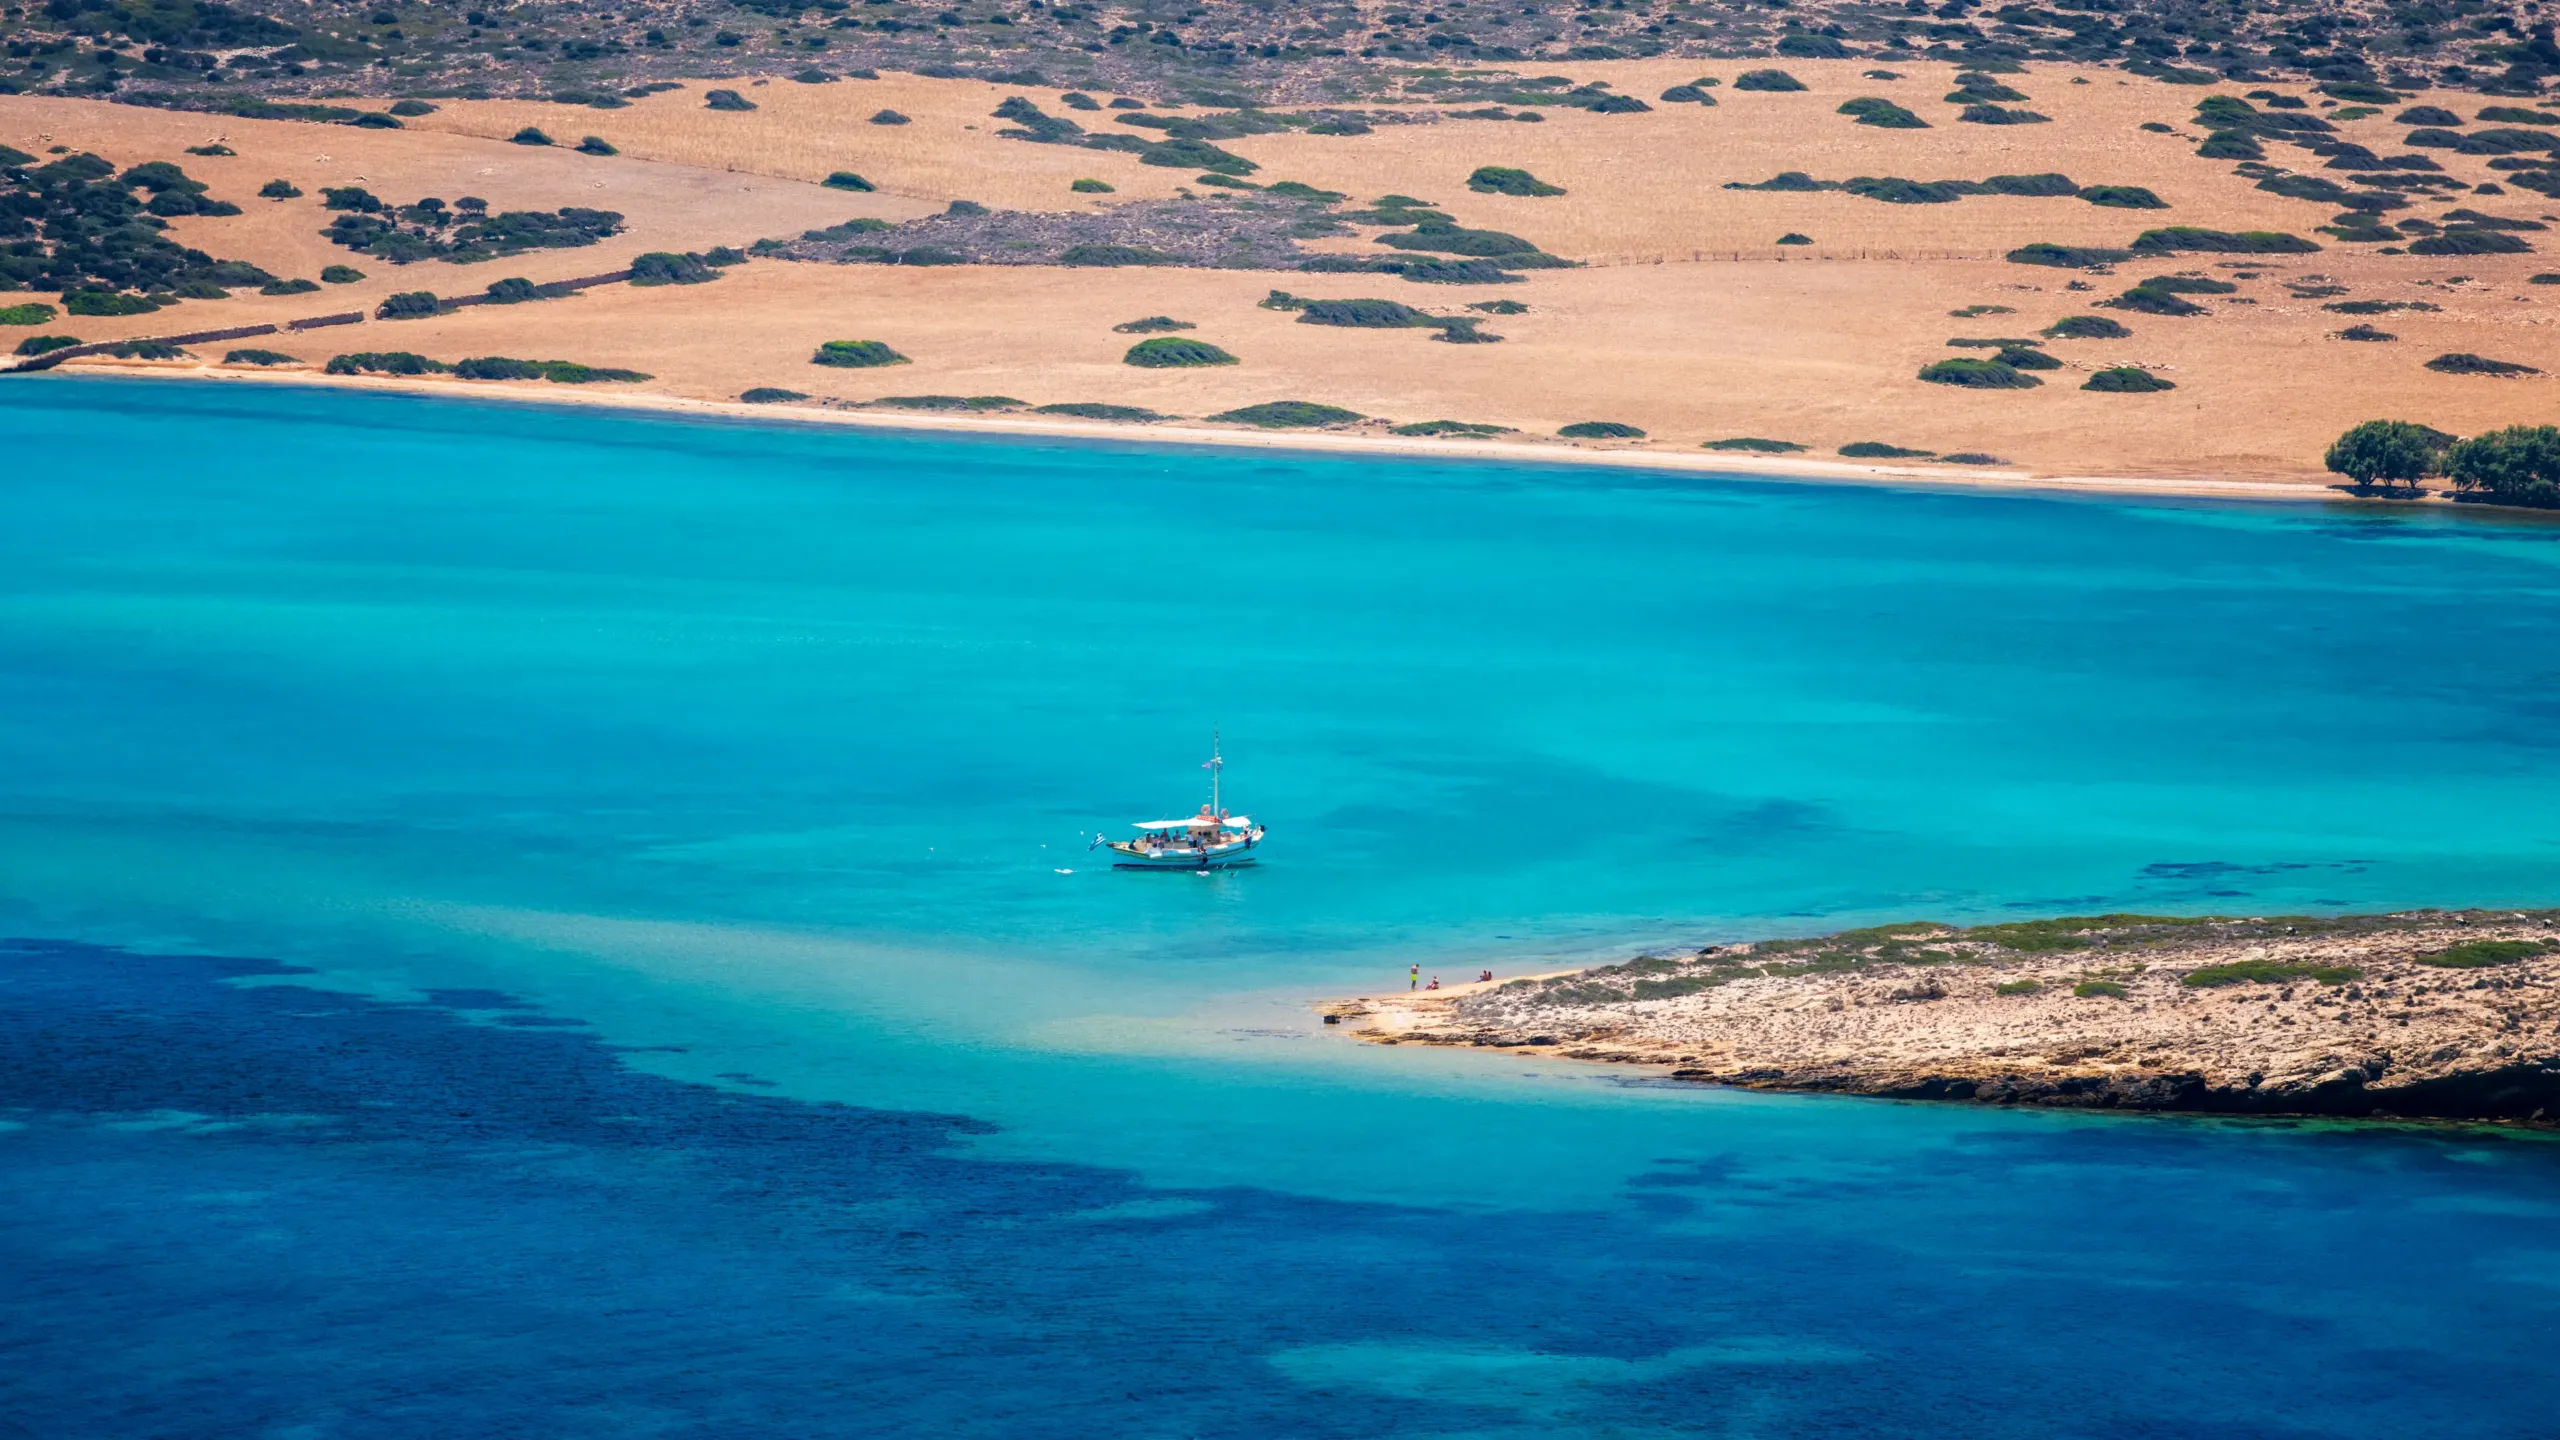
180mm | F8| 1/400s | ISO 400 – HOYA HD nano MKii CIR-PL
Nikon 180mm F2.8D| Nikon D850
1. Scout, Plan & Prepare
Summer days are long, and the heat can be exhausting. Instead of wandering around aimlessly under the sun, use technology to your advantage. We are fortunate to have available tools like Google Earth and Photopills, which not only help us scout a location, but also help us find angles and understand where the sun will be at any given time. Using those tools can help us prepare and have a clear plan, which will result on spending less time battling the heat and more time focusing on your composition.
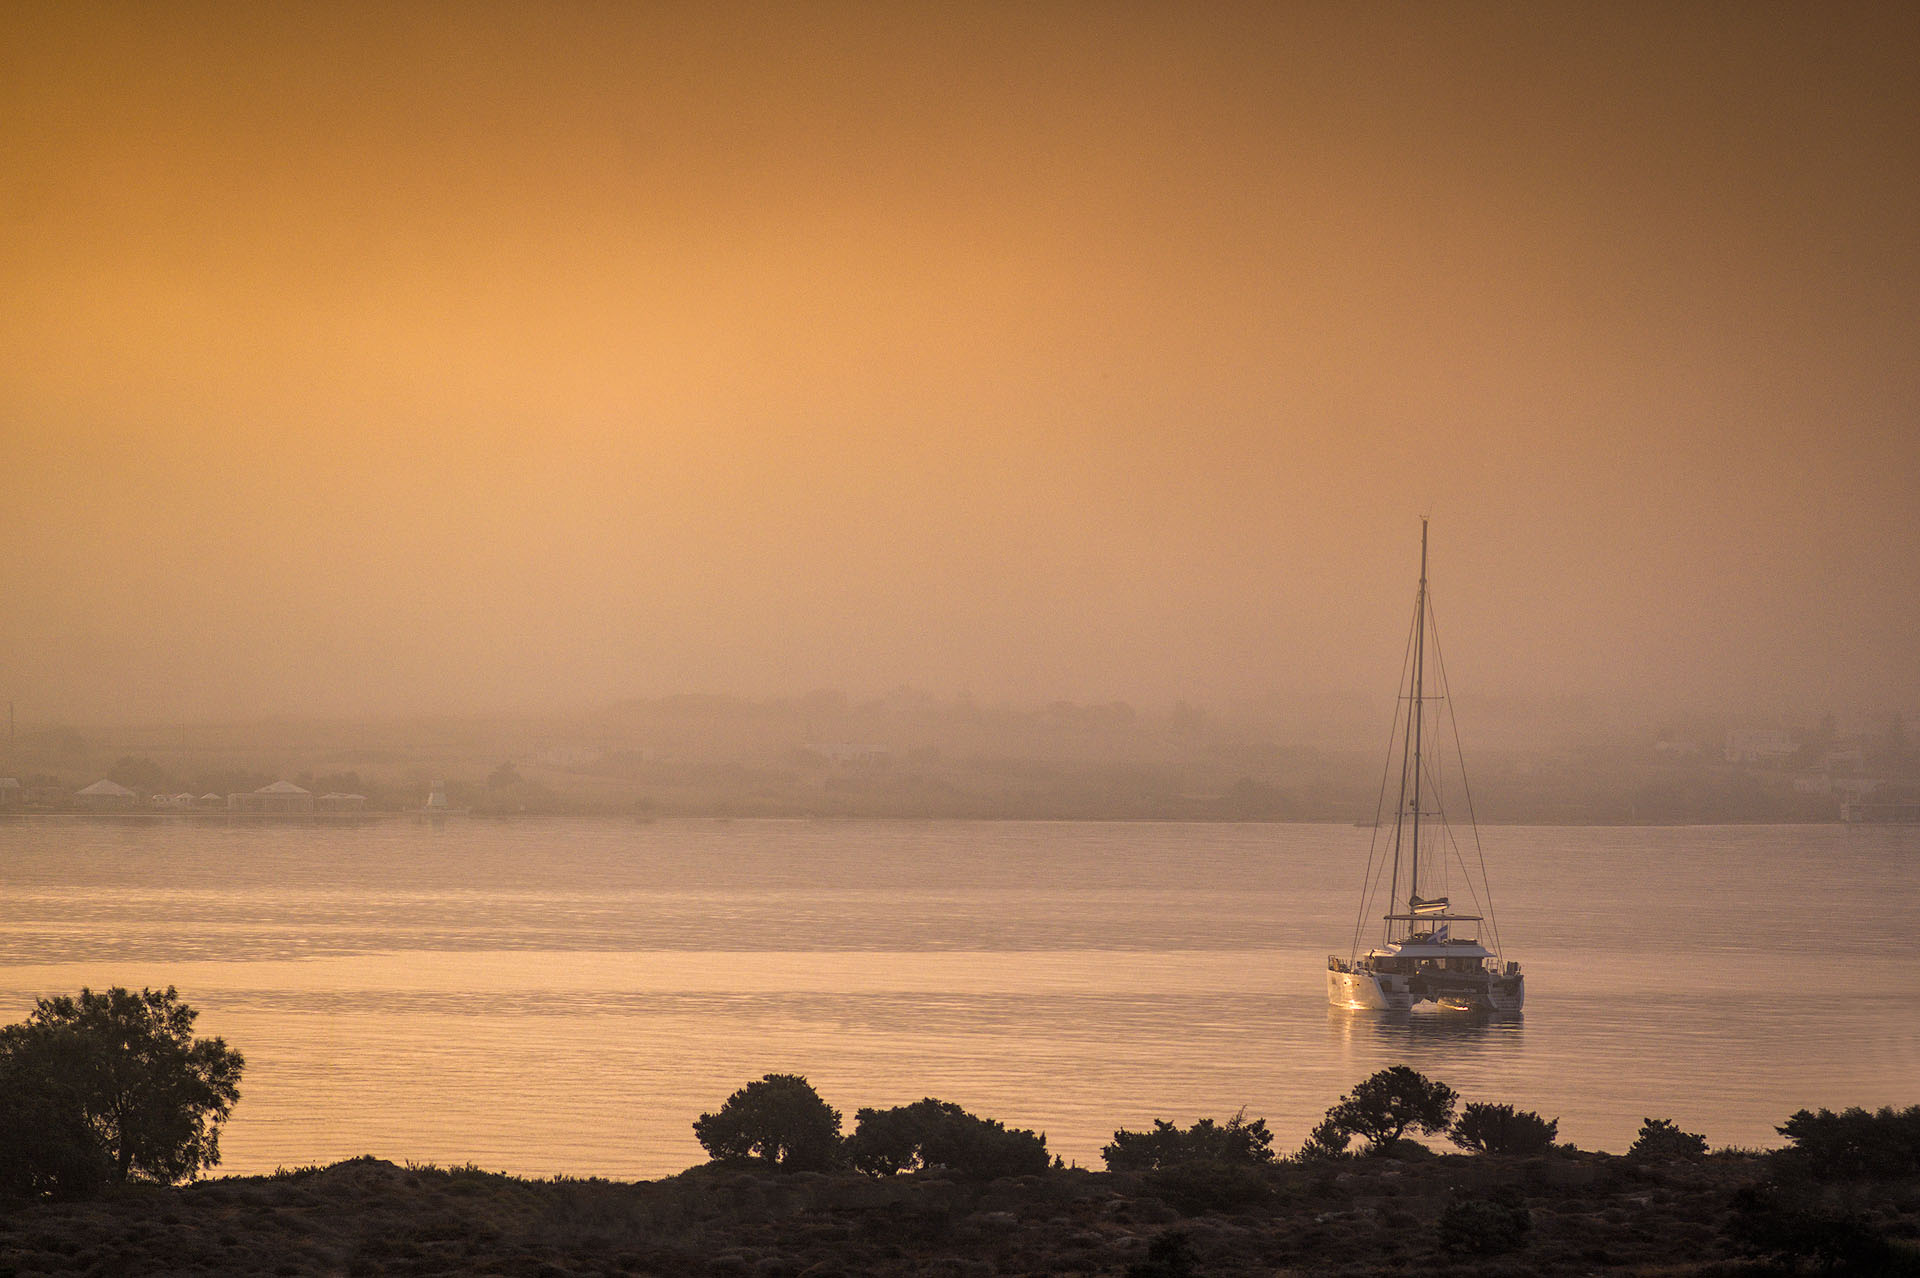
20mm | F6.3 | 60sec | ISO 64 – Kenko MC Twilight Red & HOYA PROND1000
Tokina firin 20mm F2 AF FE | Nikon Z7ii
2. Midday Photography? Yes!
During my workshops, I often hear participants say they prefer to stay inside during midday, as the light is “too harsh” for good photos.
Yes, light is indeed very harsh during midday, but instead of avoiding it or fighting with it, why don’t you take advantage of it?
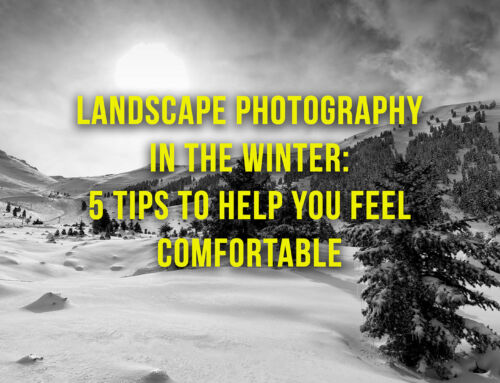
You see, vertical light can create strong shadows and highlight textures in rocks and in architecture. That means that it can “open” a different type of creative opportunities compared to what you originally had in mind. Try shooting directly in Black & White (or simply convert your image later), and capture unique, high contrast images of a building or a church, like the photo below.
Example: I visited the church of St. Anthony on Paros island in midday as I was heading to a nearby beach with my family.
The light was far from ideal, and the area was full of visitors. To manage this, I used the highest focal lenght that I had with me at the time, to isolate the details, turning the harsh shadows into a creative choice.

100mm | F5 | 1/2000s | ISO 100 – HOYA ProND Grad32
Tokina firin 100mm F2.8 FE Macro | Nikon Z6
3. Protection is Vital
Both for yourself and your gear.
Self: Don’t be under the sun without a hat, a bottle of water, a sun-protecting lotion and comfortable clothes.
There is no point in trying to make photos if you don’t feel well and comfortable when outside.
Gear: Don’t leave your camera bag under the hot sun for too long, or inside a locked car. The intense heat can create serious issues in your cameras and batteries. If you are moving between closed and open locations, in example from an air-conditioned room, going out in 40°C, always remember the chance of creating unwanted humidity (condensation) inside your gear.

450mm | F7.1 | 1/2000s | ISO 2000
Tokina SZ300mm X | Fujifilm X-H2s
4. Where is Everybody?
After a long and tiring trip you finally arrive in your long-dreamed destination. A beautiful Aegean island or a famous lake in Italy. You’ve done your research, but when you get to the spot, you find a massive crowd, and quite possibly, a waiting line (!).
In the era of social media and trends, popular sceneries can be chaotic.
So what we can do? Well the strategy is rather simple, and you probably have heard about it already. Just visit the location in not-common hours. Like before dawn. Or simply wait for everyone to leave right after the Sun is set, and wait a few more minutes to capture the afterglow of the sun.
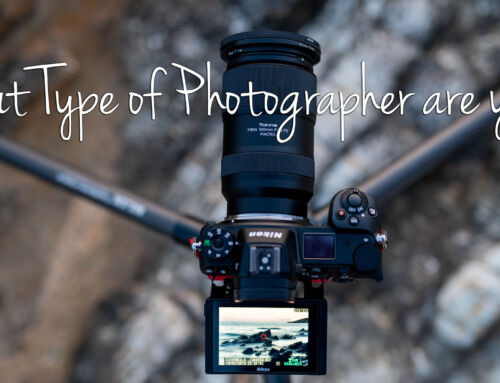
Case Scenario: In the photo below, this was exactly what happened. The sunset in Oia, Santorini, is world-famous, but the crowds are unbelievable. When I arrived, there wasn’t even a square meter to place my tripod. However, the moment the sun got below the horizon, 90% of the people left. This gave me the space and silence we needed to finally get the shot I had planned.

23mm | F5.6 | 2sec | ISO 160 – HOYA ProND1000
Tokina atx-m 23mm F1.4 X | Fujifilm X-H2s
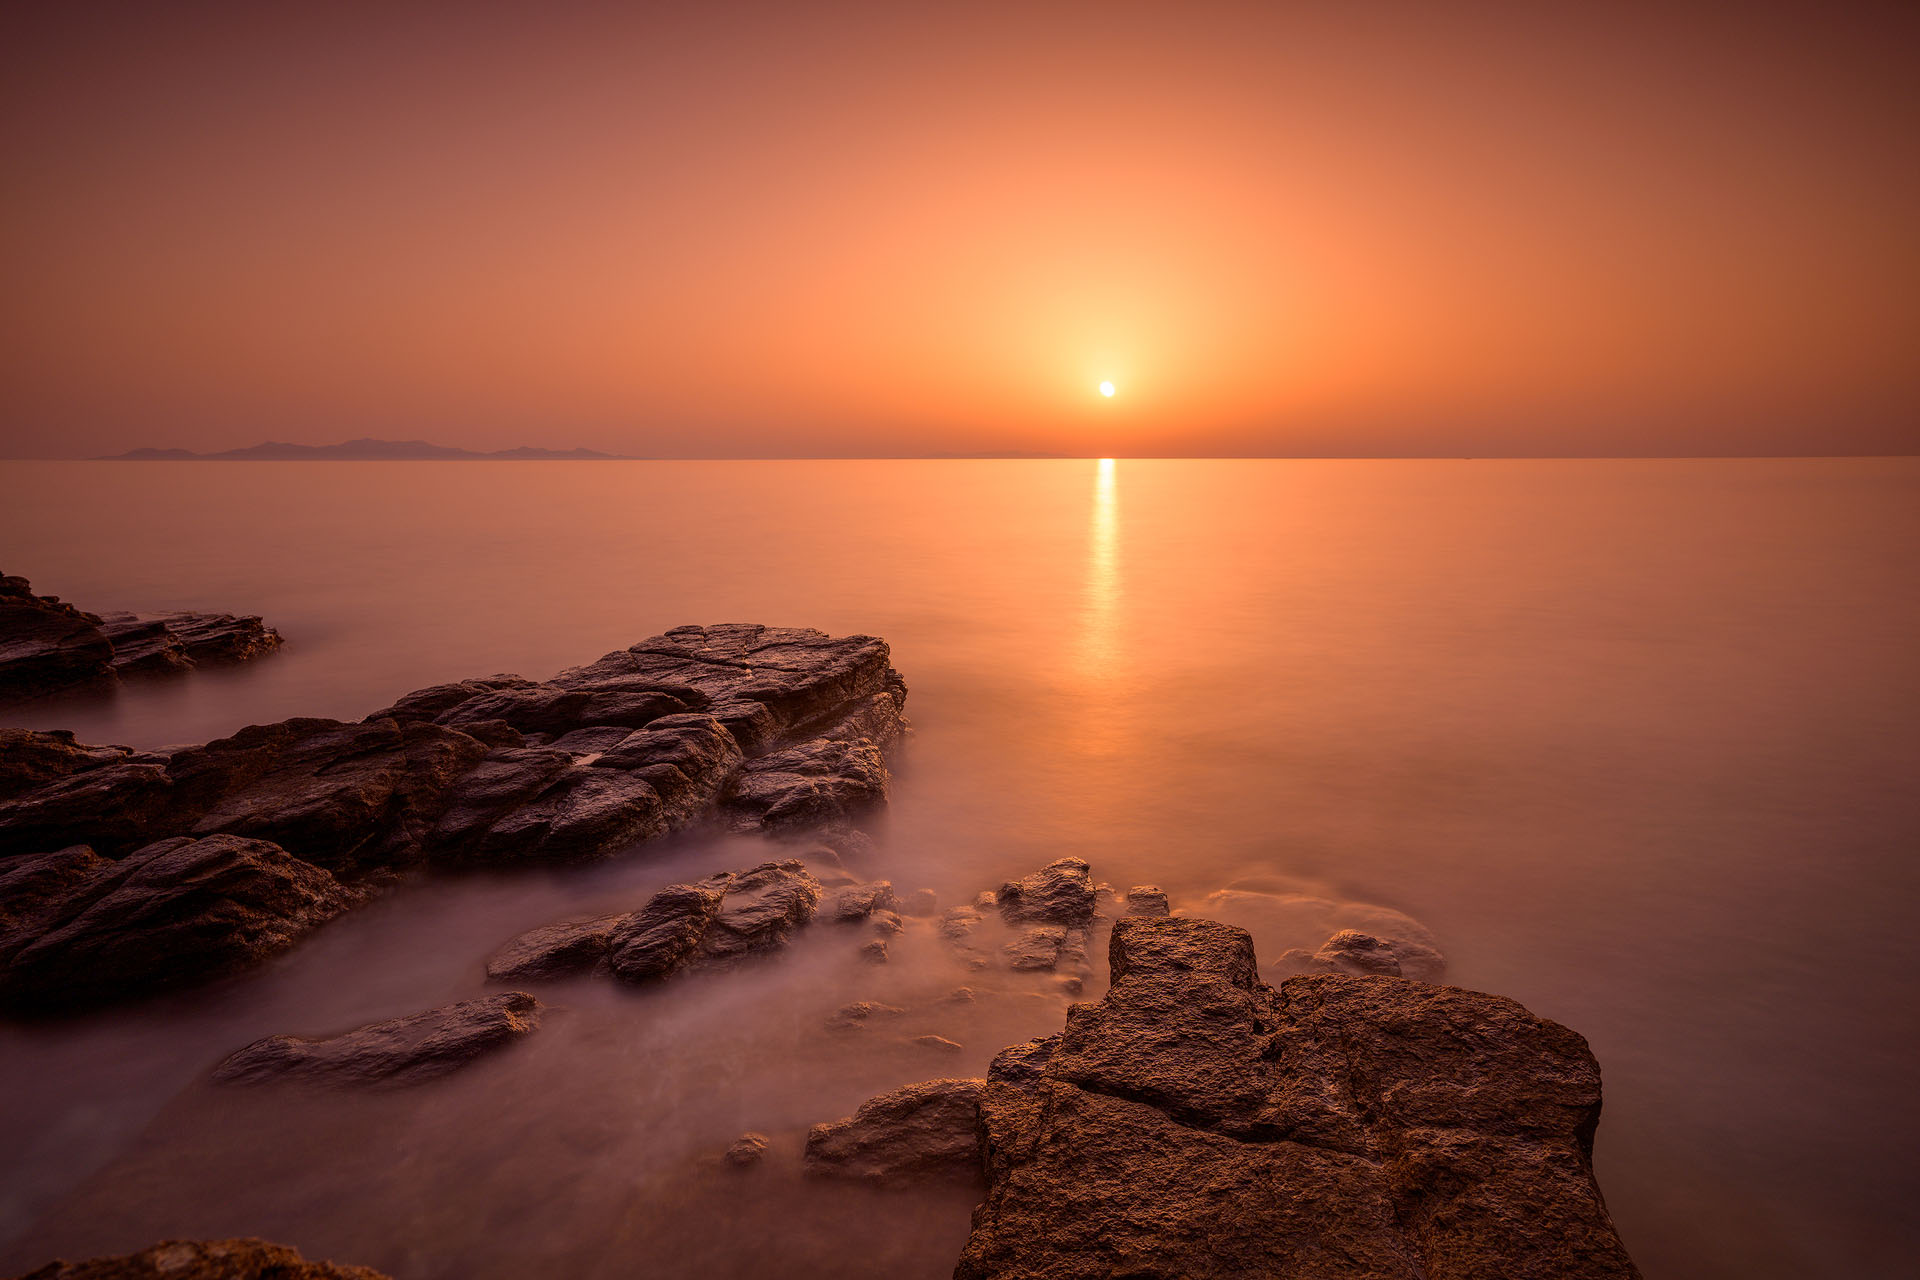
5. Simplicity is Always the Key
Our daily lives are cluttered with information: signs, posters, traffic, and noise. Even in beautiful summer destinations, there is often too much “visual noise“: too many boats in a canal, umbrellas on a beach, or a cluttered coastline. This is your creative challenge: How to simplify. Instead of trying to “fit everything in,” look for specific elements that capture the essence of the location. A single rock in the water, the texture of a sun-bleached pier, or the negative space of a clear sky. A longer focal length works wonders here, helping you isolate your subject and cut out the distractions.
300mm | F2.8 | 1/500s | ISO 100 – HOYA HD nano MKii CIR-PL
Tokina 300mm F2.8 | Sony A7Rii
Passionate about travel photography? Join me on one of my upcoming workshops to explore stunning locations together. If you’re looking for a more tailored experience, I am also available for private, one-on-one mentoring designed to meet your specific goals
Final Thoughts
At the end of the day, summer photography is as much about patience as it is about technical skill. While it’s easy to get caught up in chasing the ‘perfect’ sunset alongside hundreds of others, I’ve found that the most rewarding images come when you pause, breathe, and actually connect with the landscape.
Stay inspired, stay hydrated, and I’ll see you out there.

Leave A Comment