Dehancer Film Review
May 3, 2024 -> Full Review was Published.
***Reading Time: 91 minutes***
Intro
Despite living in a time where technology in photography has advanced in almost every aspect insanely, not only with the rise of AI image making but also with the extreme produced quality of photos from smartphones and cameras, there is still (a lot of) room for “not-so-perfect” images.
There are still (again, quite a lot) photographers that shoot in film, although that as well has seen some extreme price increases the last two years, but more on that topic on another article.
This is where Dehancer Film, a sophisticated plugin* for Photoshop and Lightroom Classic, comes into play.
*Dehancer Film is also available for Capture One and Affinity Photo, but in this review I will only use the LR (& PS) version.
With its plethora of features and film stock emulations, the user can de-enhance the image, “get” the look of film photography in their digital images.
Feel free to continue reading my review in which I will share my impressions and experiences with Dehancer Film, exploring its capabilities and the unique qualities it brings to digital image editing.
Use Code CHRISTOPHE

What is Dehancer Film?
Dehancer Film, which comes from the creators of the acclaimed Dehancer Pro for Blackmagic Davinci Resolve, Adobe Premiere and Adobe After Effects, has garnered significant popularity among photographers. Building upon the foundation laid by its video counterpart, Dehancer Film incorporates a comprehensive suite of features, which includes:

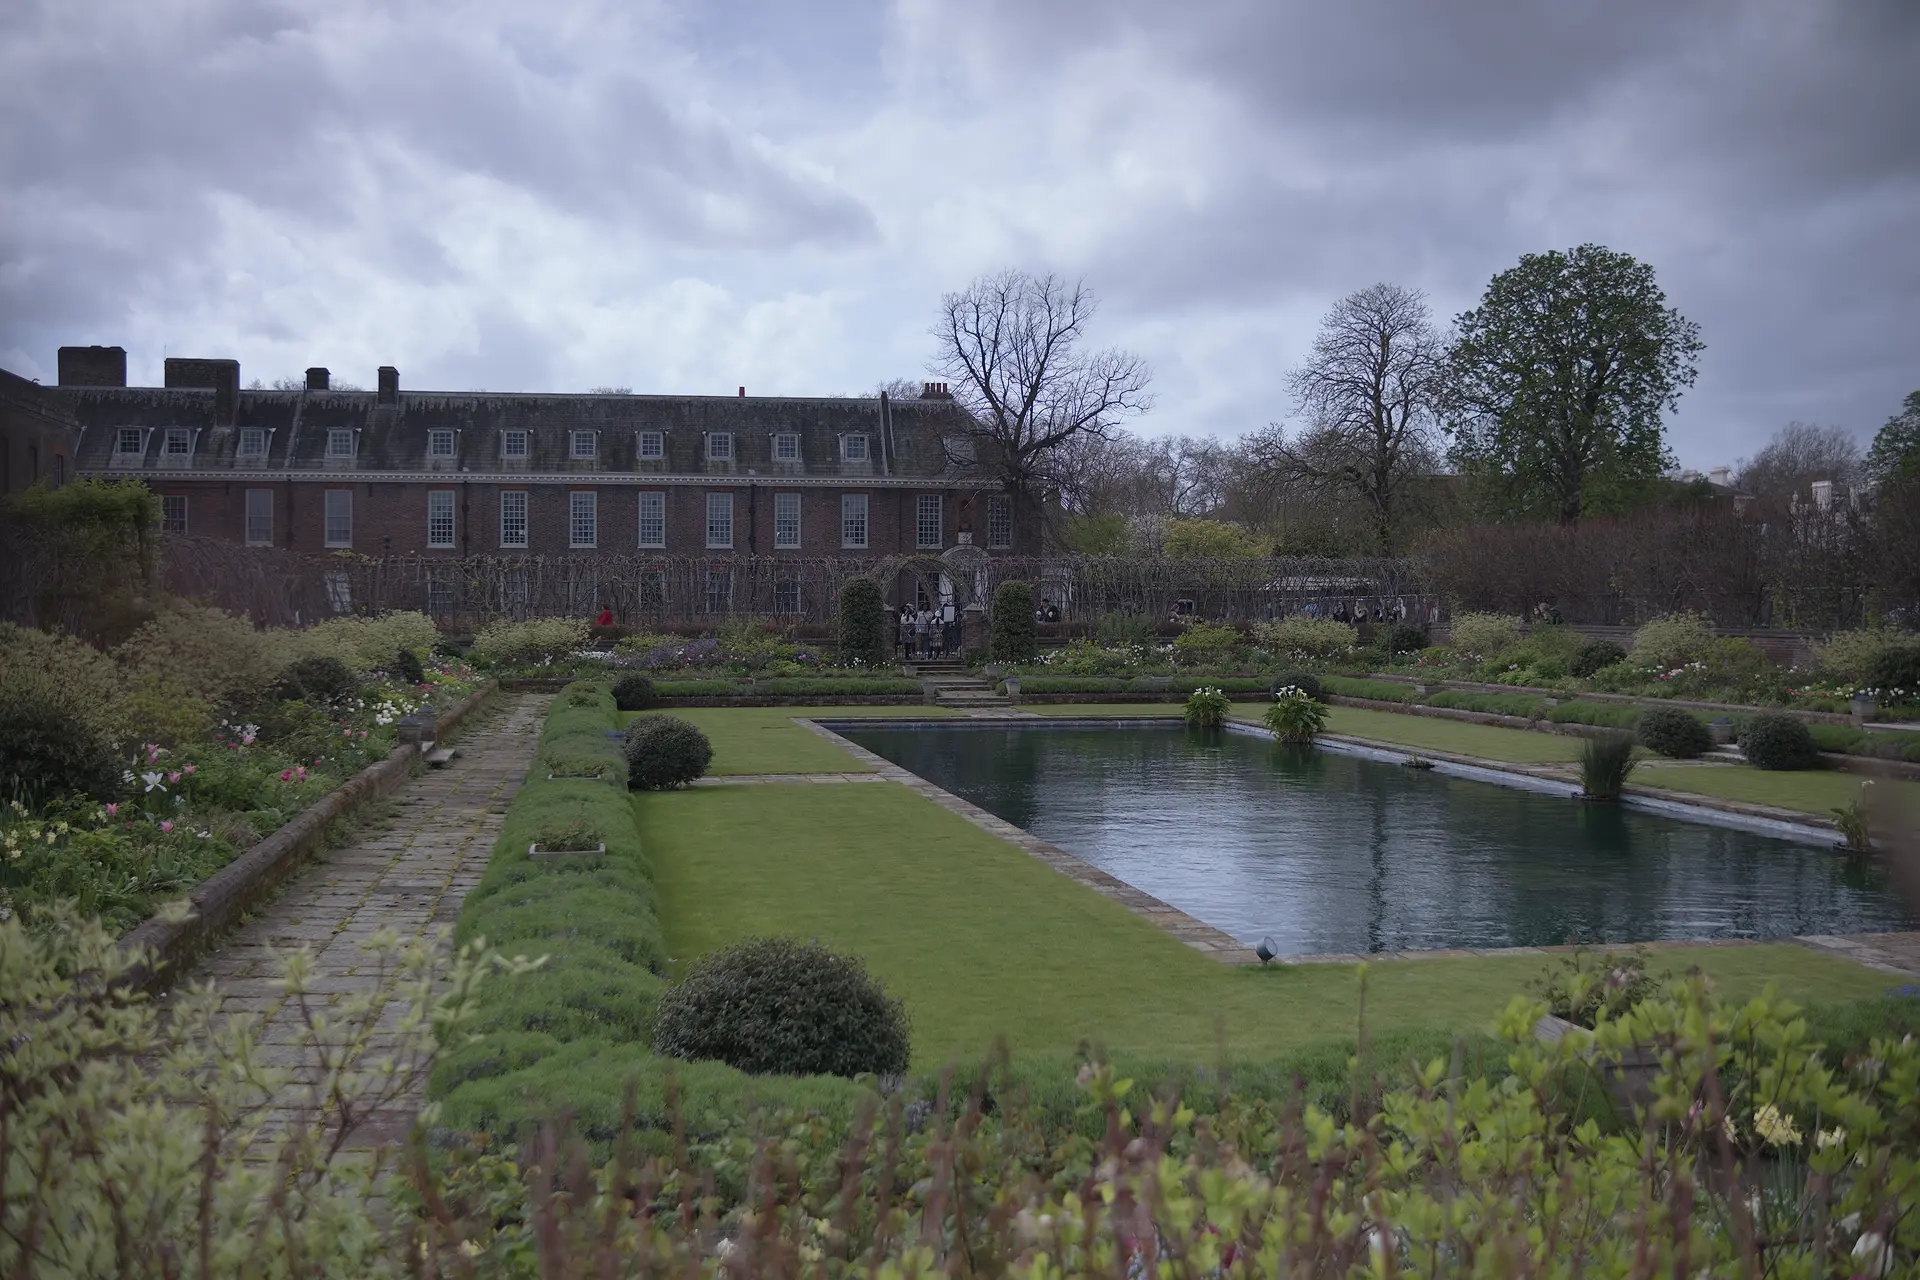
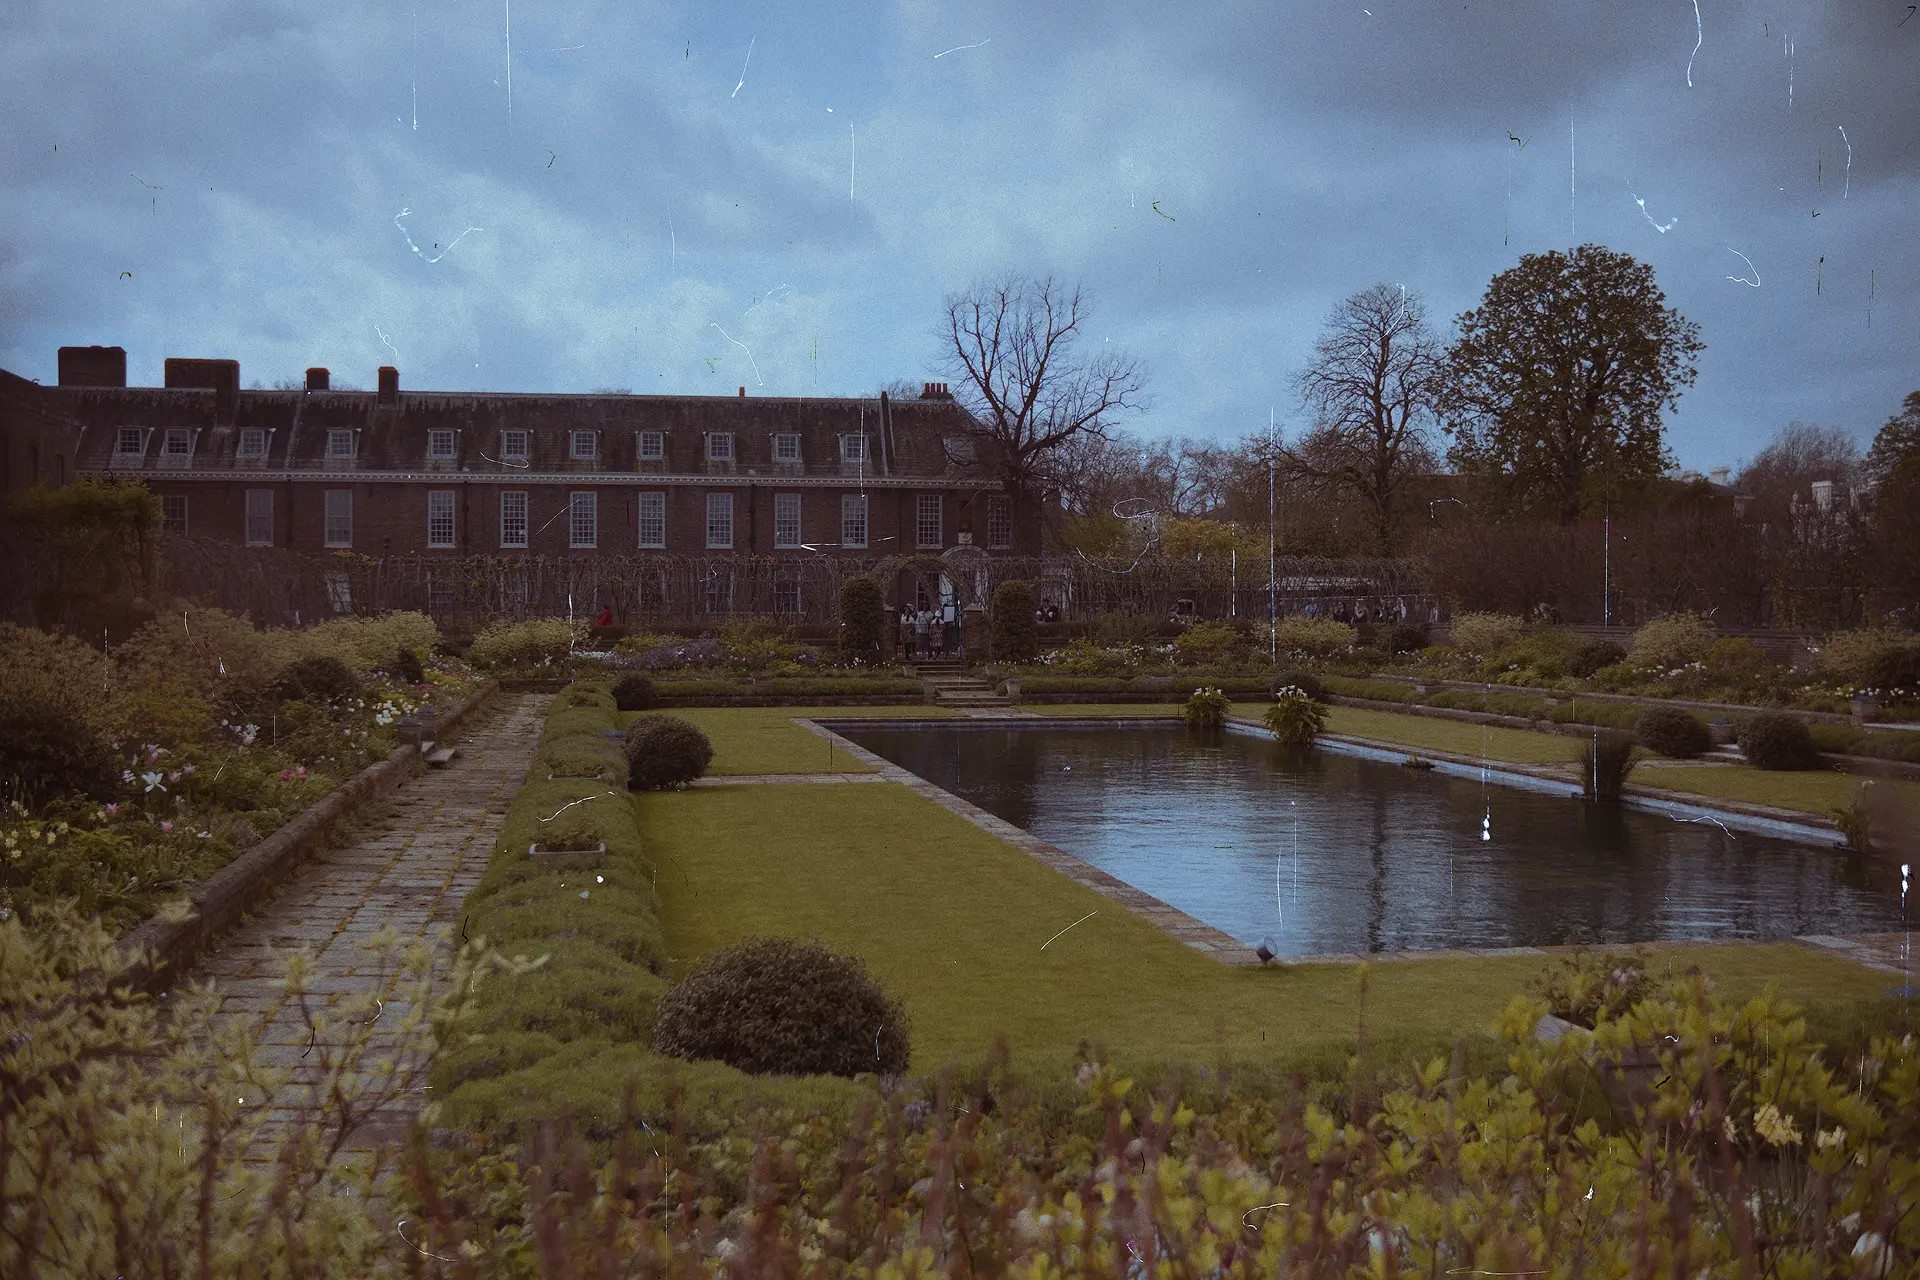
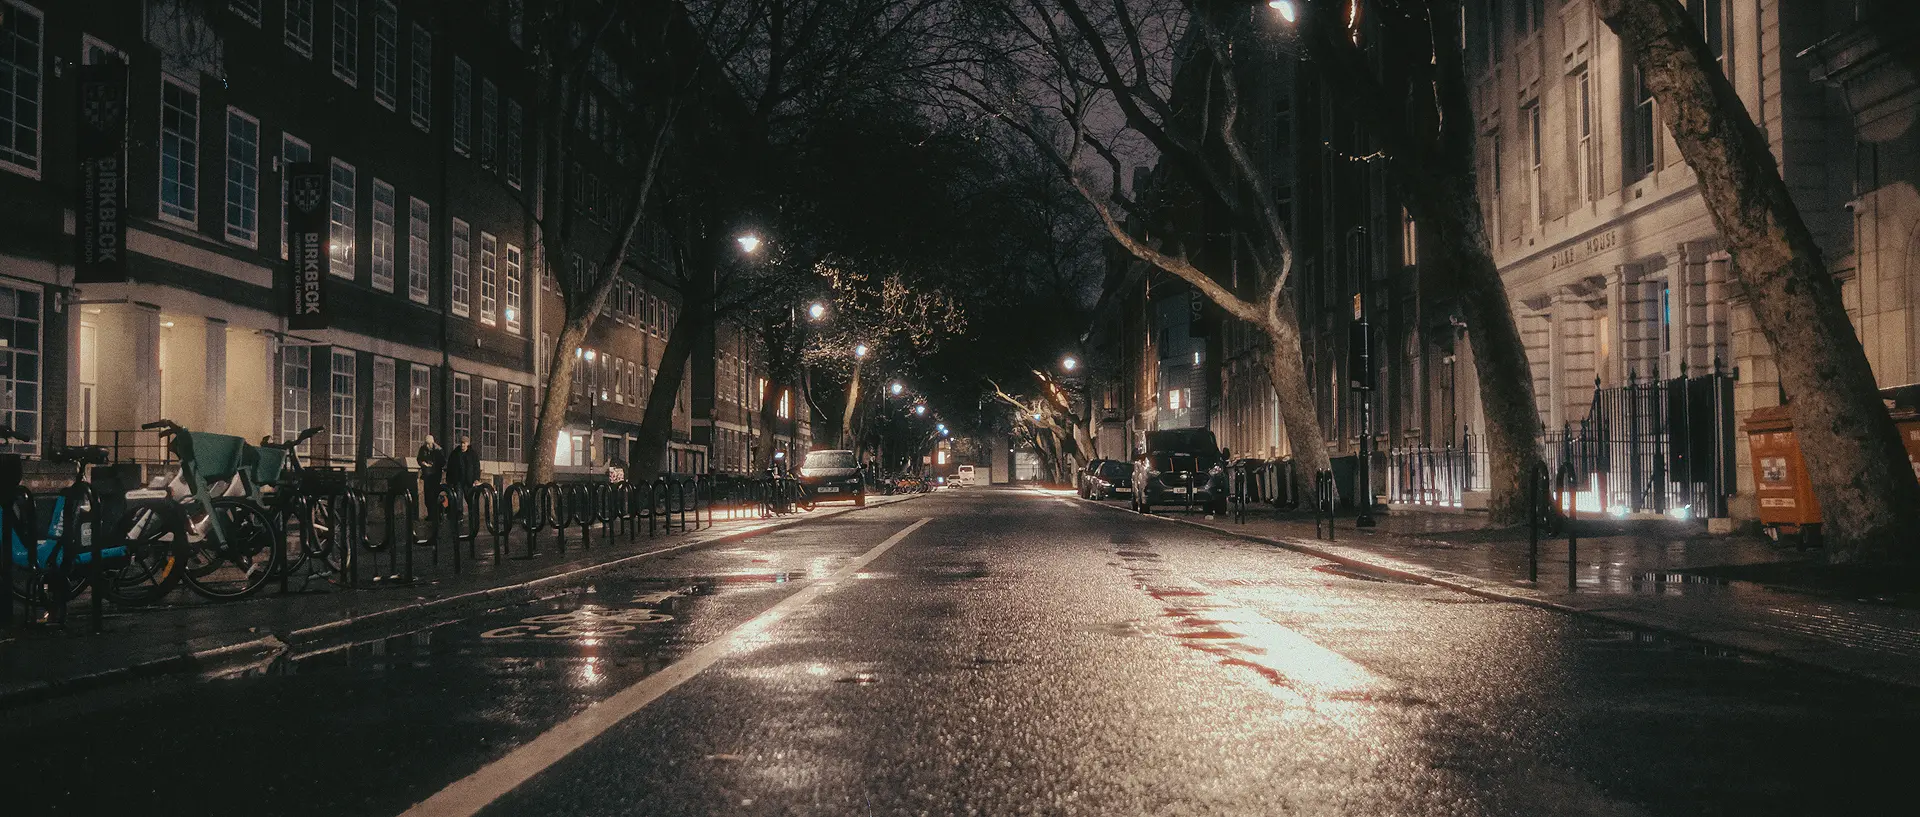
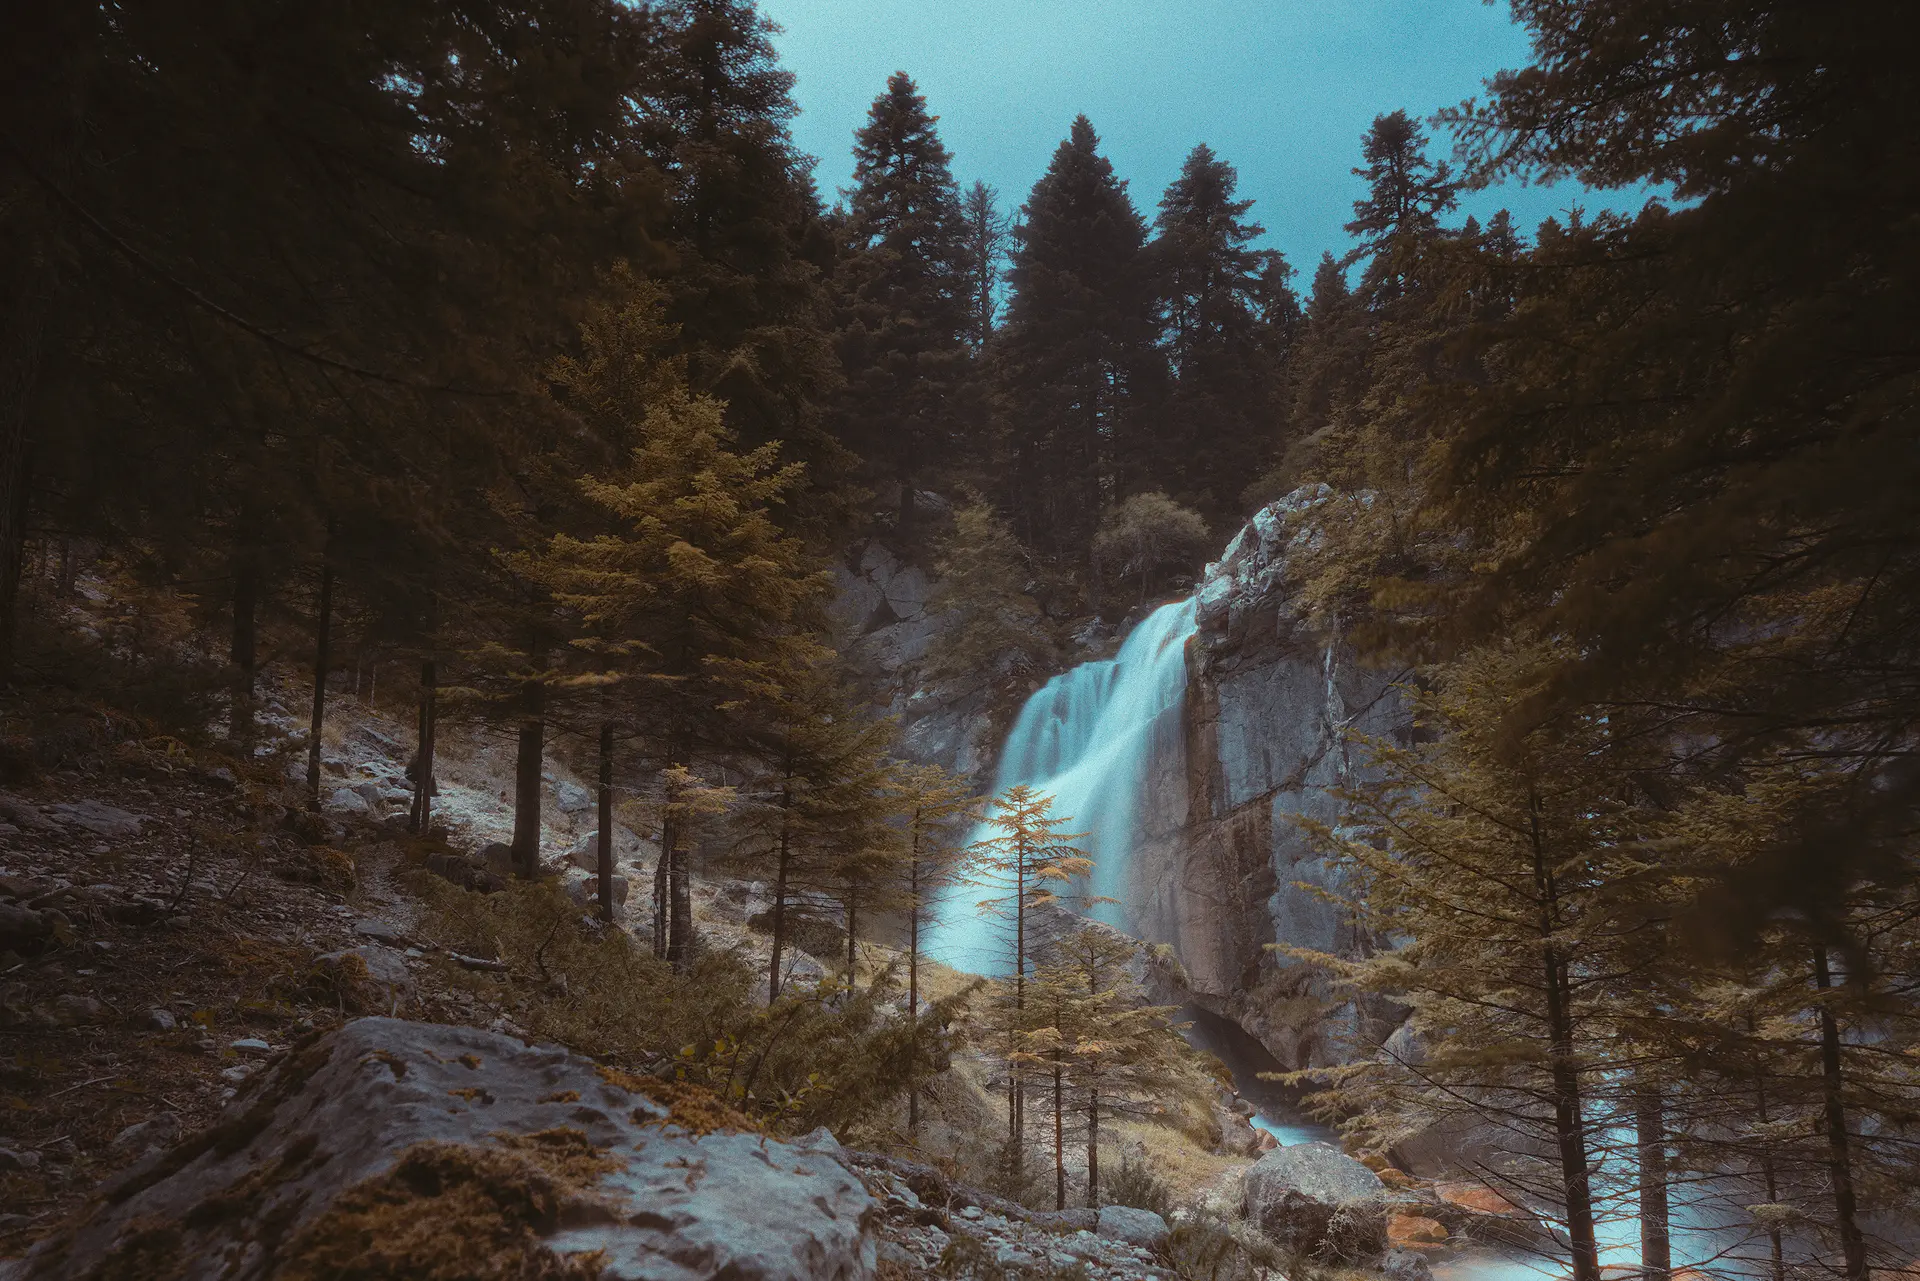
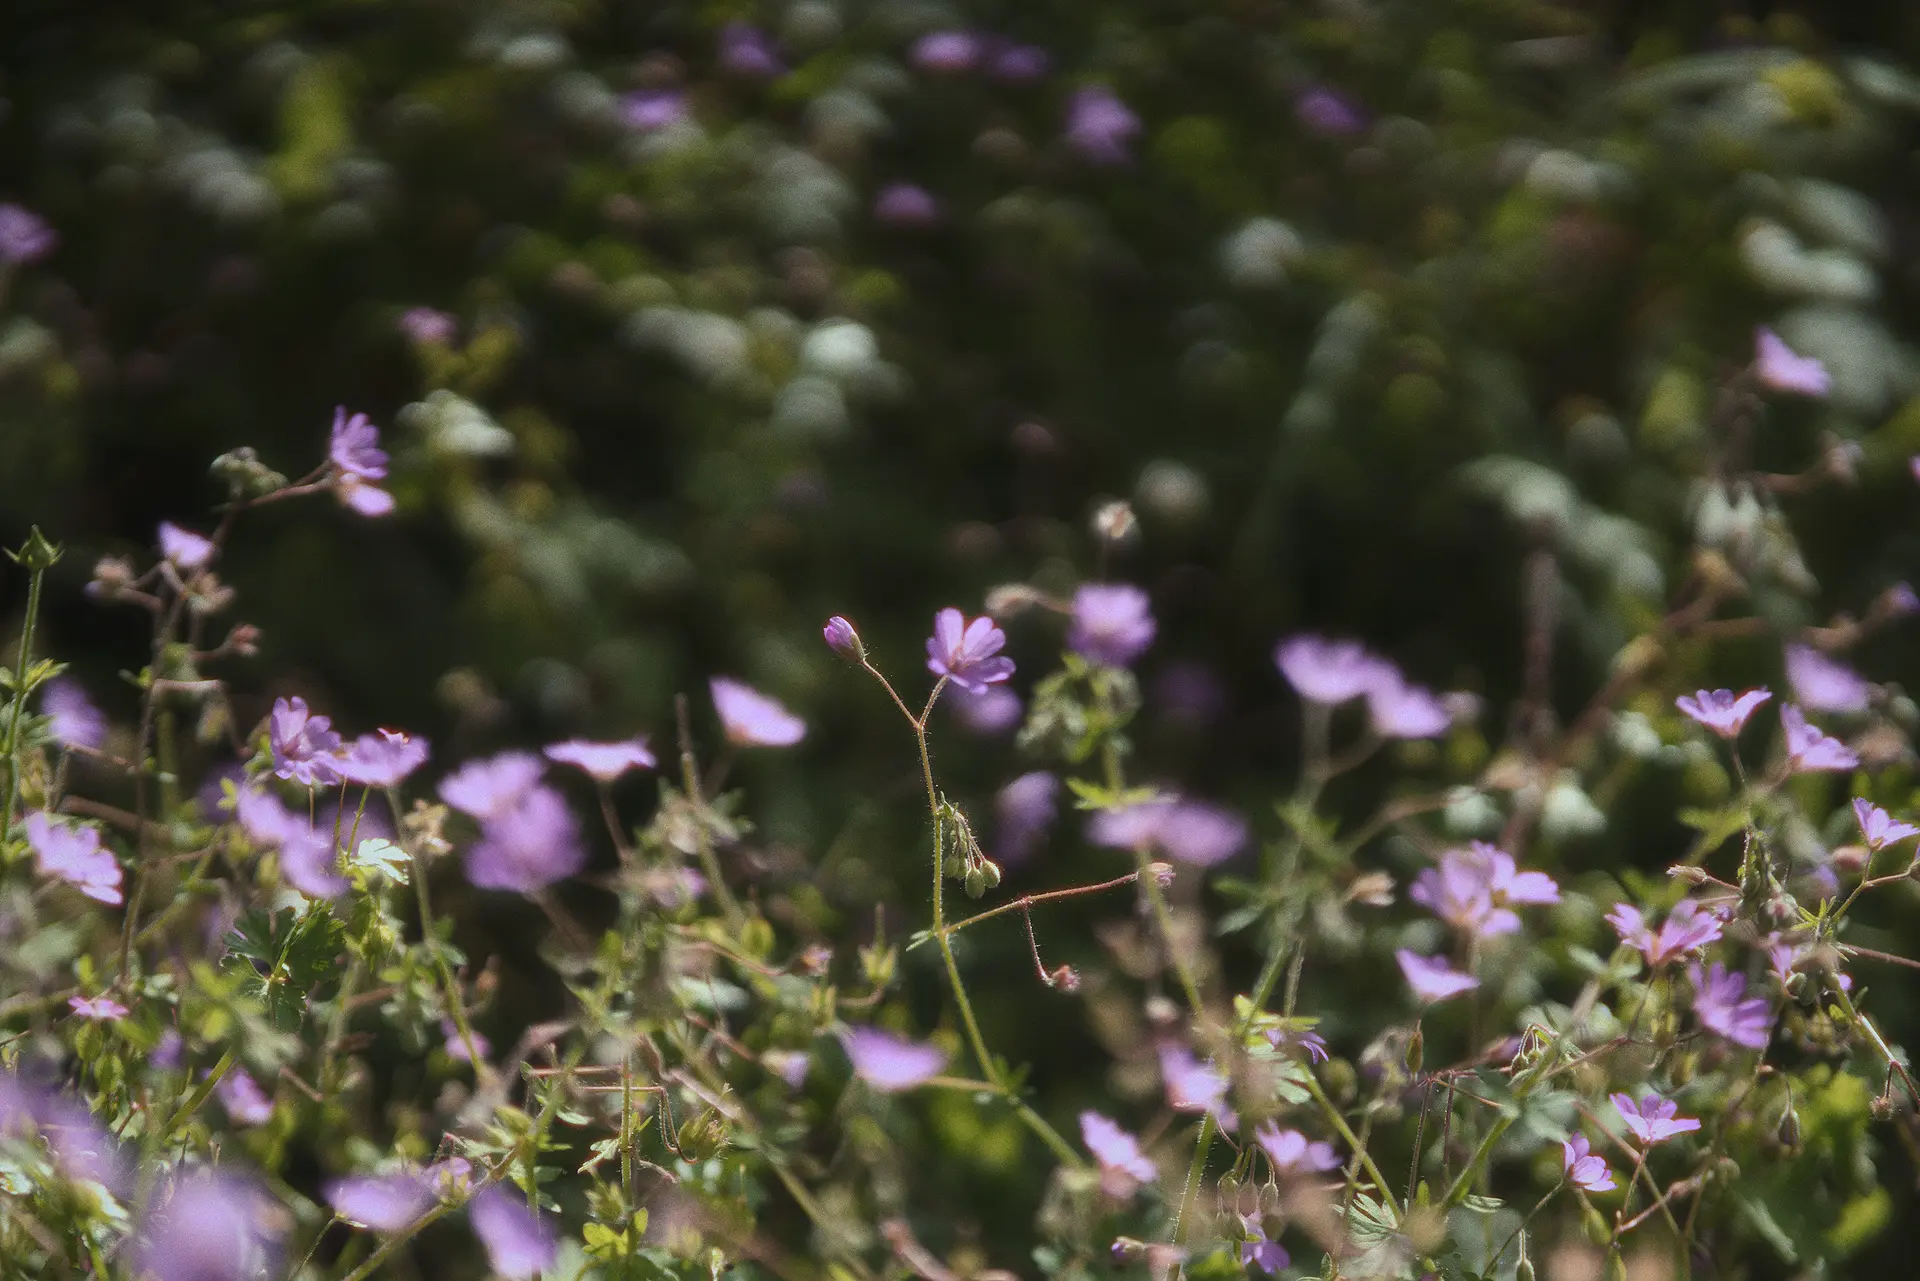
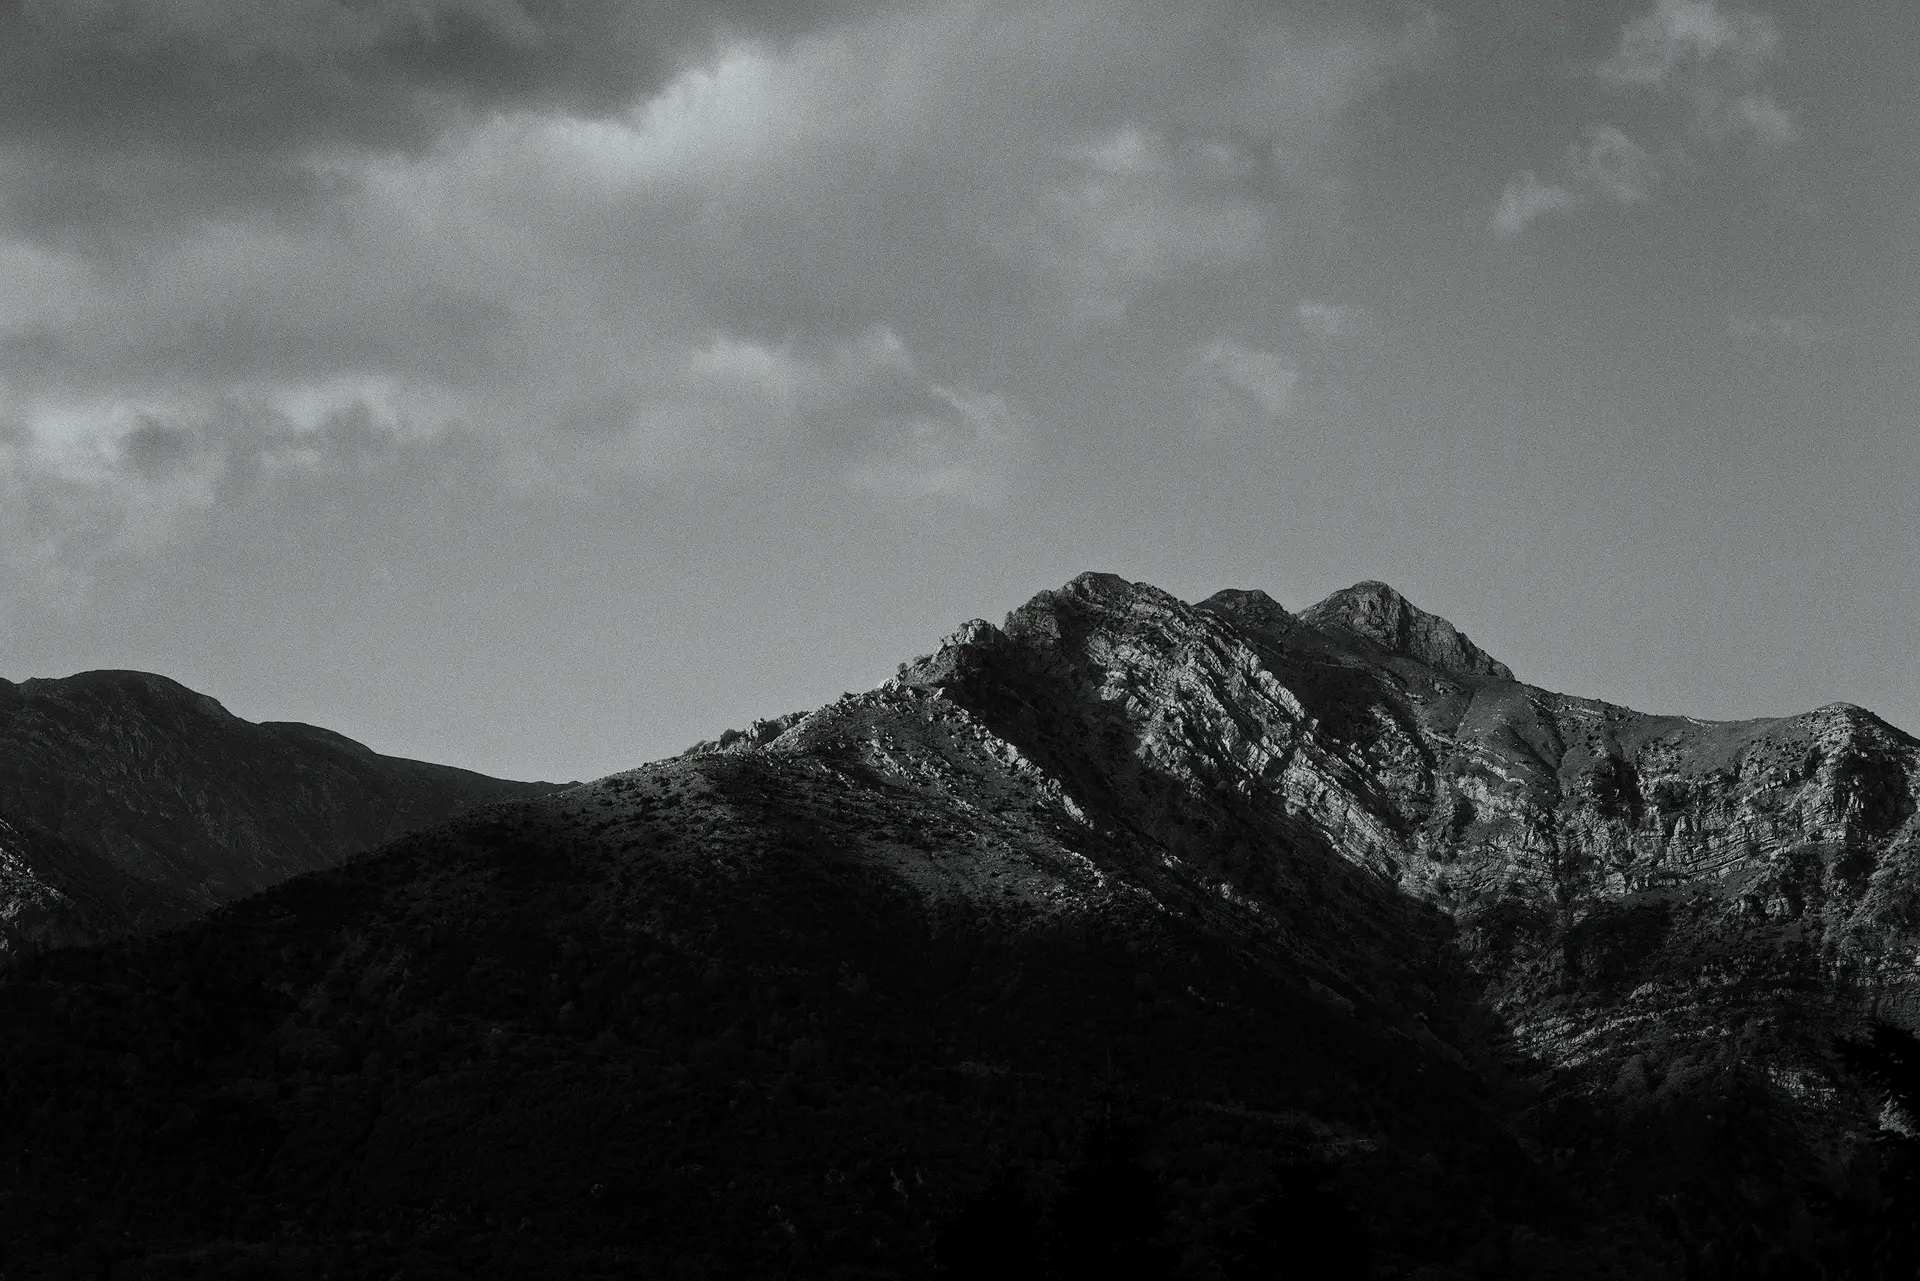
Image Samples, Edited with Dehancer Film


Disclaimer
Almost one year ago, the Dehancer team contacted me to make an honest review of their renowned Dehancer Pro plugin for Blackmagic Davinci Resolve.
I really felt honored, as my reviews are more technical and not with the usual “YouTube” style, and I decided to give it a try (below is the video).
Since then, the Dehancer Pro plugin has become an important part of my workflow, as it provides a unique look to all my videos.
Fast forward a year, and once again I’ve been in touch with the Dehancer team, this time about their Dehancer Film plugin for Lightroom Classic/Photoshop/Capture One/Affinity.
*This is not a paid review.*
For clarification the Dehancer team provided a limited time license to make this review and also, they didn’t have any editorial input in this article as the team truly wants to improve the plugin even more in the future.
However, they did provide an affiliate link with a discount code which can get you 10% off with the code: CHRISTOPHE
Use Code CHRISTOPHE
Everything that is mentioned in this review is simply my honest opinion about my experiences on using Dehancer Film.
You can download a free trial of Dehancer Film here. Don’t forget to use my promo code to get 10% off!
System Requirements
Hardware requirements:
- PC with Nvidia or AMD GPU
- OpenCL compatible GPU
- GPU drivers properly installed and up to date
Software compatibility:
- Windows 10 64 bit (genuine licensed installation is required)
- Adobe Photoshop CC 2019 (version 20) or later
- Adobe Lightroom Classic version 10.0 or later
Dehancer is a complex* software with sophisticated algorithms. Dehancer team is constantly improving the performance, however, high-quality film simulation still requires top hardware to run smooth in real-time.
*Dehancer also offers a benchmark tool to test your system, you can find it here.
For more information, visit the official post in Dehancer Blog.
The version of Dehancer Film that I’ve used for this review was v2.5.0 (beta2), in the following PC:
- AMD Ryzen 7 3700x CPU
- 64gb DDR4 Ram
- Nvidia RTX 3060 12gb
- Samsung NVM.e 980 Pro 250gb
Note: I will not describe the installation process. It is very easy and straightforward, so I assume that Dehancer Film is already installed on your system.
However, in the following section I will describe the process on how to set Dehancer Film as an external editor in Lightroom Classic and as a Filter in Photoshop.
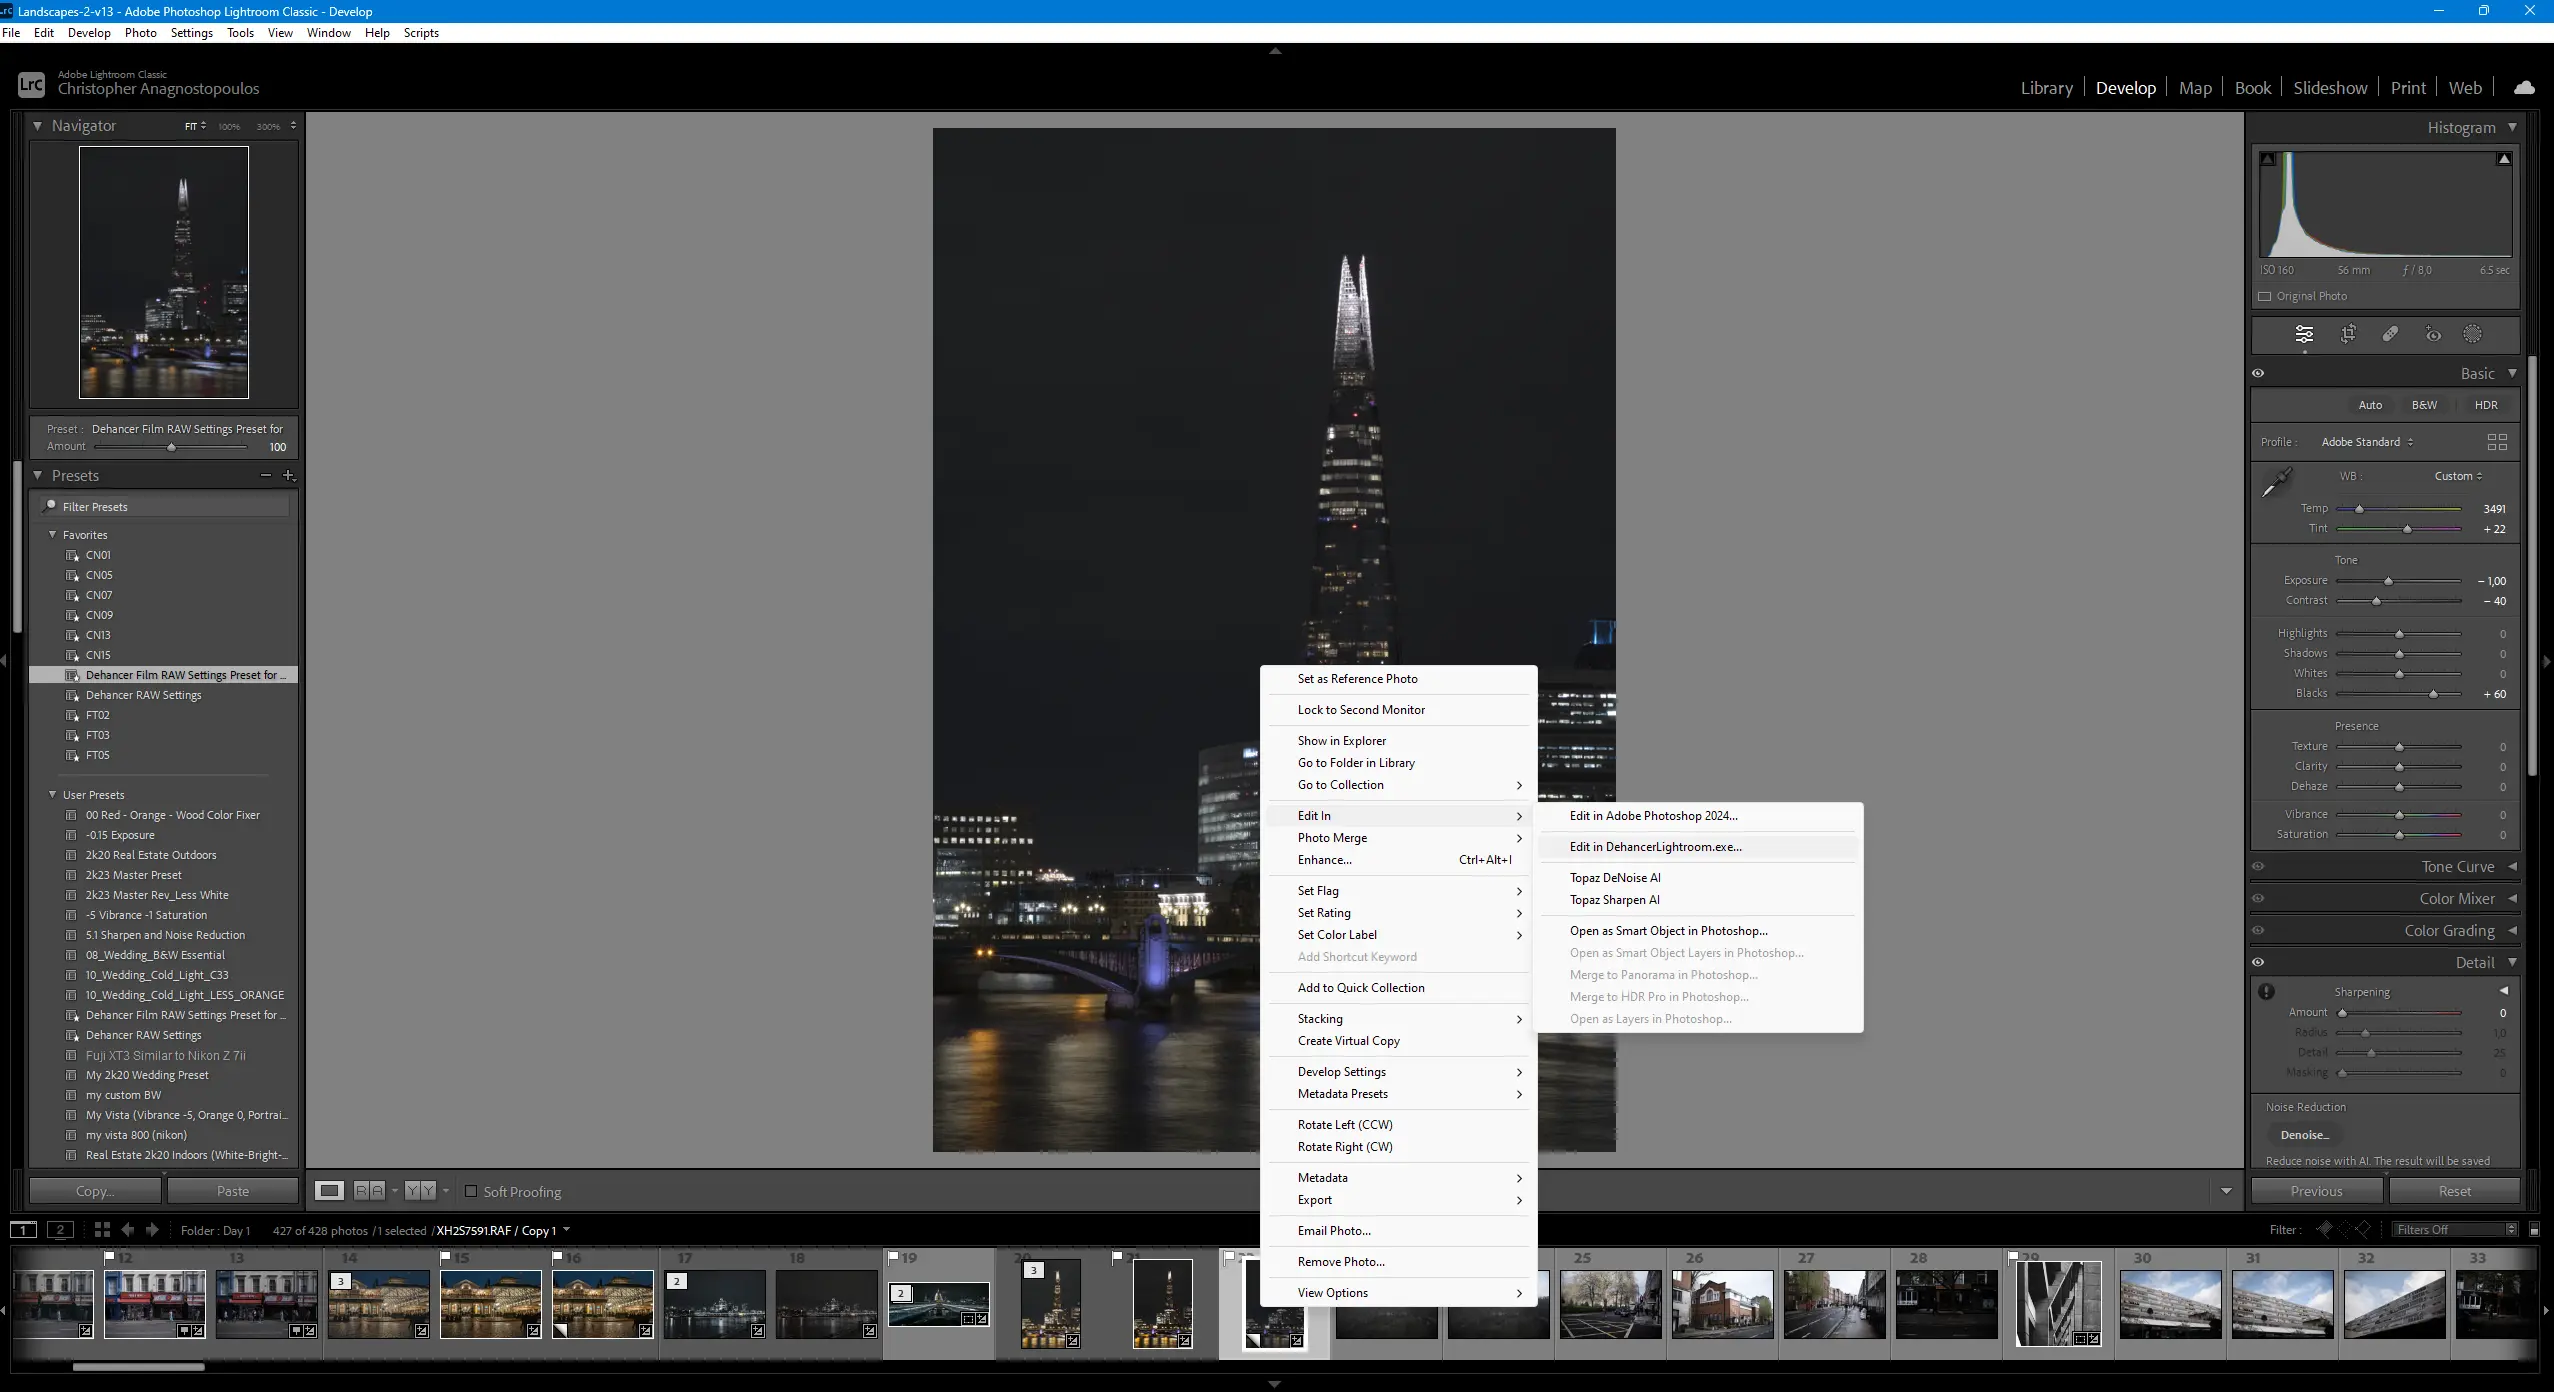
Dehancer Film for Lightroom Classic
The first step after the installation of the plugin, is to set Dehancer Film as an external editor in Lightroom Classic.
It is important to note that RAW images are first developed in Lightroom and then are exported as TIFF files in Dehancer Film to further edit them.
In order to set everything correctly, the user must go to Preferences -> External Editing and adds Dehancer Film as an external editor, like shown below:


All steps can be found in the official setup guide for Lightroom
Note: For Photoshop there is no similar process as after Dehancer is installed, it can be found in the Filters menu.
Recommended Color Settings
Before going deeper into the plugin features and parameters when editing a photo, some settings must first be applied in Lightroom and Photoshop.
Dehancer Film plugin for Adobe Photoshop and Lightroom Classic currently supports source images in sRGB IEC61966-2.1 color space.
In order to set your software properly, please check the following screenshots for Photoshop and Lightroom respectively, to match your settings:

Adobe Lightroom Classic Color Settings

Adobe Photoshop Color Settings
Please consult the official manual of Dehancer Film for any questions you might have.
Recommended RAW Settings
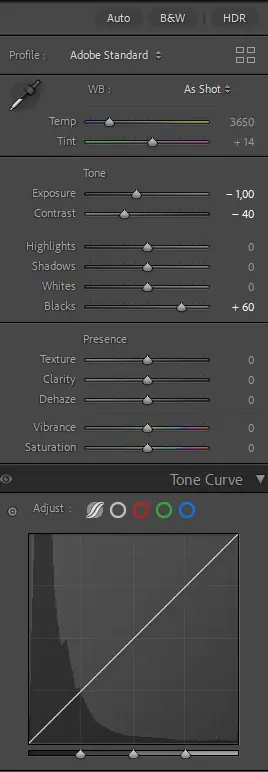
Now that the Color Space is set correctly, its time to move on to the recommended develop settings.
Based on the official manual, the Dehancer Team has observed that “color rendering in ACR / Lightroom leaves much to be desired, but an acceptable result can be obtained with the following settings:”
Profile: Adobe Standard
Exposure: –1
Contrast: –40
Blacks: +60
Curve: Linear
Sharpening: 0
Noise Reduction: 0
Color Space: sRGB IEC61966-2.1
Bit Depth: 16 bit
Basically, your LR Classic/Camera Raw module should look like this:
Or, if you don’t want to set manually everything each time, feel free to download my custom preset for LR Classic and with just one click, everything will be set properly for you based on the official recommendations.
Film Stocks
As mentioned in the beginning, Dehancer Film offers 63 (!) film stock profiles which are:
Motion Picture Films - Fuji Eterna Vivid 500 (Exp. 2013)
- Fuji Reala 500D (Exp.2013)
- Kodak Vision3 200T
- Kodak Vision3 250D
- Kodak Vision3 500T
- Kodak Vision3 50D
Color Negative Films - Adox Color Implosion 100
- Agfa Agfacolor 100
- Agfa Agfacolor Portrait XPS 160
- Agfa Agfacolor XRS 200 (Exp. 1991)
- Astrum Color Negative 125
- Cinestill 50D
- Cinestill 800T
- Fujicolor 100
- Fujicolor C200
- Fujicolor Natura 1600
- Fujicolor Print (Industrial) 100
- Fujicolor Print (Industrial) 400
- Fujicolor Pro 400H
- Fujicolor Superia 1600
- Fujicolor Superia 200
- Kodak Aerocolor IV 125
- Kodak Color Plus 200
- Kodak Ektar 100
- Kodak Ektar 25 (Exp. 1996)
- Kodak Gold 200
- Kodak Portra 160
- Kodak Portra 160NC
- Kodak Portra 160VC
- Kodak Portra 400
- Kodak Portra 800
- Kodak Pro Image 100
- Kodak Supra 100
- Kodak Ultramax 400
- Konica Centuria 100 DNP
- Konica Impresa 50 (Exp. 2006)
- Konica Minolta VX400 Super
- Rollei CN200
Color Positive Films - AGFA Chrome RSX II 200 (Exp. 2006)
- Fujichrome Provia 100F
- Fujichrome Velvia 100
- Fujichrome Velvia 50
- Kodak Ektachrome E100 (2017)
- Kodak Kodachrome 64 (Experimental)
- ORWO Chrom UT21 Daylight (Exp. 1992)
- Polaroid Polachrome 35 mm (Exp. 1986)
Black & White Films - Agfa Scala 200x
- Fujifilm Neopan Acros 100
- Ilford HP5 Plus 400
- Ilford XP2 Super 400
- Kodak Eastman Double-X 5222
- Kodak Plus-X Pan 125 (Exp. 1979)
- Rollei Ortho 25
- Svema Type-42 (Exp. 1991)
Instant Films - Fujifilm FP-100c
- Fujifilm Instax
- Fujifilm Instax (Digital Intermediate)
- Polaroid Type 100 Sepia (Exp. 2009)
Exotic Films - Ambrotype (by Anatolee Green)
- Lomochrome Metropolis XR 100-400
- Lomochrome Purple XR 100-400
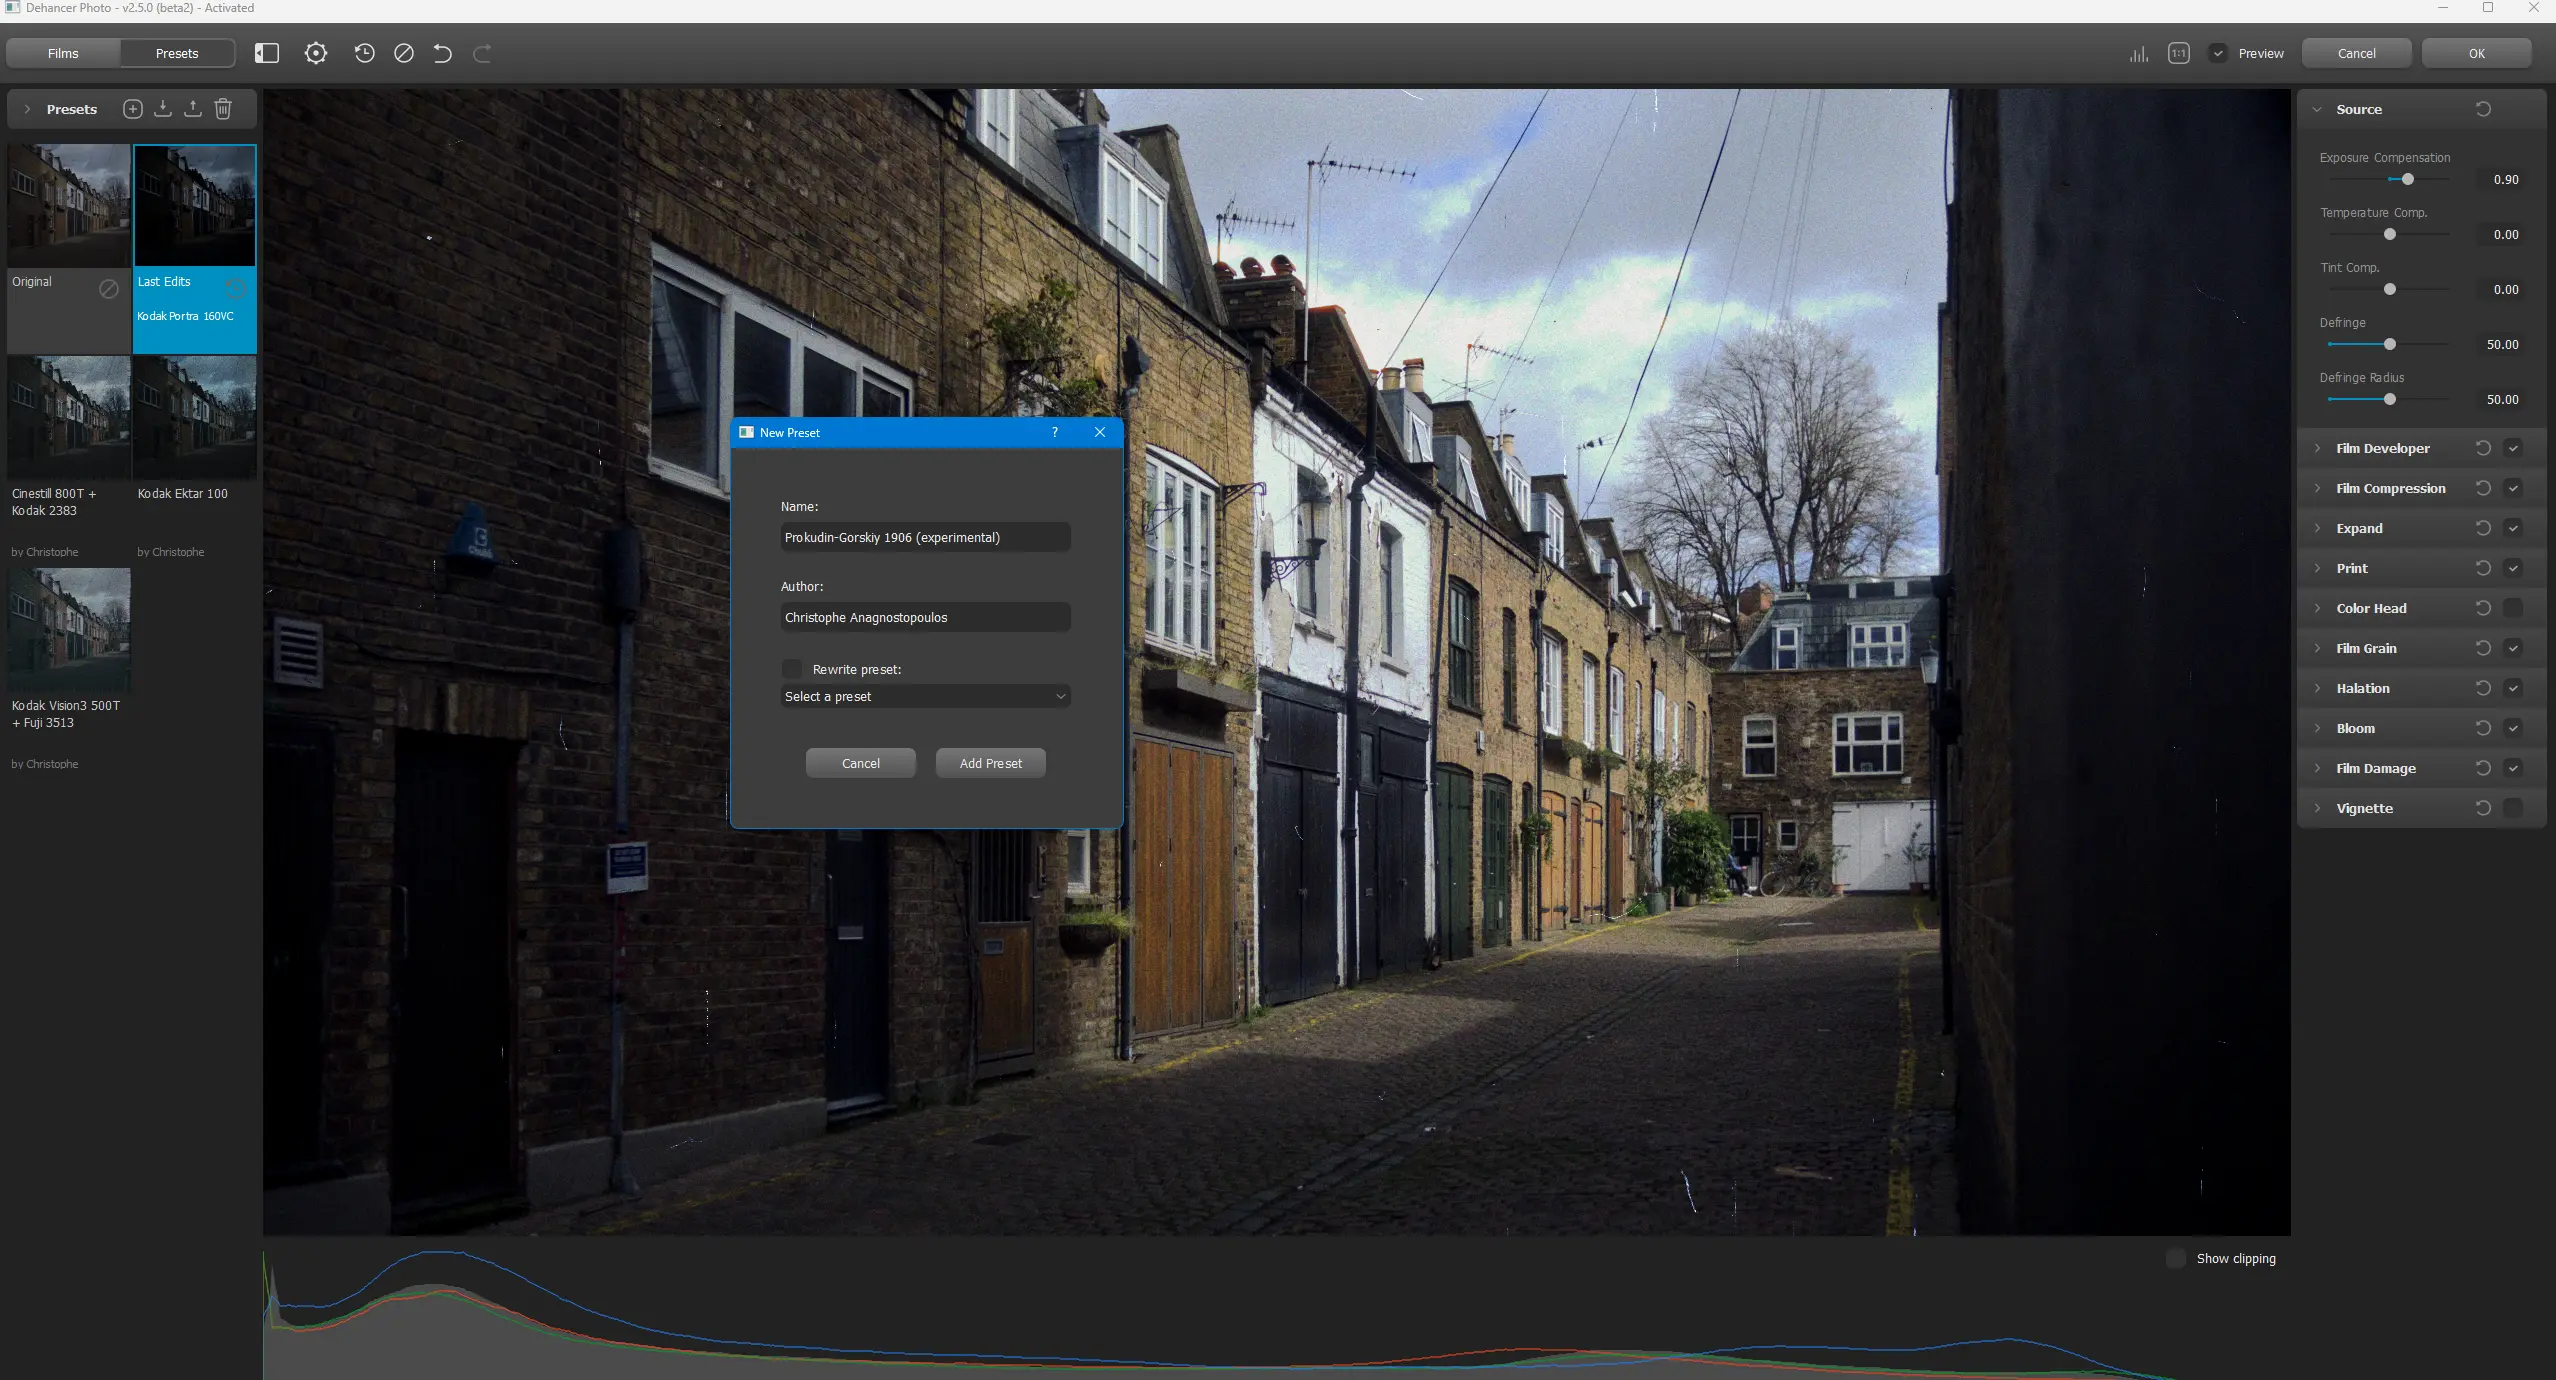
- Prokudin-Gorskiy 1906 (experimental)
Cross-Processed Films - Fujichrome CDU-II (cross)
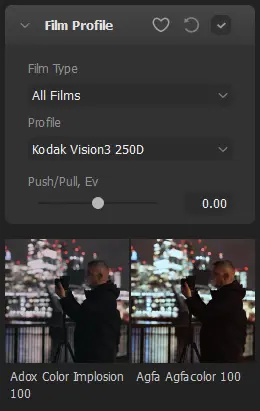
Film stock profiles are playing an important role in the end result as based on their “emulsion” the colors of the final image will change accordingly.
To better understand how each profile treats colors, open a blank white document in Photoshop and open Dehancer Film, then by selecting each film profile you will get an idea about colors.

This is a sample image that I made based on the above mentioned example:

Despite the plethora of available film stocks, I miss some of my personal favorites (and popular based on my knowledge): Ilford Pan 400 (& 100), Ilford Pan F 50, Ilford FP4 125, Kodak T-Max 3200, Kodak TX 400, Rollei Infrared.
Maybe the available film list will increase in a future update.
A Dive in Dehancer Film Features & Menus
Till now you have read a lot the words Halation and Bloom, and you’re probably asking what they mean.
You are completely right and its time to analyze each option* of Dehancer Film.
*Every option and menu is analyzed in detail in the official manual.
Film Stock
Well, the main characteristic of Dehancer Film, its heart and soul.
With an impressive list of 63 film stocks, you can give a unique look to your images.
The menu also includes a Push/Pull (EV) function. With a range from -2 to +2 stops, using this option the user is allowed to vary the color-contrast look of the scene withing the selected film profile, as also to be of aid in controlling possible clipping.

Source
The source corrections are the first menu to start your editing process. It is meant to help fixing exposure issues by applying a compensation, although I recommend to always have your exposure right before opening the image on Dehancer Film.
Except exposure compensation, there is also the option for Temperature and Tint Comp., which provides further control of color, after the film profile is selected.
Lastly, there are also the option of Defringe (including the Radius of Defringing), to help fixing any issues with Chromatic Aberration, as this might interfere with Halation (more on that later).
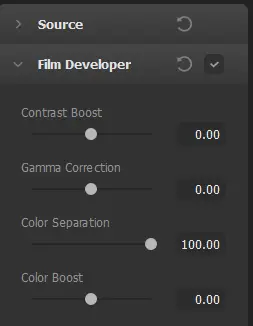
Developer
In this menu we have the options to control the Contrast and Gamma Correction (midtones), which means that we can further control and fix the overall image after the selection of the film profile.
We also have the options of Color Separation and Color Boost, which basically act like the Saturation and Vibrance sliders of Lightroom. These options are very helpful to balance any potential color issues.

Film Compression
In Film Compression the user can manipulate the highlights and the white point of the image. Think of it like the levels tool on Photoshop.
The user can define the clipping threshold with the White Point option, while with the Tonal Range can compress the range.

Expand
The Expand tool gives additional control to the Black and White points within the image, which of course will affect the overall contrast and brightness levels. Think of it as the Levels tool in Photoshop, although its not so refined.
Personally I found myself using this tool a lot when I wanted to control better the overall micro-contrast of the image.
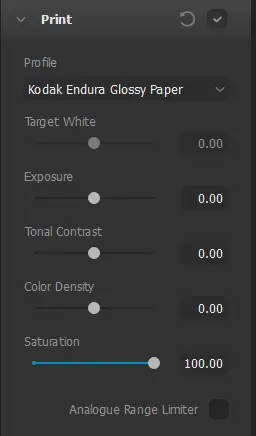
The second most important option (after film profile) which affects the overall color of the image.
When selecting a printing option, which of course doesn’t have anything to do with actual printing, through the available options the user give a unique look to the images.
Linear is a “clean” profile, that doesn’t add any further coloring to the images, while Kodak Endura Glossy Paper provides a very characteristic yet subtle look.
Of course, the options of Kodak 2383 and Fujifilm 3513 give that “cinematic” look and to be honest, these are the options that I use most of the times.
Except the default values in each printing option, the user can further manipulate “the printing” with exposure, tonal contrast, color density and so on.

Color Head
This tool acts like the Color Grading tool of Lightroom. It gives the ability to add a specific color tone to shadows, midtones and/or highlights, giving a unique look to the images.
However, its more sophisticated than it sounds, and has a lot of room for delicate adjustments.

Film Grain
Film grain is the random physical texture made from small metallic silver particles found on processed photographic celluloid. Grain can vary in size due to its random nature.
Now things start to get more interesting as the Grain of Dehancer Film acts like actual film grain, meaning that it is not just an overlay, but rather an “active” grain that its density is changes in shadows, highlights and midtones, just like it happens with a real film.
That’s why on my tests it looks more organic, natural and random, compared to other software options that give a more un-natural grain look.

Halation
Halation is the reflection of bright points of light off of the film’s base and/or pressure plate, causing a “glow” in the overexposed highlights on some images. This is most evident when light sources are in focus in the photograph.
This is a very unique effect that needs delicate control to look more organic and natural on the shots, instead of just enabling it or disabling it.
Except the default presets (8mm, 16mm 35mm, etc), the Custom options provides a lot of room to carefully add Halation in your image.
Especially the Source Limited along with the Mask Mode, can provide total control on where Halation will be visible on the image.
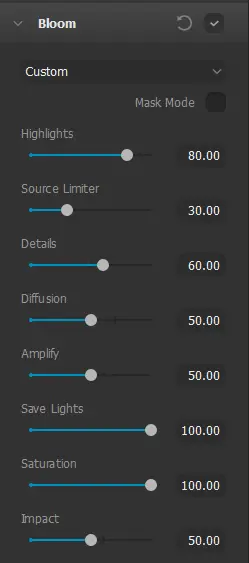
Bloom
Bloom is the effect of diffused light around light sources. Basically it acts like the popular Mist filters that are available in the market.
Again, the available options can give total control on how bloom will appear on the image. Consider making Mask Mode your best friend in this ????
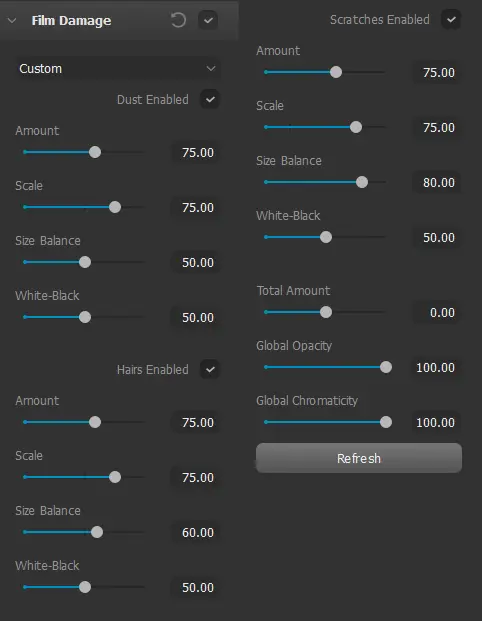
Film Damage
As they name suggests, this tool creates “natural” like damage in the shot, adding to the whole aesthetic, analog look.
Needless to say how much this can be controlled, just check the available options in this menu!

Vignette
And lastly, we have a vignette option that does exactly what we know, it adds a delicate and more natural looking light fall-off in the image.
In overall, this is the plugin screen: on the left are the film stocks, in the middle the preview window (which on the bottom has a histogram), and on the right all the available options to edit.

Workflow
Now that everything is set properly and we have covered all available options, its time to start editing some photos and try to (re-)create an analog look of some of the most popular film stocks, including my favorite Kodak Vision 500T (and its modern stills counterpart, the Cinestill 800T).
But first a note about how Dehancer Film treats files, so to better understand my workflow.
Dehancer Film cannot edit RAW files, instead it edits a 16-bit TIFF image (which is created automatically by the software), as the images first must be rasterized in order to apply the effects of the plugin.
Then the TIFF file is “exported” to Dehancer Film for editing. When editing is finished, the TIFF file is saved and “returns” back to Lightroom with the changes made.
So basically, because I prefer to incorporate a non-destructive workflow of the original files, I use the following workflow which of course is just a personal preference:
- I first change the White Balance on the RAW file,
- I then apply Lens Profile Corrections and (if required) Transform Corrections,
- And lastly I apply my Dehancer Film Preset (which includes the recommended RAW development settings – feel free to download here)
- Please note that if Exposure adjustments are required after using the Dehancer Film Preset (which sets the exposure value to -1), this is the step to make them. Basically the goal here is to set everything properly before edit the image in Dehancer Film.
Then, since everything is set as it should, I create a Virtual Copy of that image to work with in Dehancer Film.
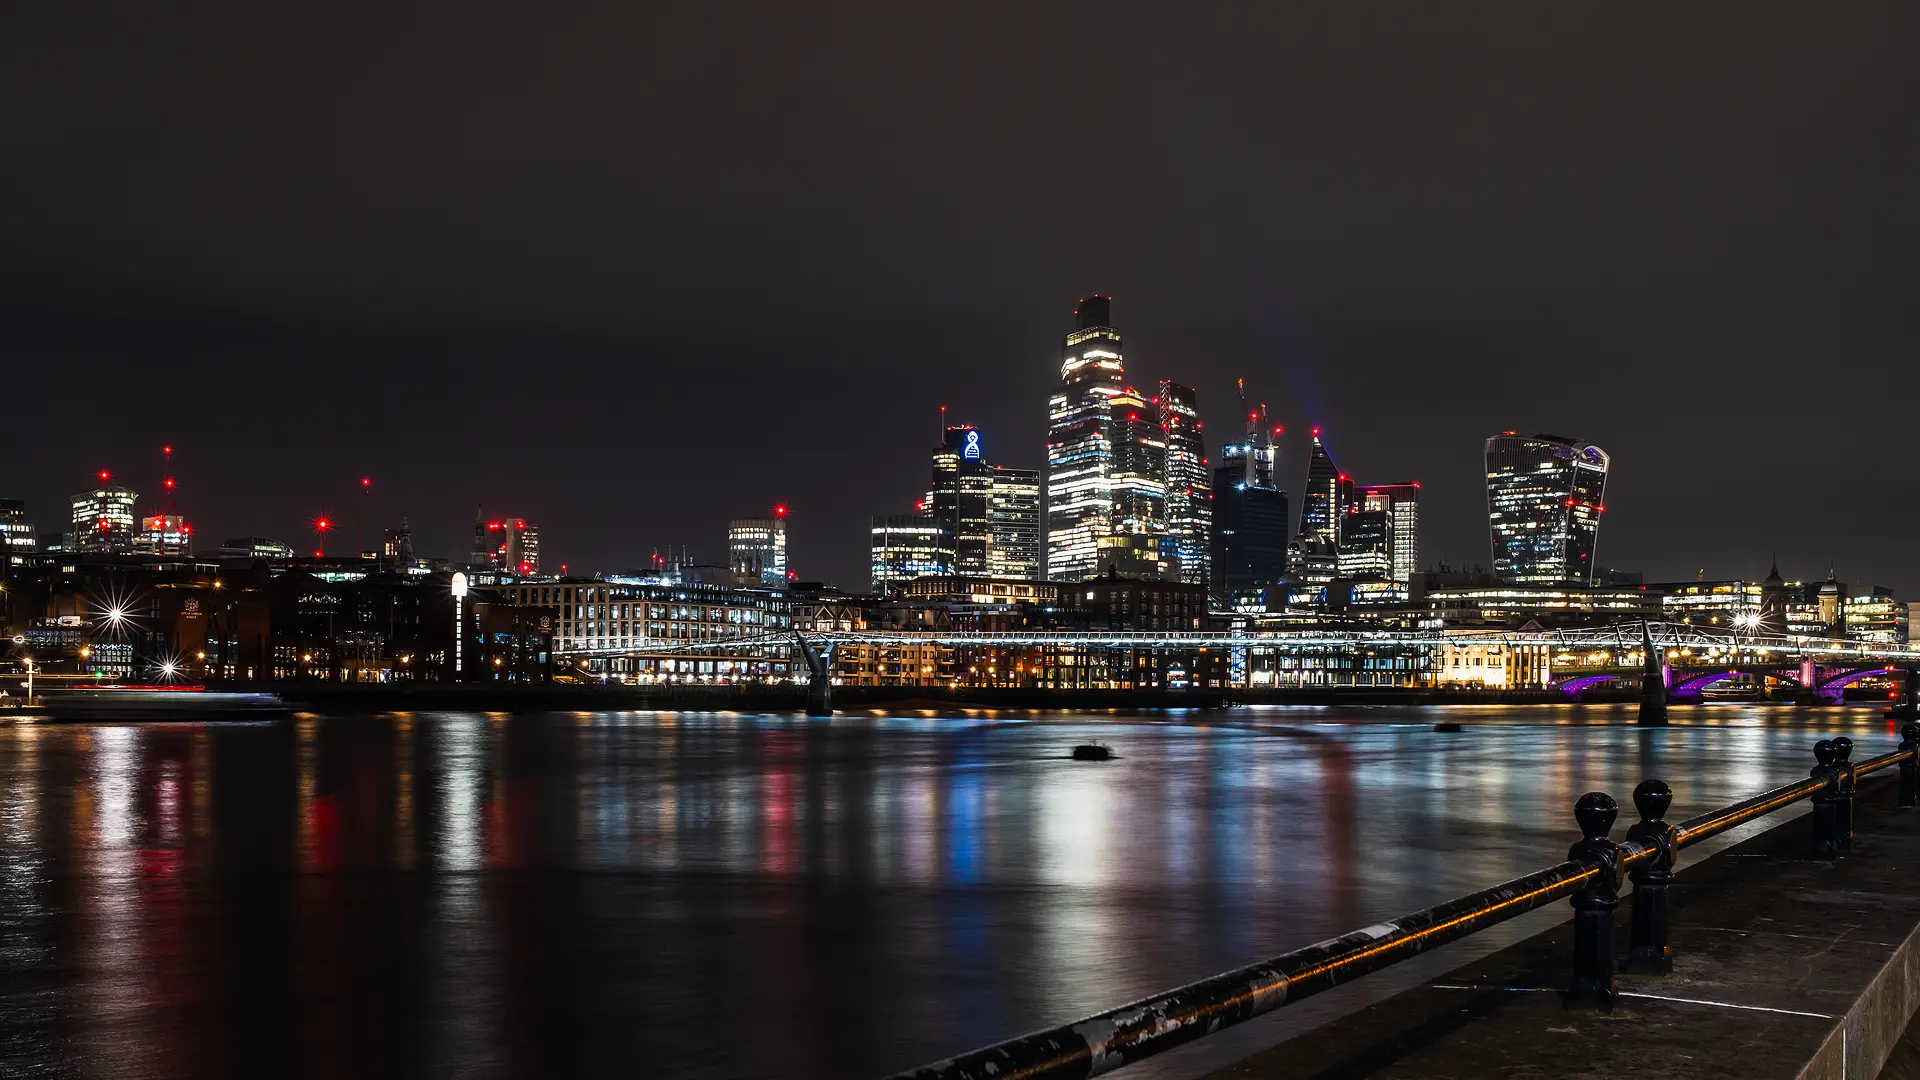
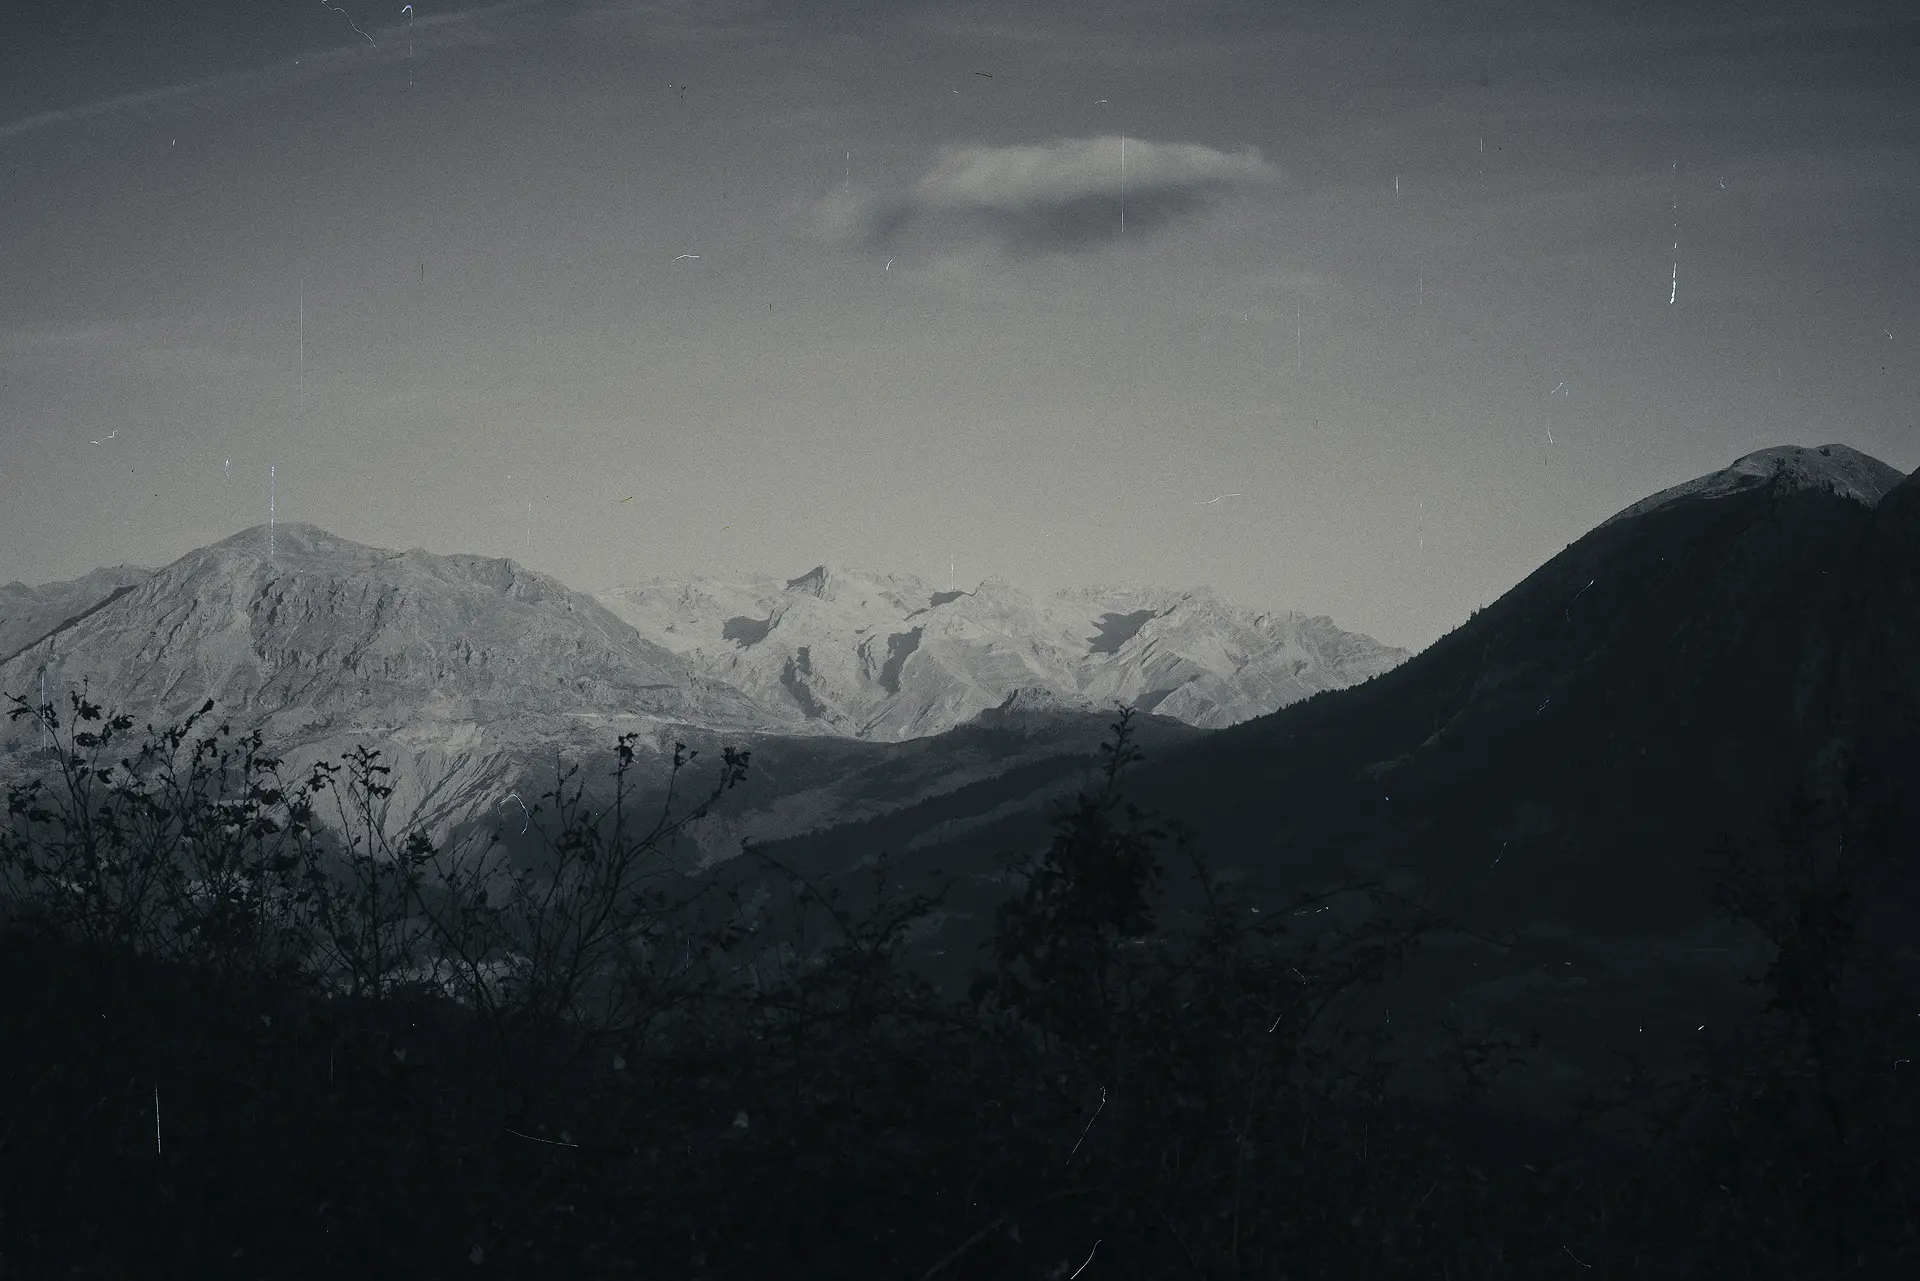
1st Test
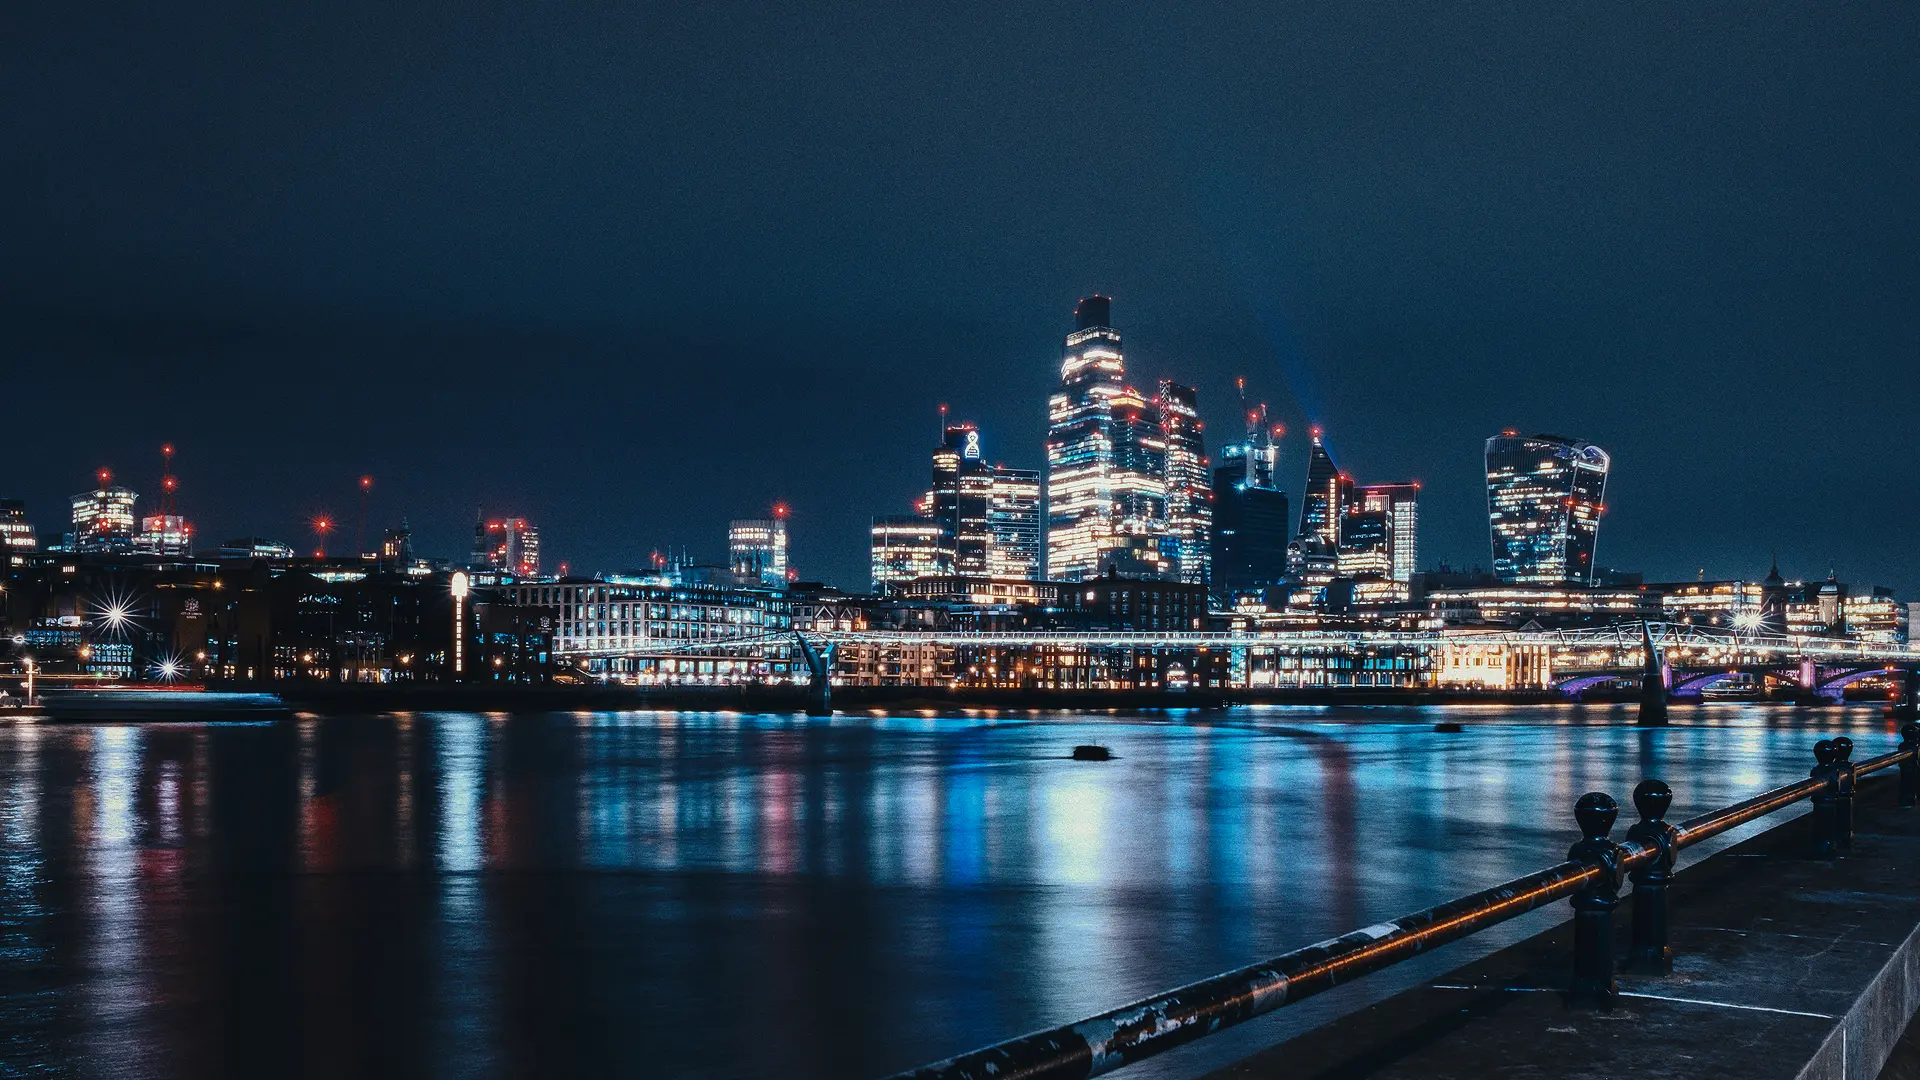
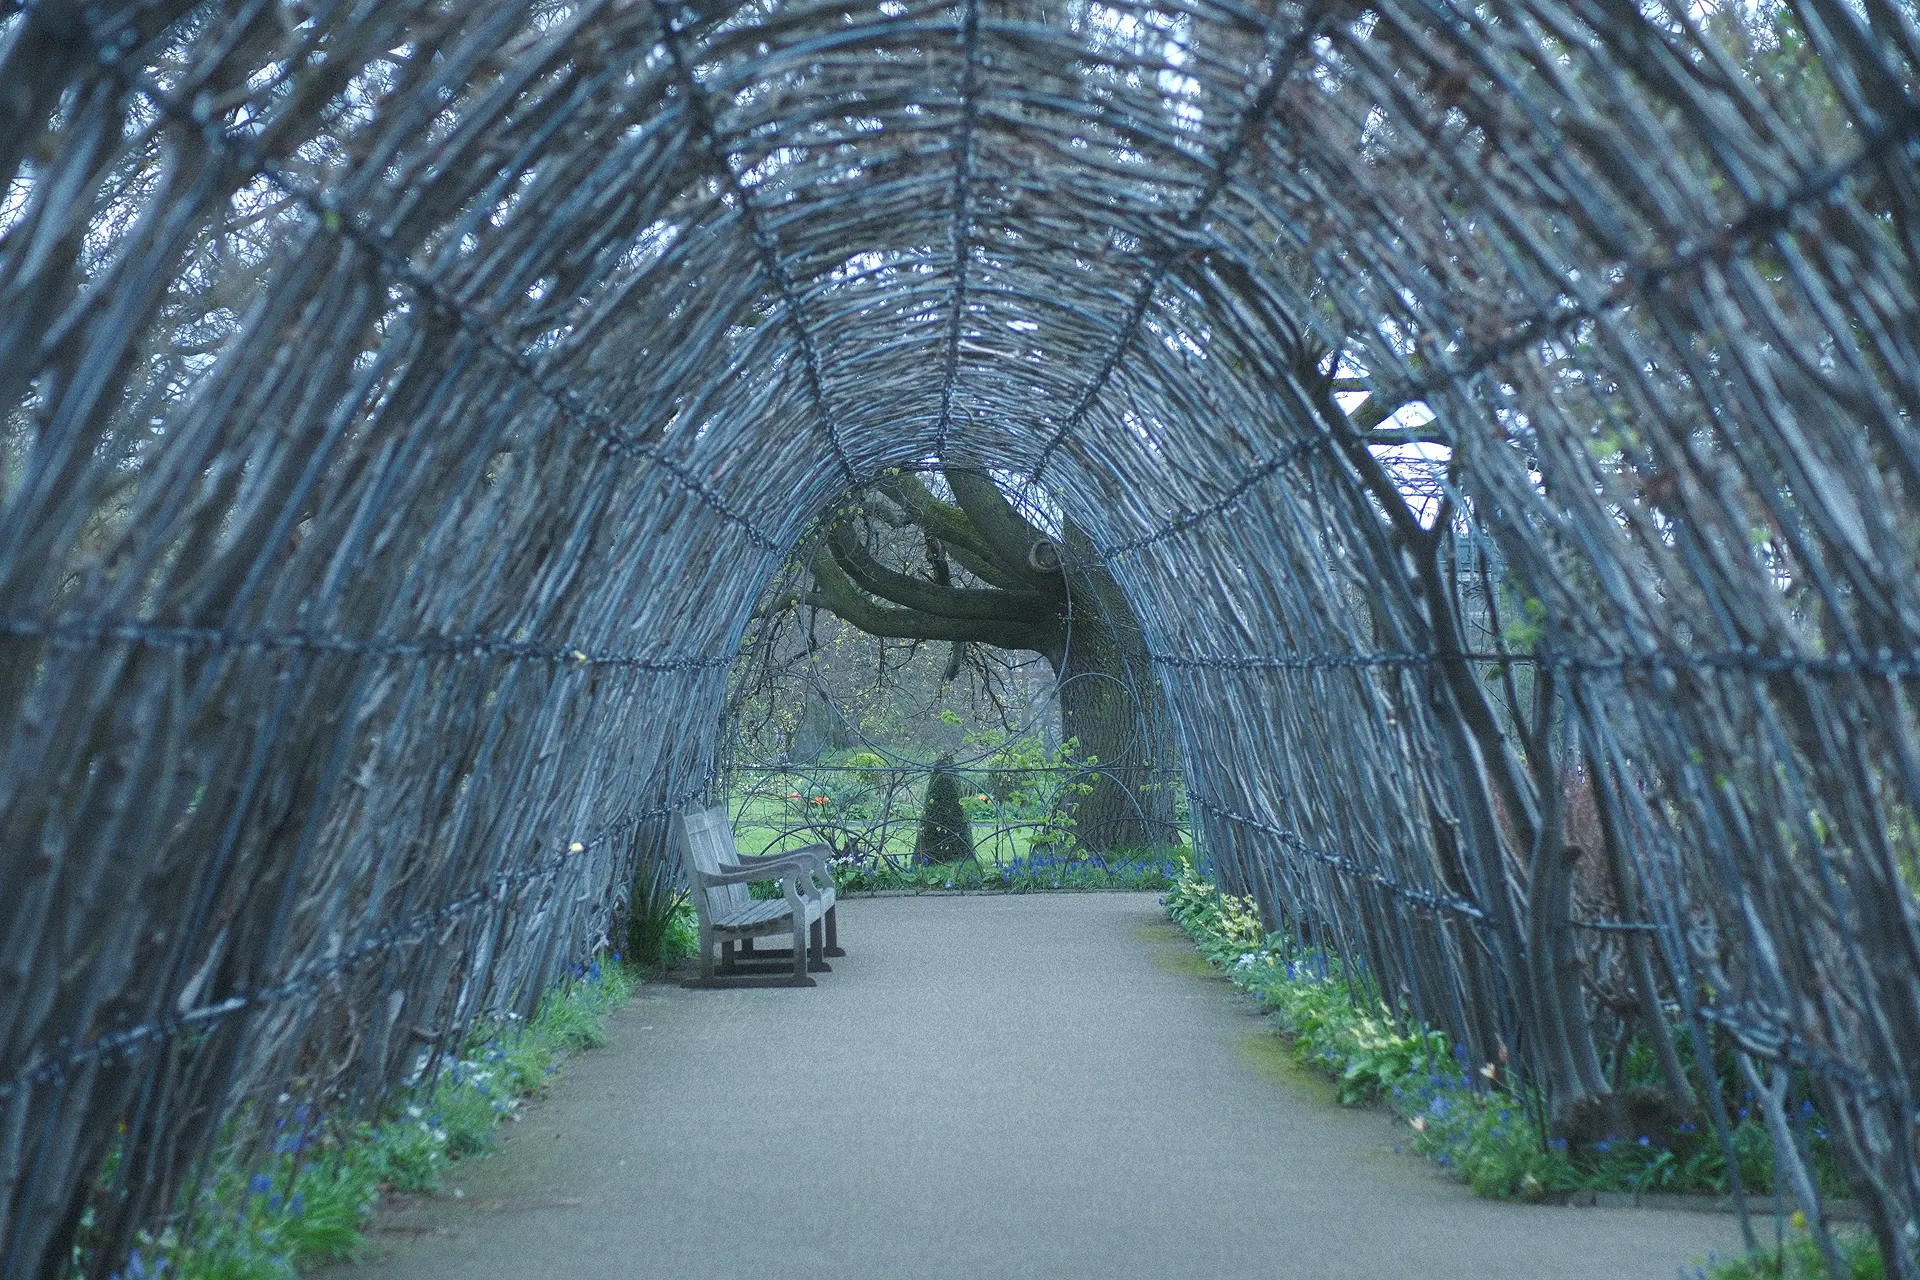
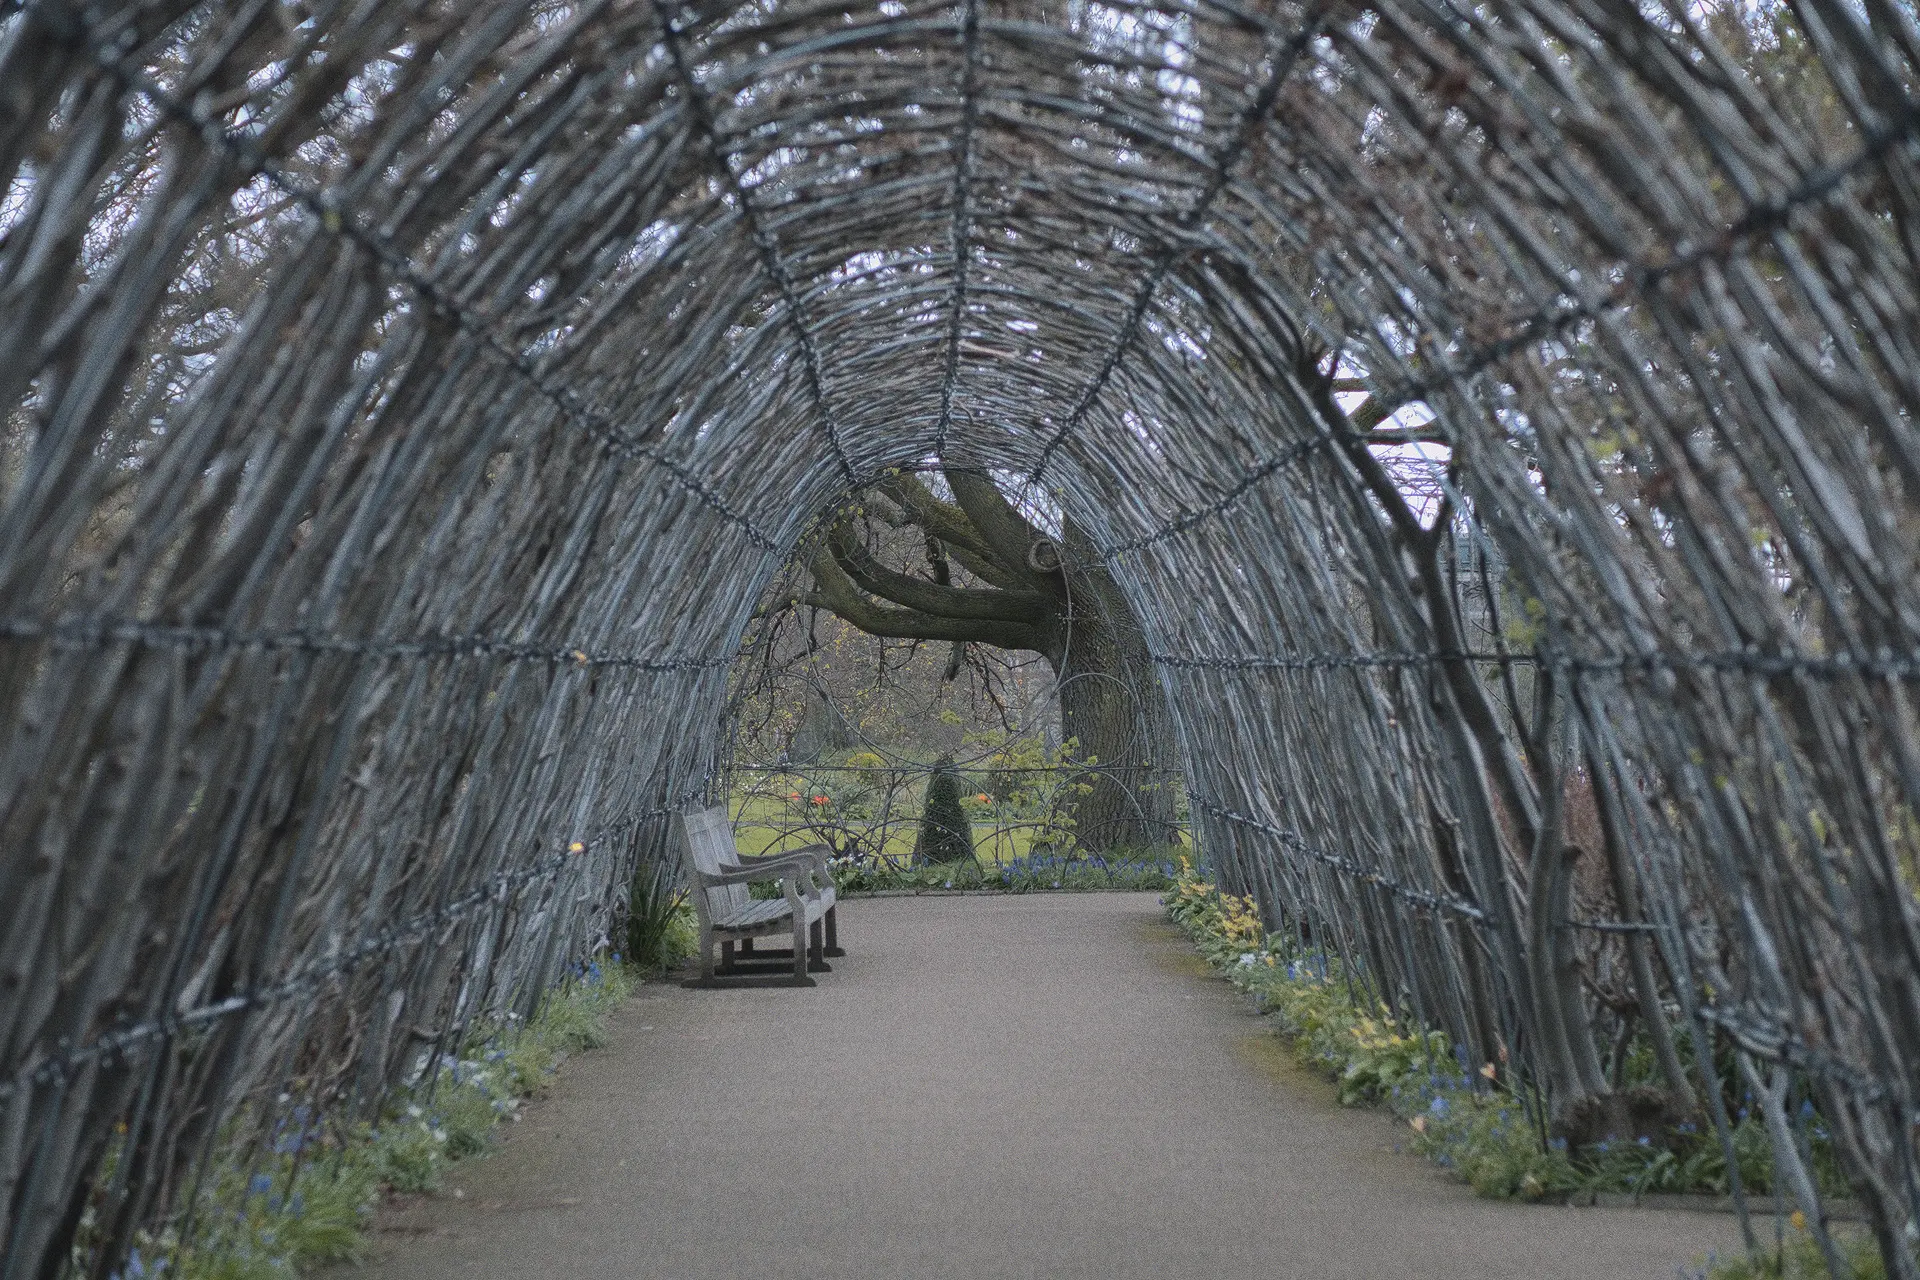
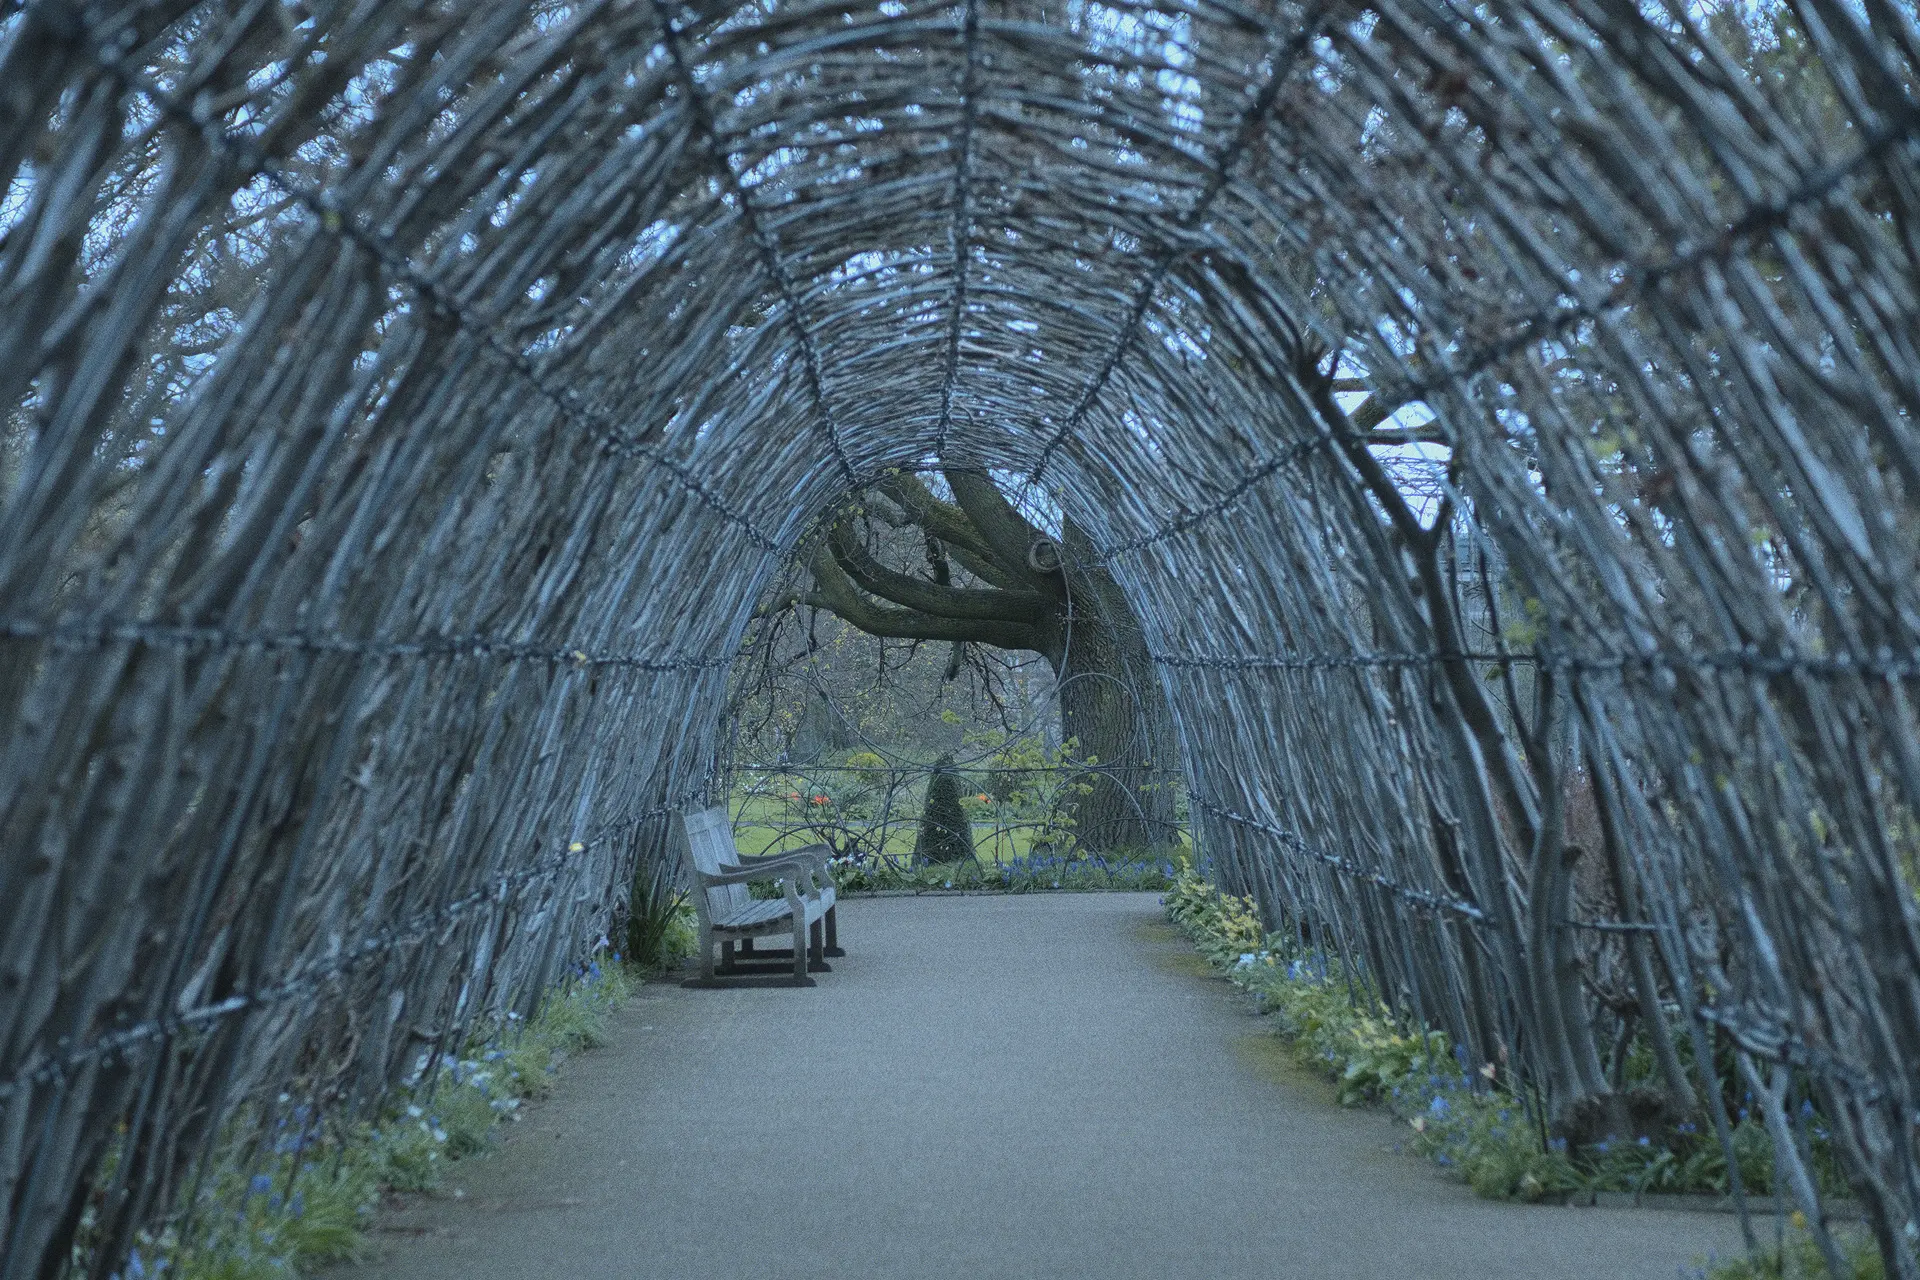
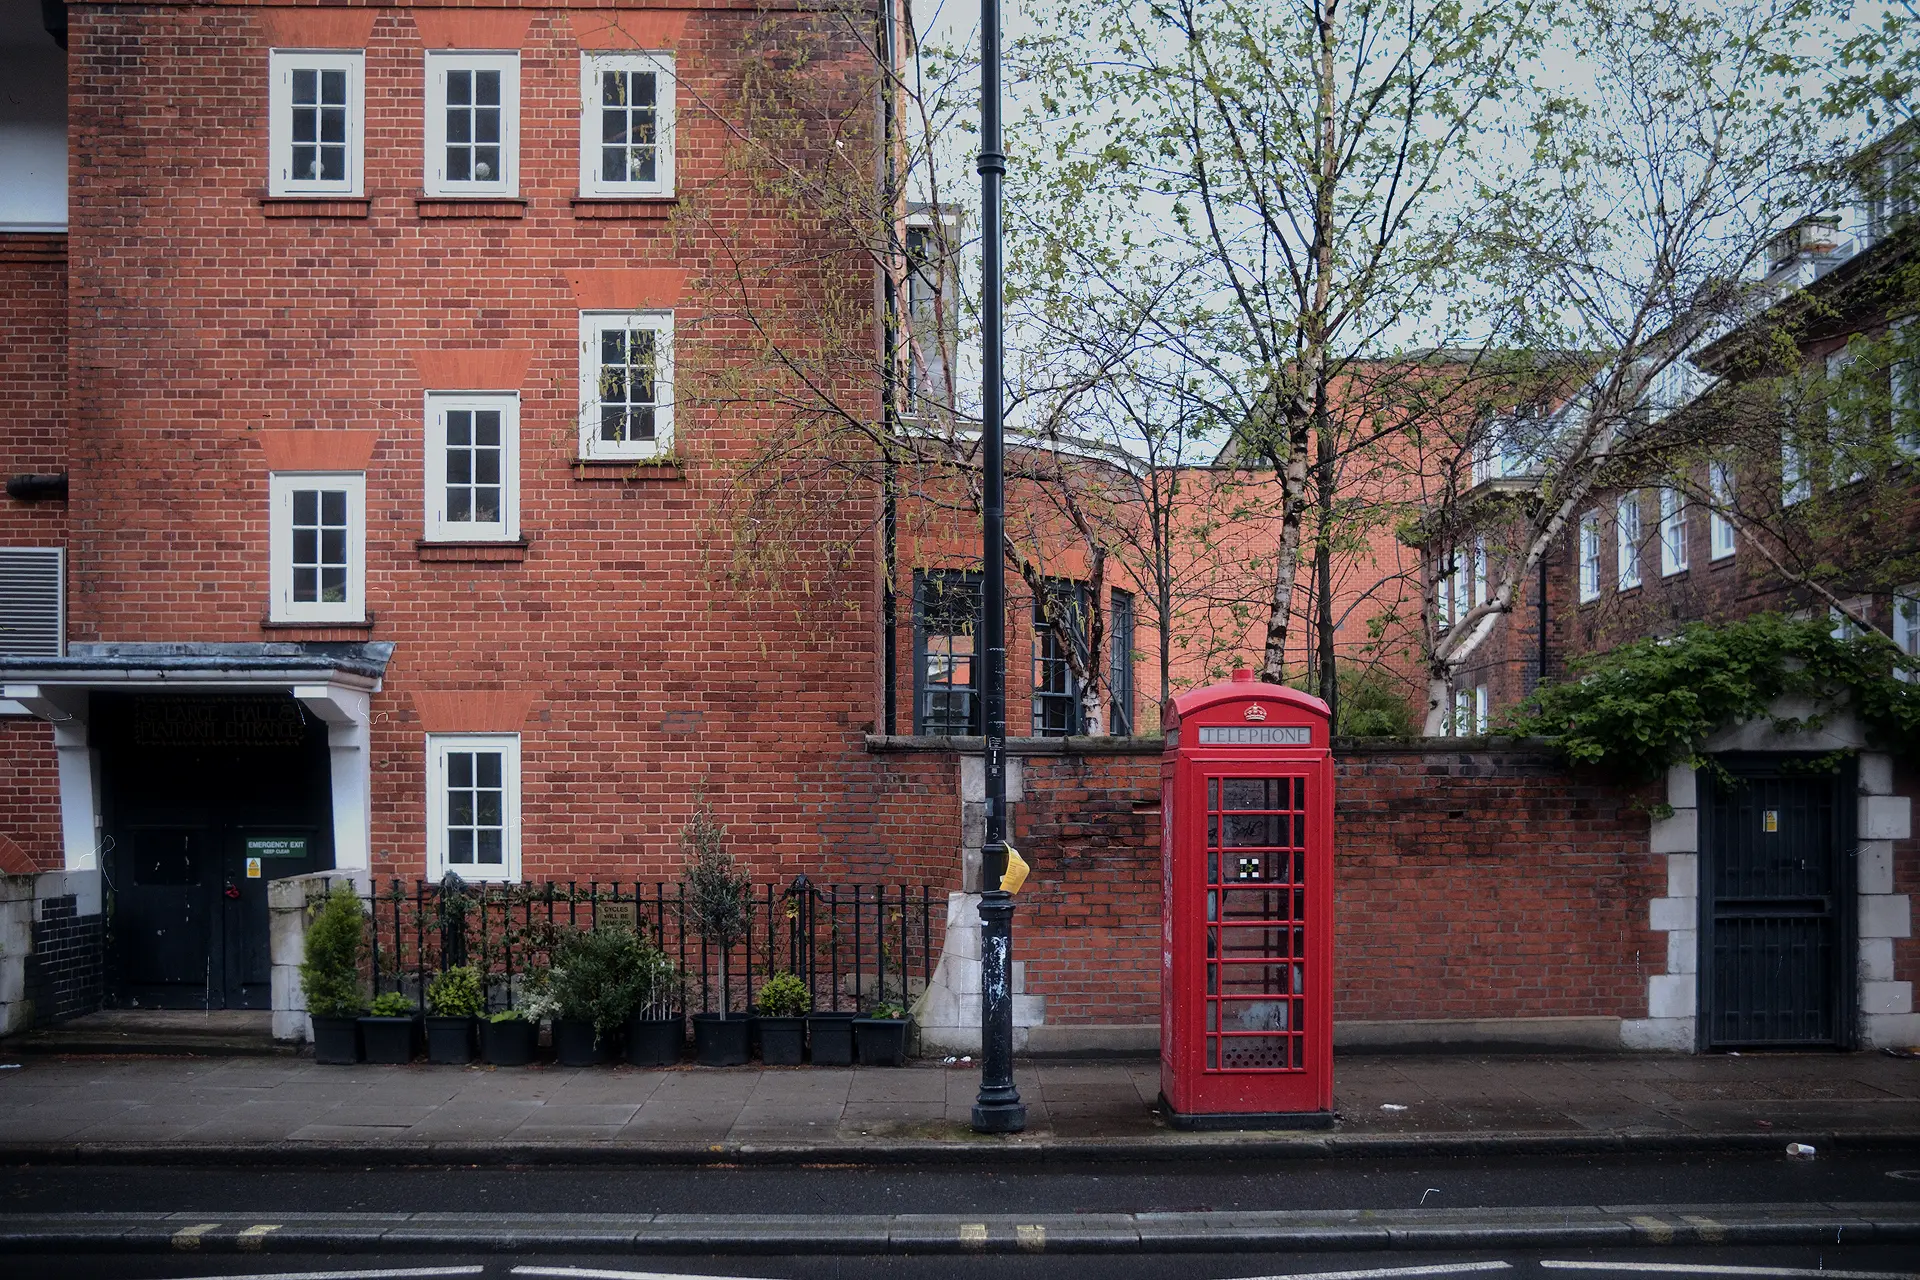
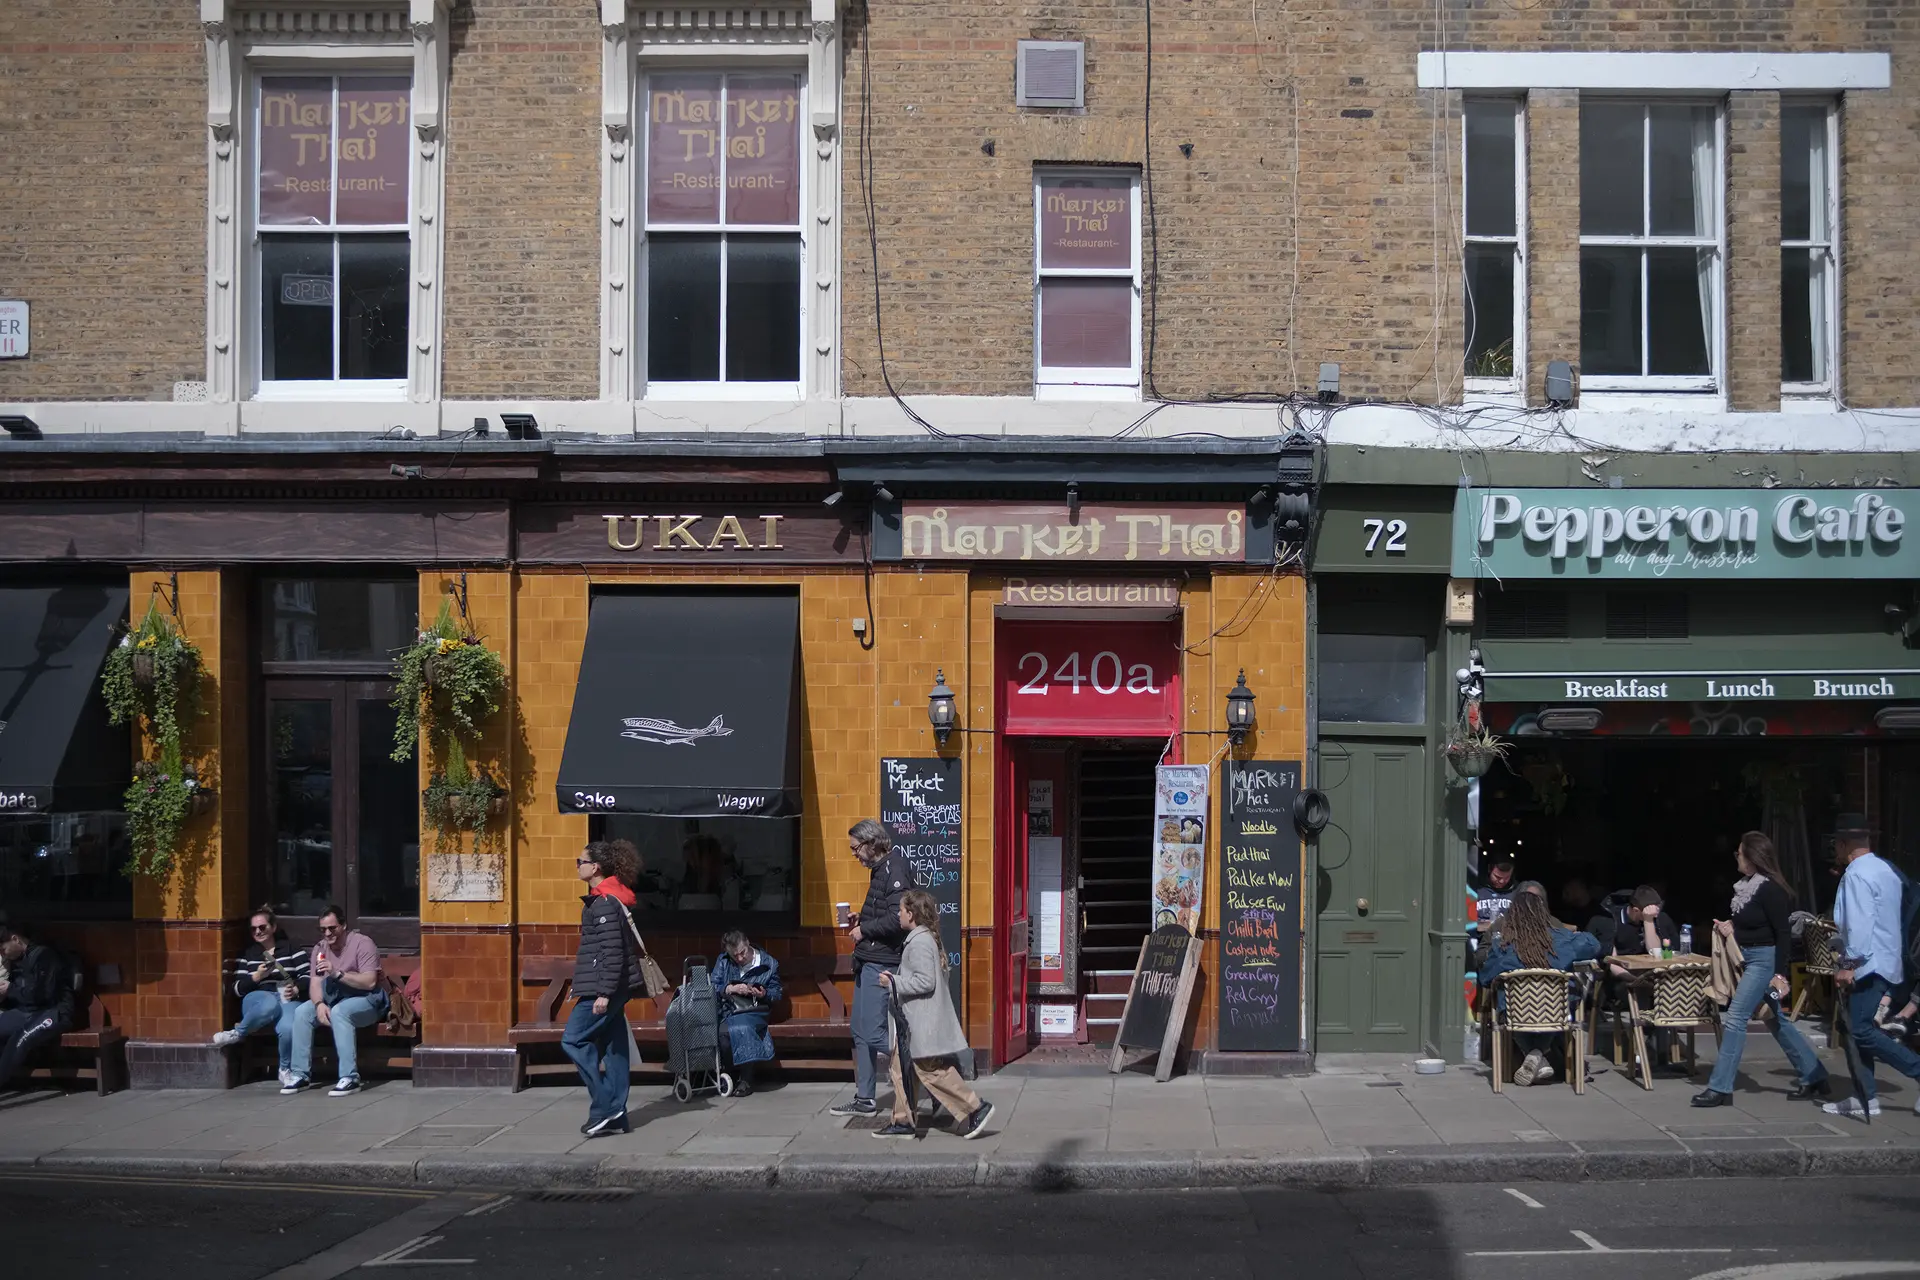
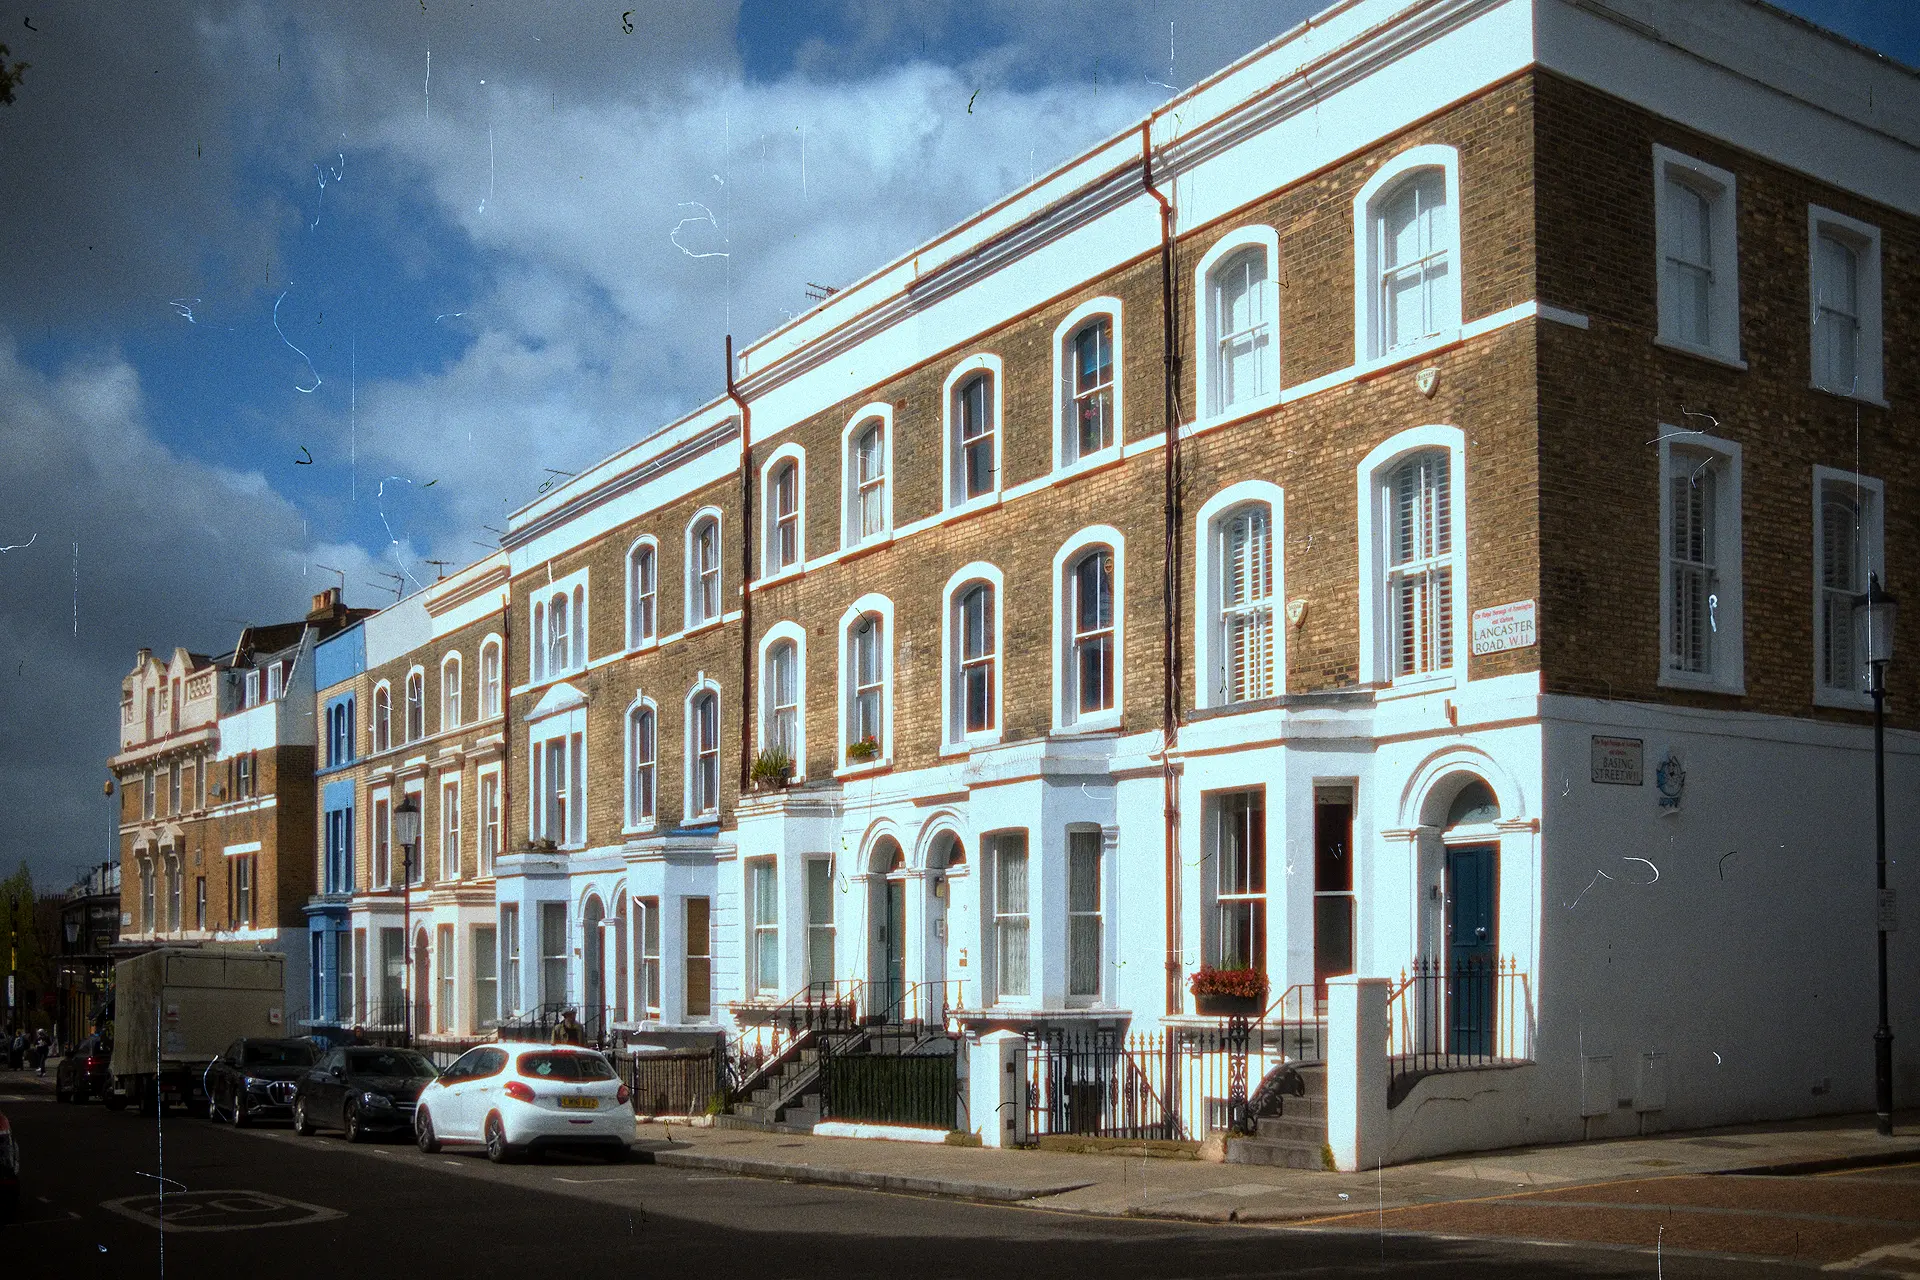
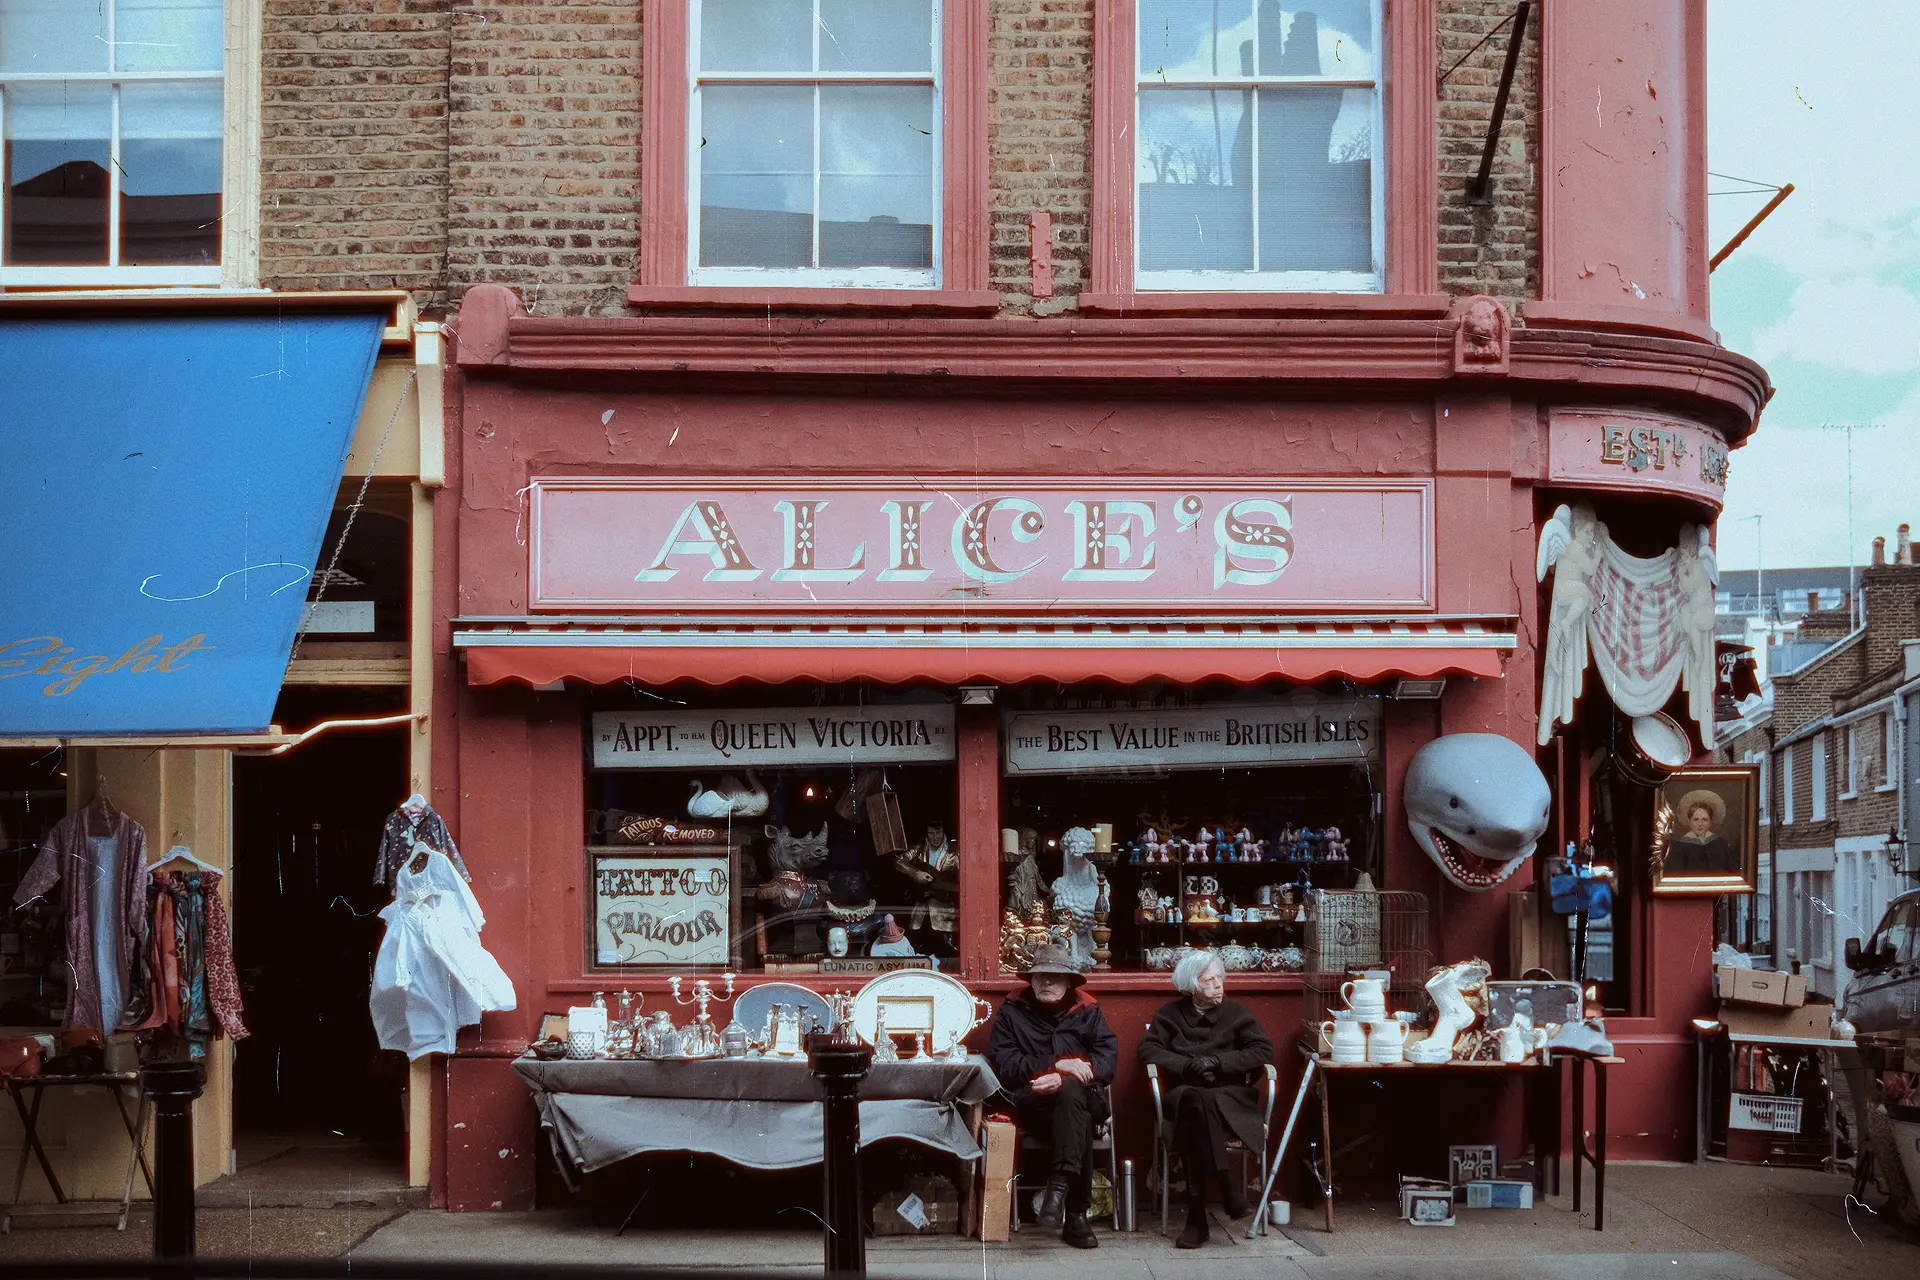
For my first test I’ve used a sample photo that I captured on my latest London Photography Workshop, a shot from the Kensington Gardens in which despite being daytime, I wanted to emulate the looks of Cinestill 800T.
London Photography Workshop
Limited seats available – For more information please visit the workshop page.
Someone might ask, hey, why this film for daytime, which after all is ideal for night shots and not something else?
Well, the answer is very simple. I had the Cinestill 800T loaded on my film camera at that day, so except the digital captured photos, which were shot with a Fujifilm X-H2s camera, I’ve also have a sample of the same location (although with a different focal length) at the same time, to better showcase how the actual film looks like.
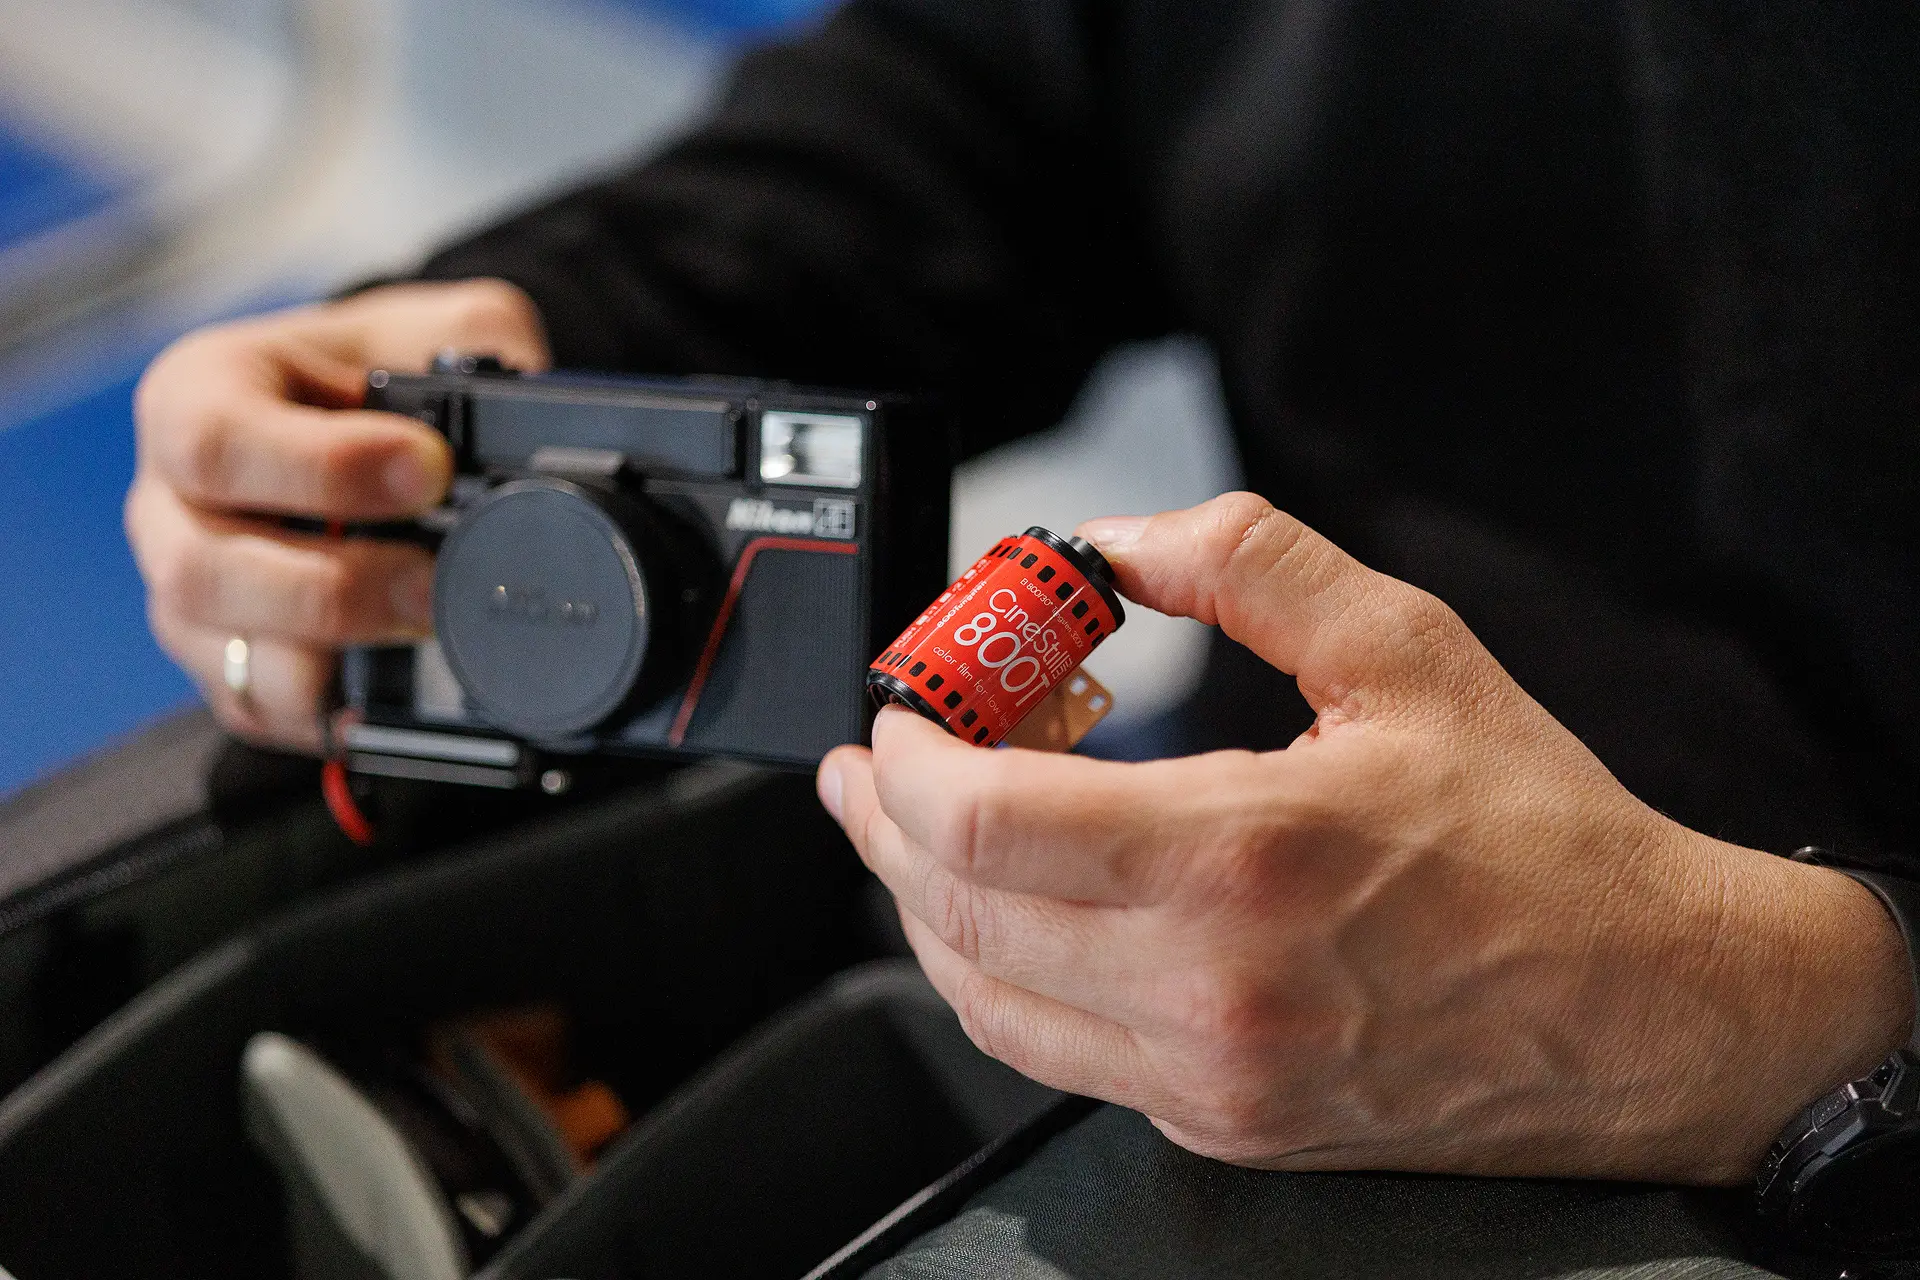
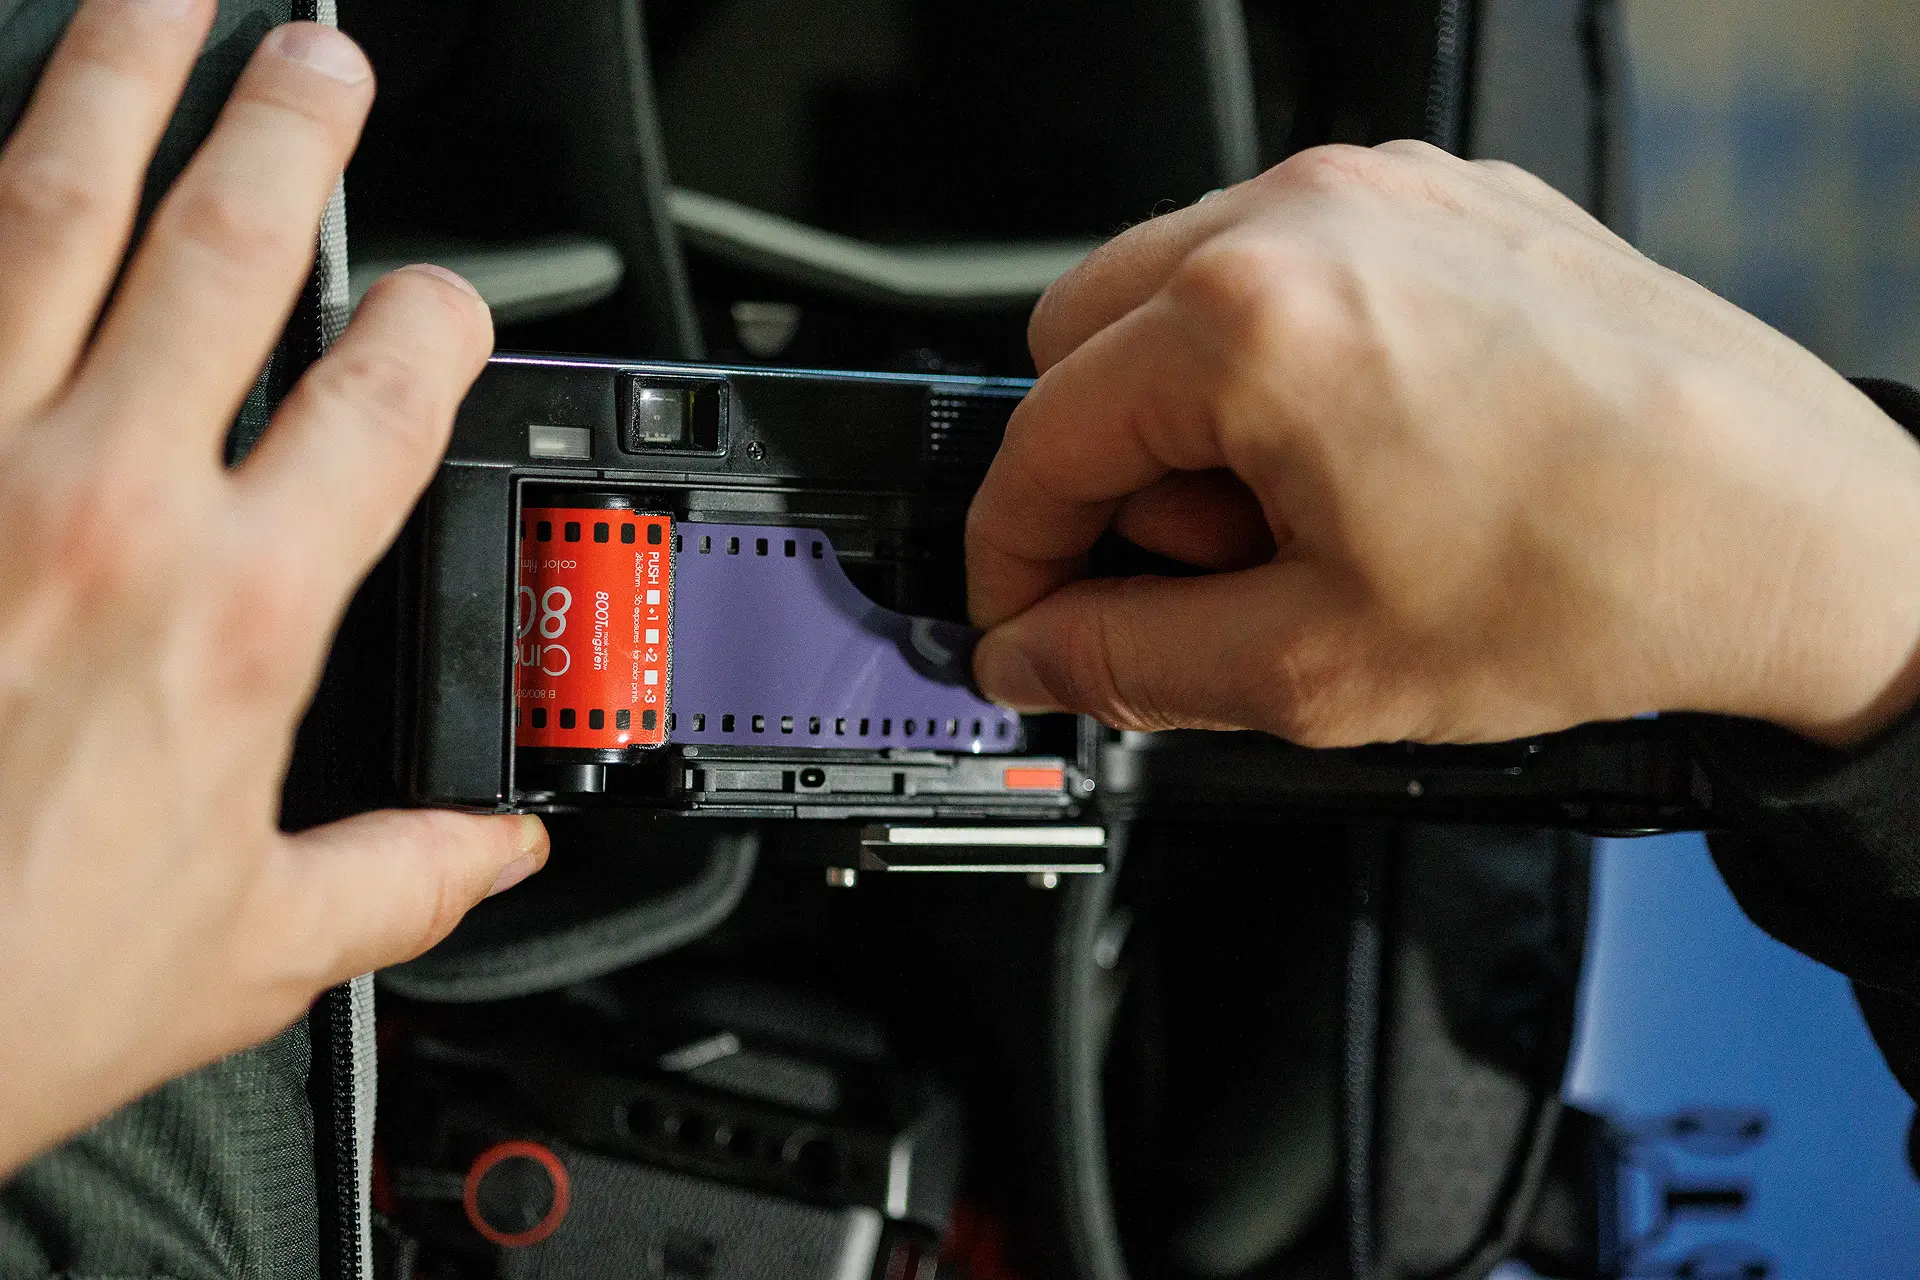
Except the RAW file, I have a Jpeg captured in-camera using the popular Cinestill 800T recipe (you can find the recipe here), and as mentioned before, a scanned negative from my Nikon L35AF camera.
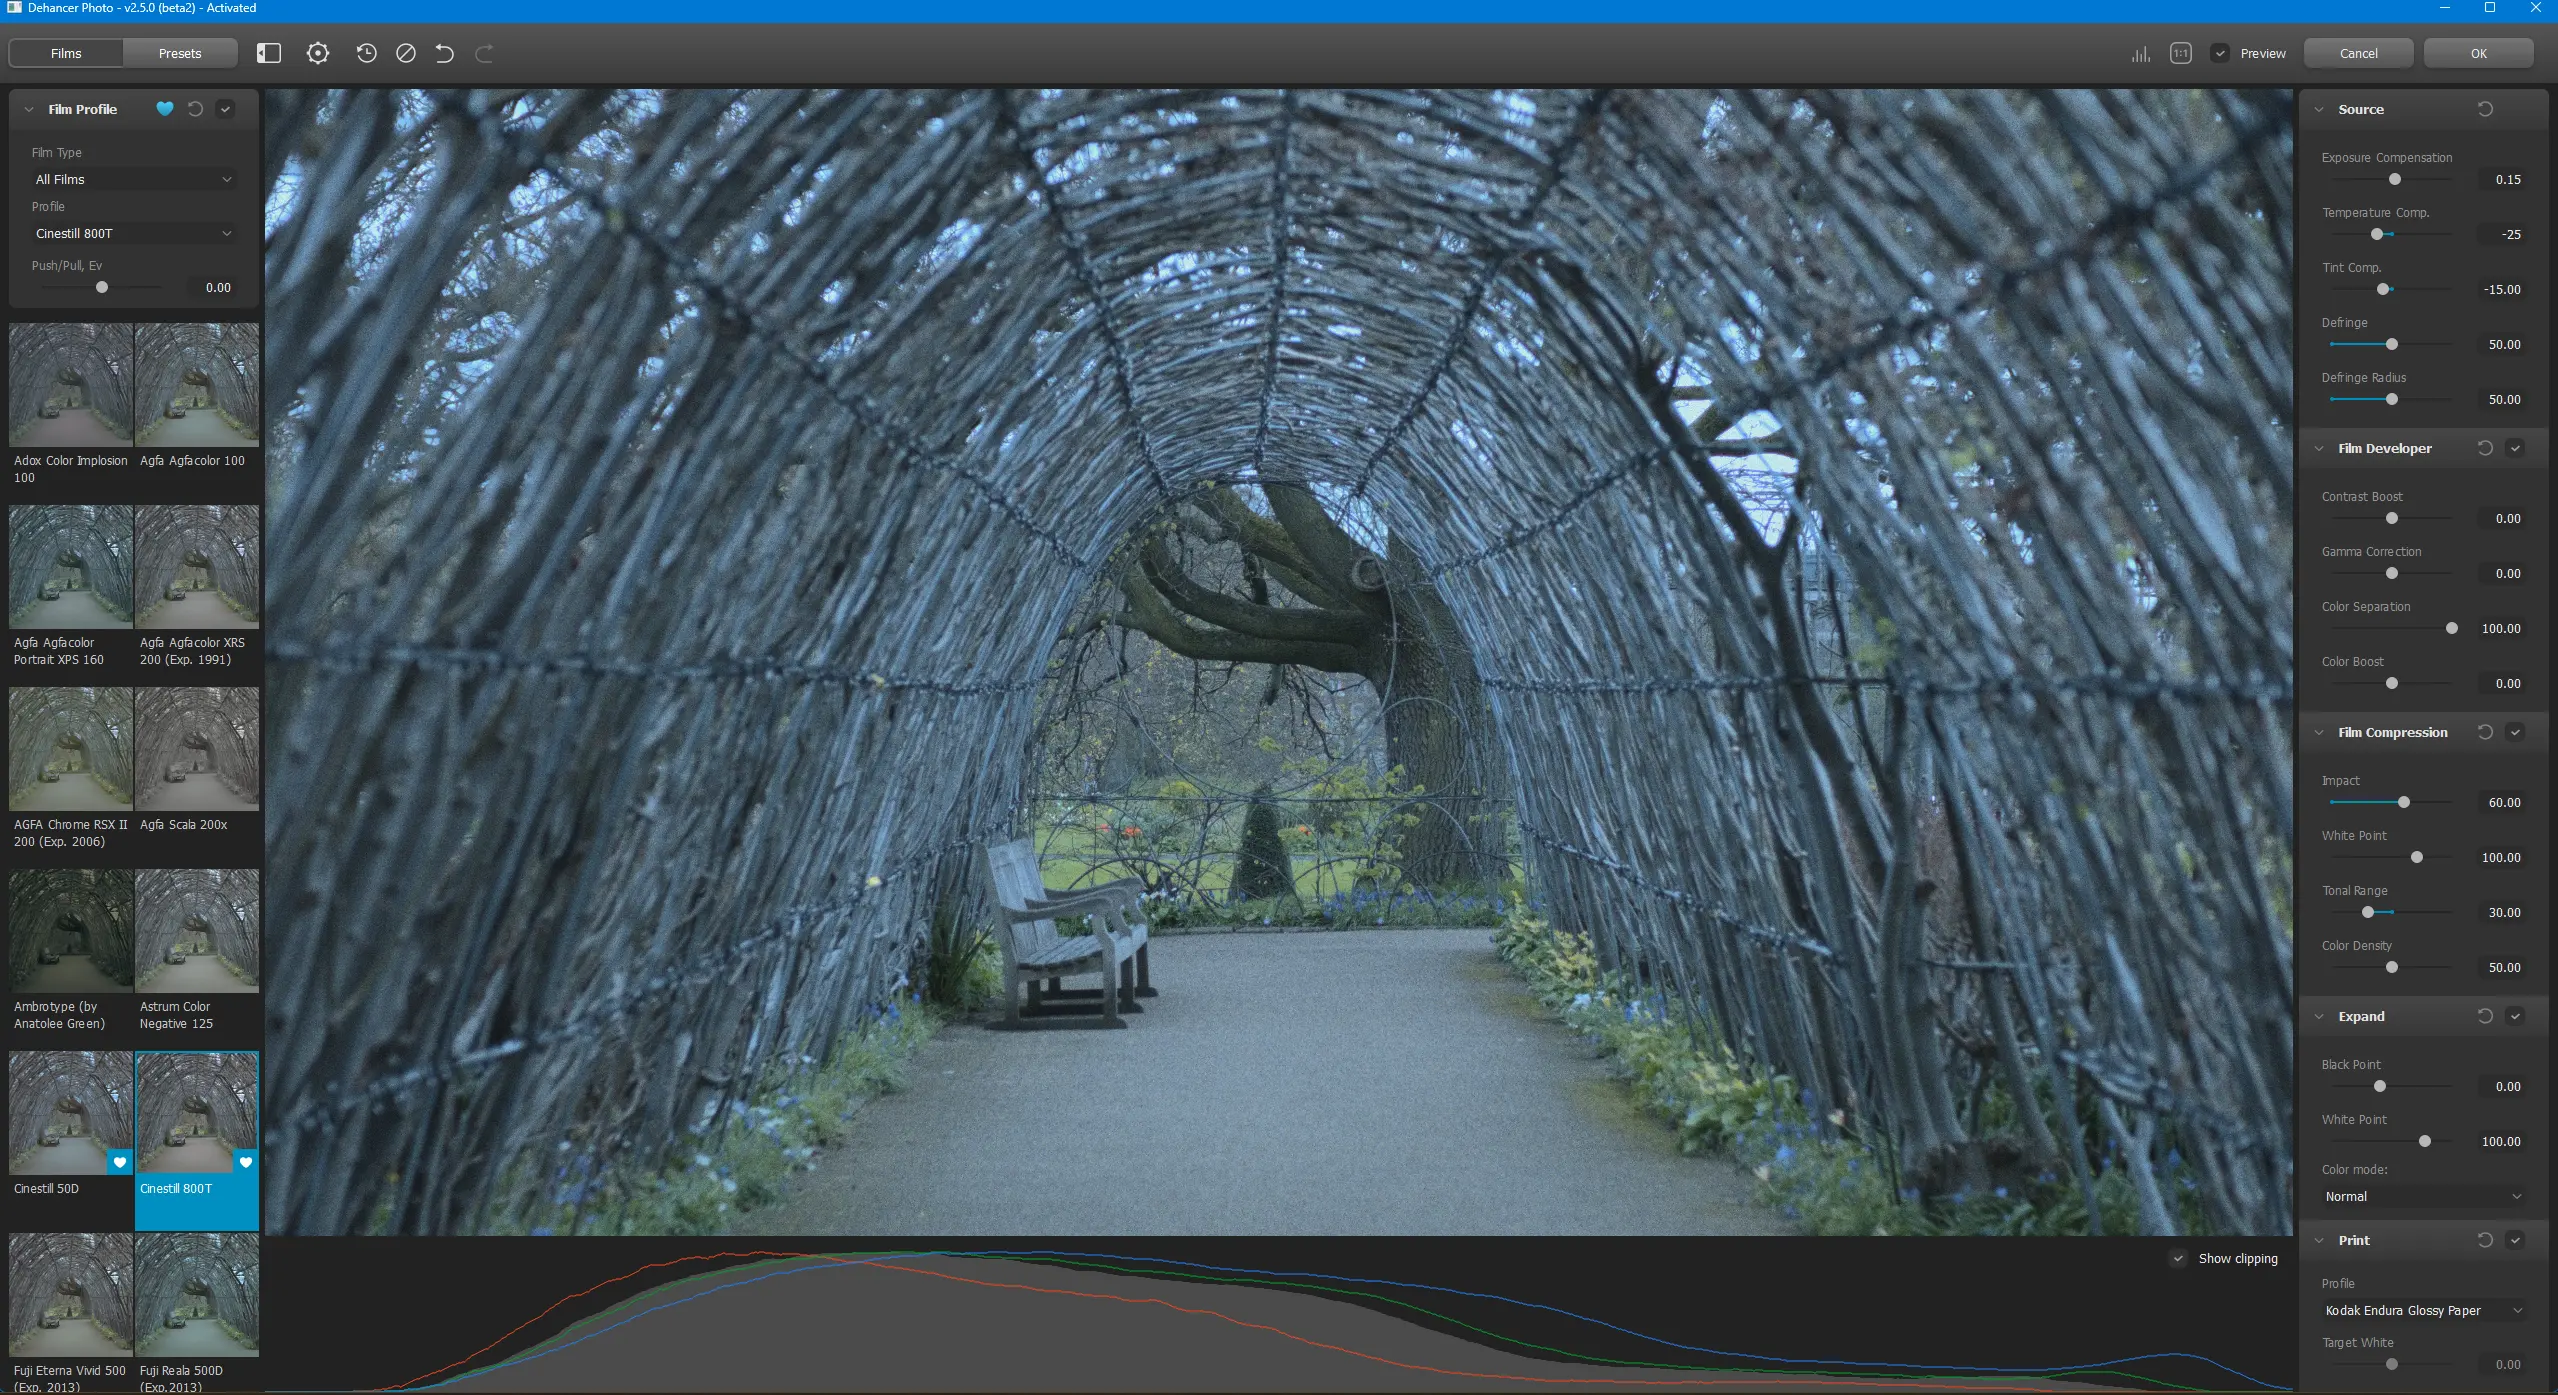
Just for clarification, in Dehancer I’ve only selected the Cinestill 800T film stock with Kodak Endura Glossy Paper, and I didn’t change anything else like tint, exposure, etc.

01. RAW Capture
02. Jpeg with Cinestill 800T Recipe
03. Graded with Dehancer Film (Cinestill 800T)
And as promised, this is the scanned negative.

04. Scanned Cinestill 800T Negative – Captured with Nikon L35AF
Some things are immediately obvious.
I will use as the base/master shot the actual film negative (no.4), which despite shot with a different camera and lens, it is the actual stock so we cannot deny what we see.
The film produces a strong blue cast in the whole image, which of course is totally normal since the film is Tungsten. Despite the color cast, the image looks natural and organic.
Starting with the recipe shot (no.2) we can see that the blue cast can be seen here as well, although not so natural looking, more like a strange white balance setting. I suppose that I had the time at the moment to make some adjustments on white balance, maybe the jpeg could be a little better.
The Dehancer film shot looks way more organic than the recipe, although the colors are totally off, without a slight blue color cast in the image.
I edited this image again, but I first corrected the white balance on Lightroom, and then I added a Temperature and a Tint compensation to make it look closer to the film.
My settings are below:

LR Initial Settings
Dehancer Settings
And the image now looks like this:
The two images now look very similar to each other in terms of color, although in my opinion the Dehancer Film image is looking better, with better contrast and micro-contrast. Also highlights are better controlled.
2nd Test
Lets move on to the second test.
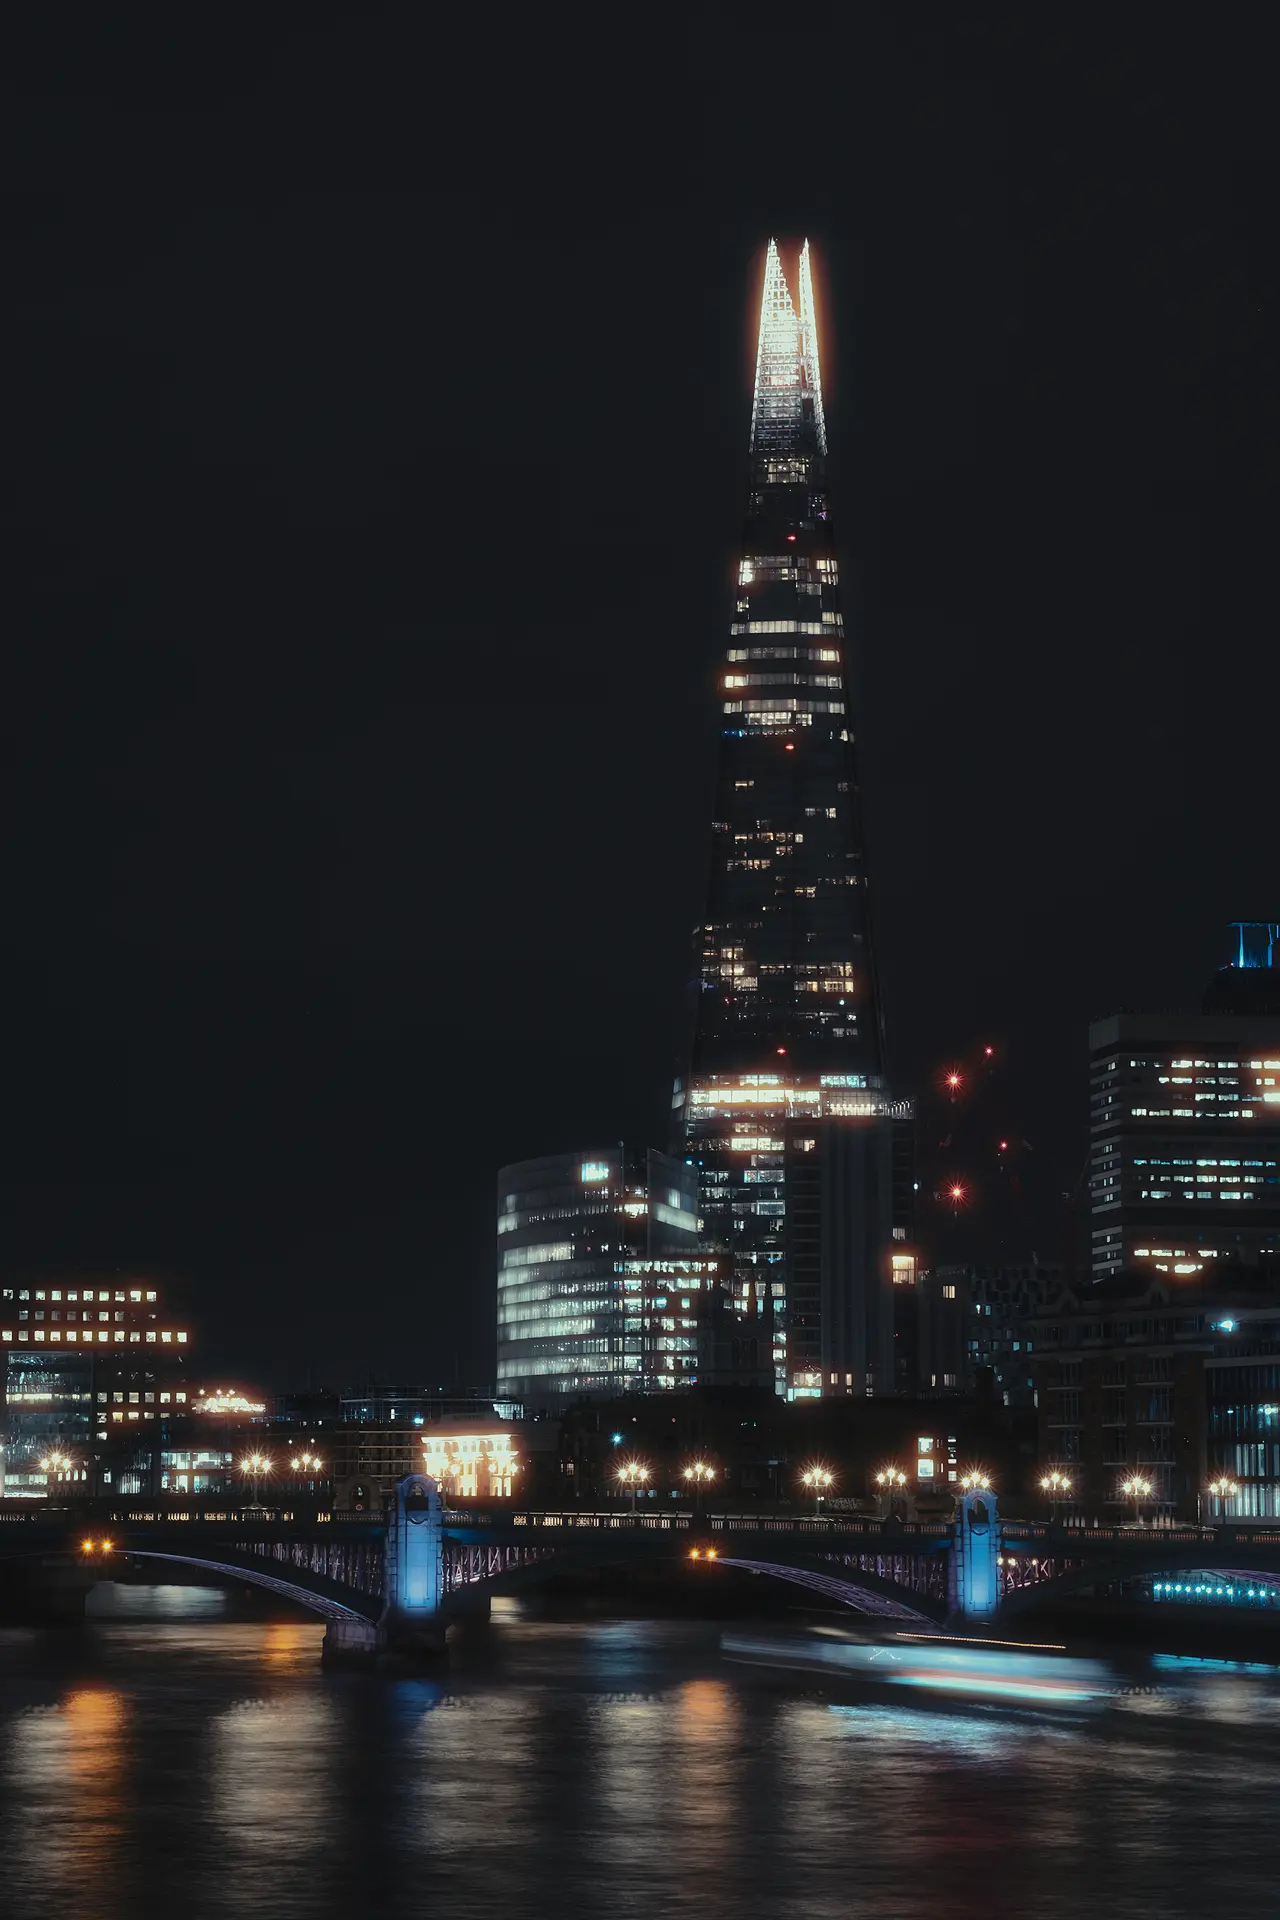
What mentioned before also applies, again the same range of shots (Raw, Recipe, Dehancer & a scanned negative), but this time at night.
Shots were made near Millenium Bridge in London, and all shots were made on a Slik Rover C (carbon) tripod on the same position.
01. RAW Capture
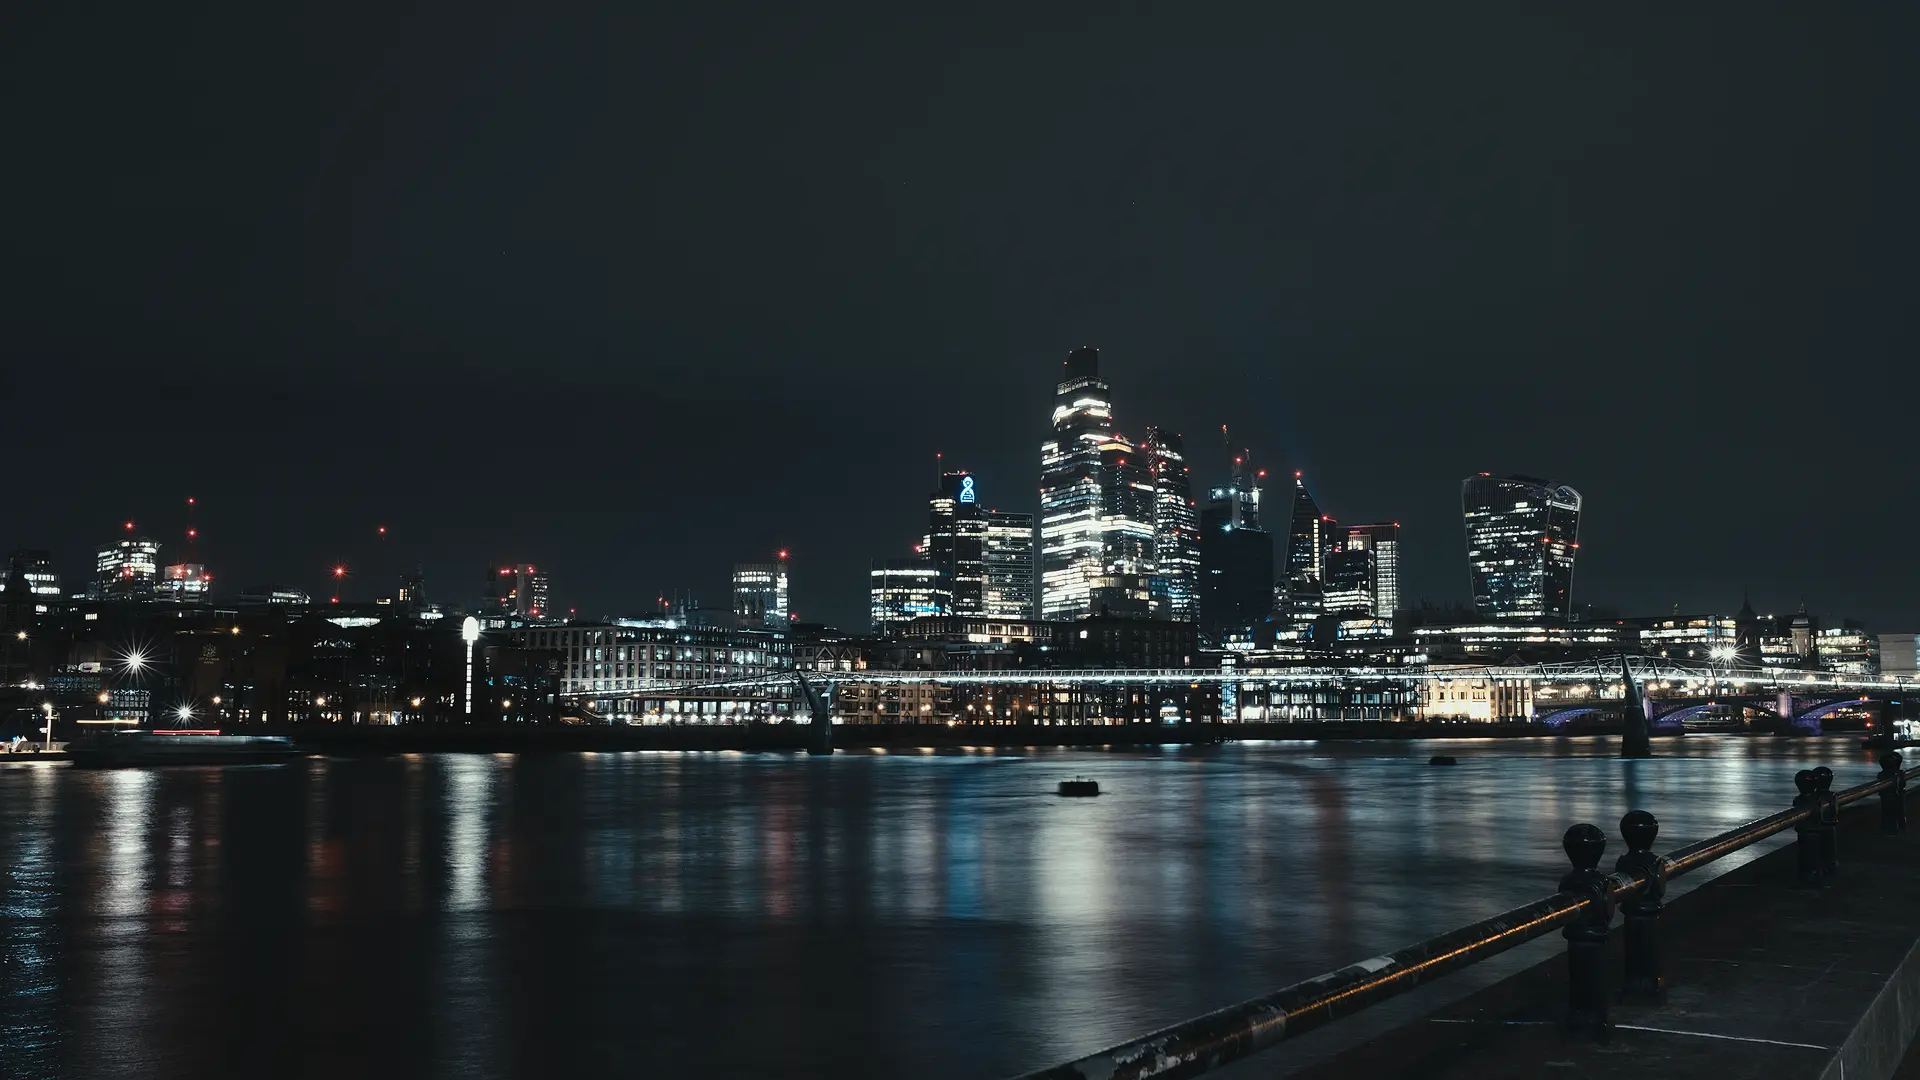
02. Jpeg with Cinestill 800T Recipe
03. Graded with Dehancer Film (Cinestill 800T)
And the scanned negative but with a note: Please consider that the Nikon L35AF is a 40 year old point-and-shoot camera, with no manual exposure settings. I’m not aware of the settings that the camera chose for that shot, and being more specific I don’t know how many seconds the exposure was (ISO was obviously 800 and the aperture was F2.8). Based on my counting during the exposure, my best guess would be something close to 5-6 seconds.

04. Scanned Cinestill 800T Negative – Captured with Nikon L35AF
Once again we can see that the Dehancer Film edit (no.3) looks more similar to that of the scanned negative (no.4) in terms of color and overall vibe, while the recipe seems somehow a little off and more greenish in tint, which of course can easily be fixed either in-camera or in post processing later.
Except color, I particularly like the controlled Halation effect on the Dehancer image, which further adds visual points to the whole image.
More Tests
But hey, enough with the Cinestill film, if it looks like a sponsored ad, which of course is not (I mentioned on the 1st test why I chose this film stock), please accept my apologies.
Let’s move on and see more sample tests with other film stocks as well.
Fujicolor Pro 400H + Fujifilm 3515 Print + Grain + Bloom + Vignette
EXIF: F2 – 1/320s – ISO 1250 @ 23mm | Tokina atx-m 23mm F1.4X + CPL + Fujifilm X-H2s
Kodak Portra 160VC + Kodak Endura Glossy Print + Film Damage + Bloom + Vignette
EXIF: F2 – 1/80s – ISO 1250 @ 23mm | Tokina atx-m 23mm F1.4X + CPL + Fujifilm X-H2s
Prokrudin-Gorskiy 1906 (experimental) + Kodak Endura Print + Halation + Grain + Bloom + Film Damage + Vignette
EXIF: F2 – 1/800s – ISO 1250 @ 23mm | Tokina atx-m 23mm F1.4X + CPL + Fujifilm X-H2s

Ilford XP2 Super 400 + Kodak 2383 Print + Grain + Vignette
EXIF: F4 – 1/4000s – ISO 160 @ 23mm | Tokina atx-m 23mm F1.4X + GND + Fujifilm X-H2s
Kodak Vision 3 250D + Kodak 2383 Print + Grain + Vignette
EXIF: F2 – 1/400s – ISO 1250 @ 23mm | Tokina atx-m 23mm F1.4X + Fujifilm X-H2s
Konica Impresa 50 (exp.2006) + Fujifilm 3515 Print + Grain + Halation + Film Damage
EXIF: F11 – 30sec – ISO 100 @ 20mm | Tokina FiRIN 20mm F2 AF + ND + GND + CPL + Sony A7Rmkii
Ilford XP2 Super 400 + Kodak 2383 Print + Grain + Bloom +Film Damage + Vignette
EXIF: F11 – 25sec – ISO 100 @ 85mm | Tokina atx-m 85mm F1.8 + ND + GND + CPL + Sony A7Rmkii
Does this mean that I must always use every setting?
Well, no. All the settings and features (halation, grain, etc) are there and are available for you to add them by your style and needs, but that doesn’t mean that in all your images everything must be set to on.
For example, I can only use Halation and Grain in some of my images, if I like the color that I’ve captured, or the opposite, I can simply only use my favorite film stock and nothing else, like in the image shown below.

Kodak Portra 800 + Fujifilm 3515 Print
EXIF: F8 – 6.5sec – ISO 160 @ 23mm | Tokina atx-m 23mm F1.4X & Fujifilm X-H2s
So, Everything is Perfect with Dehancer Film?
My experience in software development has shown that no software is perfect. There are always things to fix or things that for some reason aren’t working as they should in theory.
Dehancer Film is a really great software, with countless hours of work behind it so that we can emulate our favorite film stocks in our digital images.
I totally respect the team and the continuous effort they are making to provide the best overall experience and end result to the users.
In overall I found the plugin to be very stable, with not even one crash on my PC and laptop, no matter the size of the image that I was working with.
It is also very important to note that Dehancer Film as also Dehancer Pro are getting frequent updates, which include both new features and some bug fixes.
This is very crucial to me as it means that not only there is very good support from the Dehancer Team, but also that they really want to provide the best possible experience and further improve their products.
Still, I found some issues that I would love to see some day change or be fixed (some of them are easier, while some others require a lot of work), and I’m sure that if these aren’t already fixed, will be very soon.
When saving a preset, there is no menu options to select which features should be included, like in example: I want my preset to include film stock and halation, but no bloom and vignette.
I suppose that is something very easy to implement and I’m sure it will be available on the next update.
Features/Ideas to be Added
Everything noted below are just my personal thoughts on things to add to the plugin, and this doesn’t mean that these must apply to all users.
Personal Thoughts
I shoot a lot of film, both 35mm and 120mm. Not so much for commercial work these days, but mostly for my personal work.
I also develop the negatives myself, both in Black and White as also in Color (C41), which means that I’m very experienced in the whole process of film, both in shooting and processing.
Despite all the advancements in digital photography, I still think that analog photography is something very unique, after all we talk about an actual medium as light is “recorded” on something real, the film roll, and not made by electrons on a digital sensor, and at the time of writing this review, it will be very difficult to replicate it at 100% digitally.
Dehancer Film has countless hours of work behind it and that can be seen from the very first time I used the plugin.
The team hard work managed to provide very good, film-like results no matter the medium that you captured the source image. The results are looking similar to the aesthetics of the actual included film profiles and while may not be 100% accurate every time, it still provides a great tool to get rather easy a unique, analog look.
Will it replace my film photography? Obviously not, because except the image aesthetics, when shooting analog is like a “ritual”. The photographer must be very careful, as every possible mistake costs actual money. And of course, there is some “magic” happening when the film gets developed.
But of course this applies to all software. No Photoshop or AI Image Creation can replace actual photography for me. These are just tools after all..
So, as a conclusion I believe that it is a very good plugin that I will definitely use (a lot) from now on with my digital photos, to give them that extra touch in editing, simulating the looks of my favorite film stocks.
Is it recommended? Definitely YES!
I highly recommend Dehancer Film (as well Dehancer Pro for video), and despite the required learning curve until you are familiarized with the plugin and its features, I’m sure that you will enjoy it!
Feel free to share some images in the comments section, either that are edited with Dehancer Film plugin, or you want me* to edit them for you and see what you can get!
*Send me a Wetransfer/Dropbox link directly in my email: info[@]christopheanagno.com (remove brackets if you are not a bot ????).
Conclusion
“A highly recommended tool for photographers that they want to add an analog, film-like look to their images, no matter if they have shot on film before or not. Ideal for photographers who want to edit a specific number of shots (i.e. street/travel photography), less ideal for photographers with a high number of images (i.e. wedding) due to lack of batch editing. Requires a lot of trial and error to get the best possible results, as also a learning curve to familiarize with the plugin itself.”


Leave A Comment